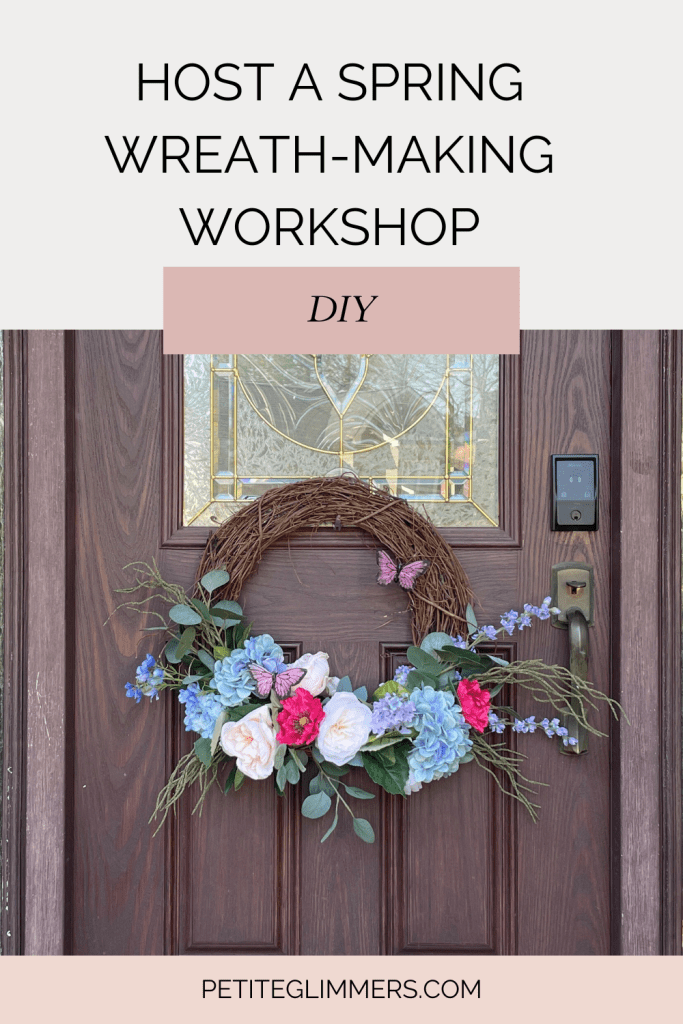
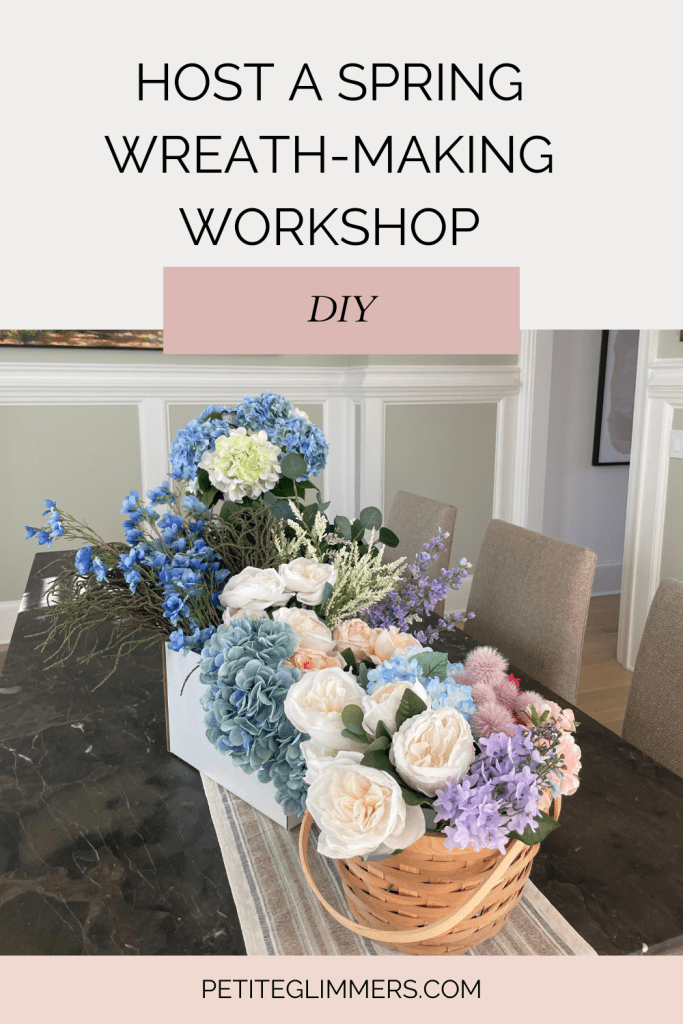
Hosting a Spring Wreath-Making Workshop with Friends
One of my favorite ways to welcome a new season is by creating something beautiful with people I love. This spring, I hosted a wreath-making night for a small group of friends, and it turned out to be such a fun, relaxing, and creative evening.
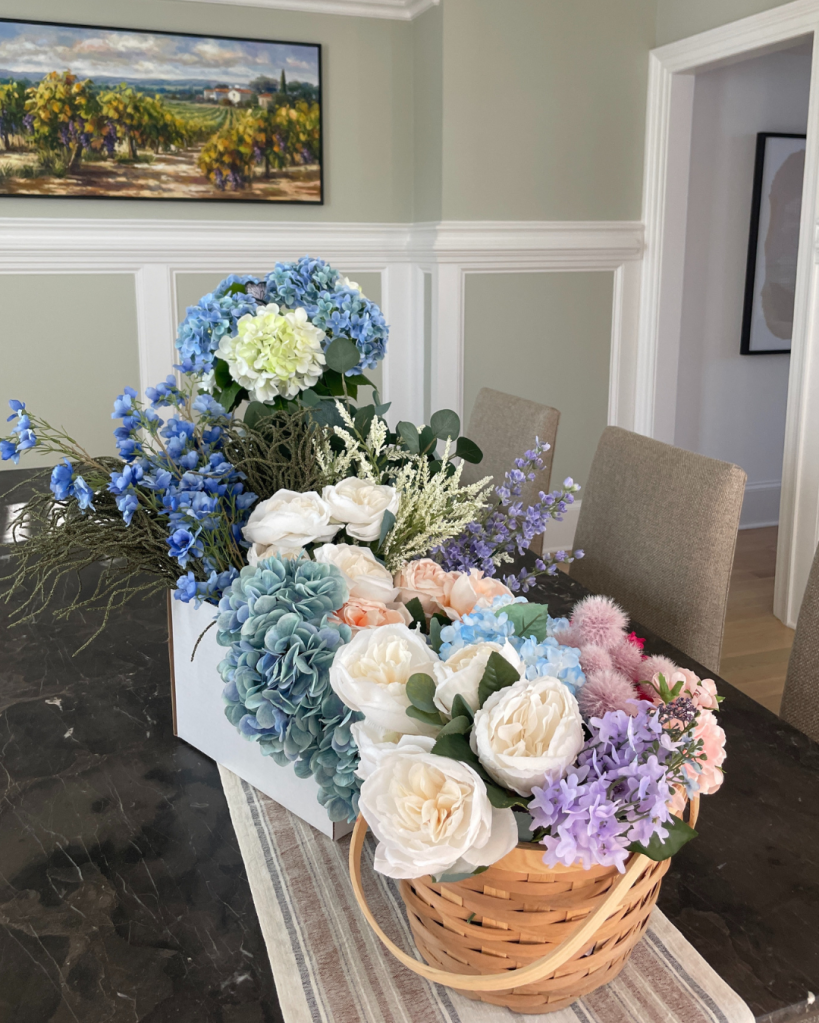
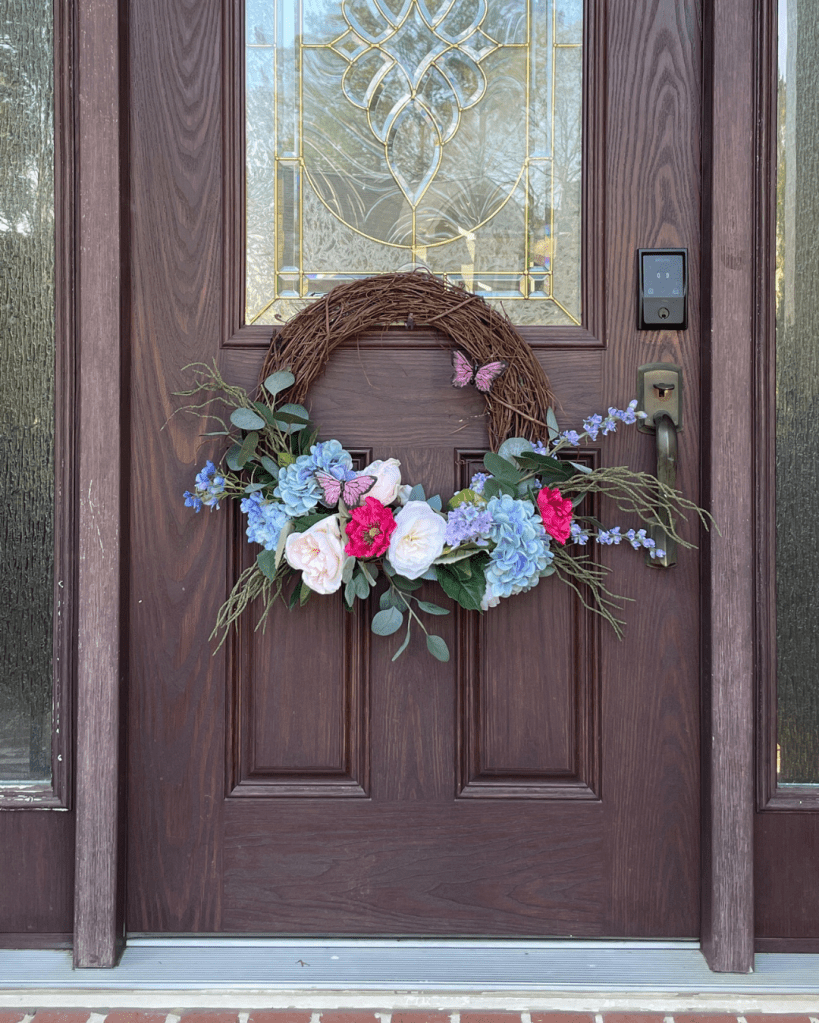
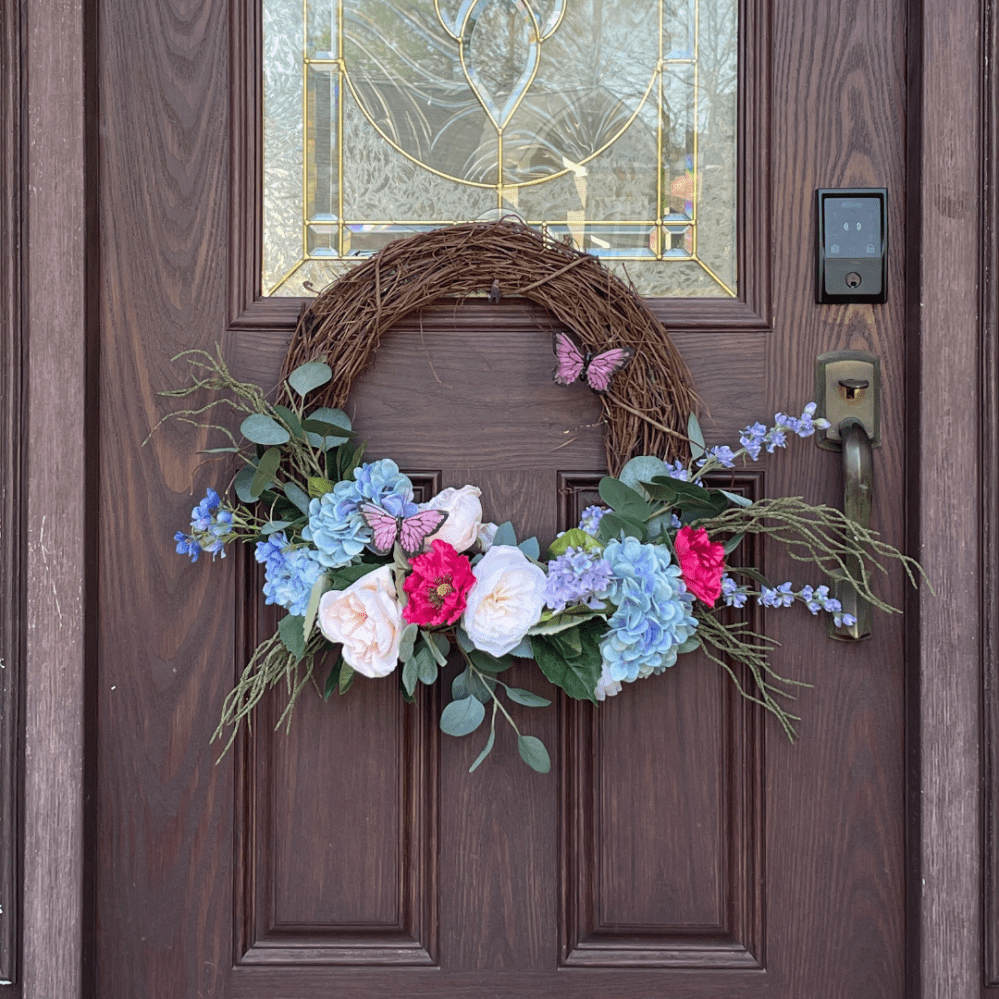
I wanted the event to feel easy and approachable, so I kept the supplies simple and flexible. I purchased basic wreath bases and spring florals from the craft store, which made it easy for everyone to jump right in without feeling overwhelmed. To add a personal touch, I also used leftover wired butterflies I already had on hand (a perfect reminder that you don’t need to buy everything new to create something special).
For assembly, we used hot glue, floral wire, and ribbon to secure everything to the wreaths. The combination worked beautifully: wire helped anchor larger pieces, hot glue made quick work of smaller accents, and ribbon tied everything together with a polished finish. Everyone’s wreath turned out completely different, which was one of my favorite parts of the night.
Beyond the crafting, the evening was really about slowing down, chatting, and enjoying each other’s company. There’s something special about creating with your hands while catching up with friends and it turns a simple project into a meaningful memory.
Tips & Tricks for Creating a Spring Color-Coordinated Wreath
If you’re thinking about hosting your own wreath-making event (or just making one yourself), here are a few tips that helped our wreaths come together beautifully:
1. Choose a Color Palette First
Before attaching anything, decide on 2–4 main colors. Soft pastels like blush, lavender, sage, and buttery yellow work well for spring, but bold florals can be beautiful too if you keep the palette consistent.
2. Start with Greenery
Lay down greenery first to create a full base. This helps fill gaps and gives you a natural framework to build on.
3. Work in Odd Numbers
Florals and decorative accents often look more natural when grouped in odd numbers (three flowers instead of two, for example).
4. Balance the Wreath Visually
Step back often and look at the wreath from a distance. Make sure heavier elements are balanced so one side doesn’t feel too crowded.
5. Mix Textures
Combine soft florals with structured elements like wired butterflies, ribbon, or twigs. The contrast adds depth and interest.
6. Secure Smartly
Use wire for anything heavy and hot glue for lighter accents. A mix of both keeps everything sturdy while still looking seamless.
7. Finish with Ribbon
A simple bow or trailing ribbon can instantly elevate the wreath and tie your colors together.
Hosting this wreath-making night reminded me that creativity doesn’t have to be complicated. With a few supplies, a little planning, and good company, you can create something beautiful and make memories at the same time. 🌼


Leave a comment