There’s something extra sweet about handmade Valentine’s décor, especially when it looks good enough to eat! This DIY Iced Cookie Felt Ornament is a simple project that’s perfect for Valentine’s Day decorating, gift toppers, or even a festive garland. No baking required 🍪💘
This project is beginner-friendly, customizable, and a great way to use up felt scraps and embroidery floss you may already have on hand. But if you don’t have it, see the list below for materials you’ll need!
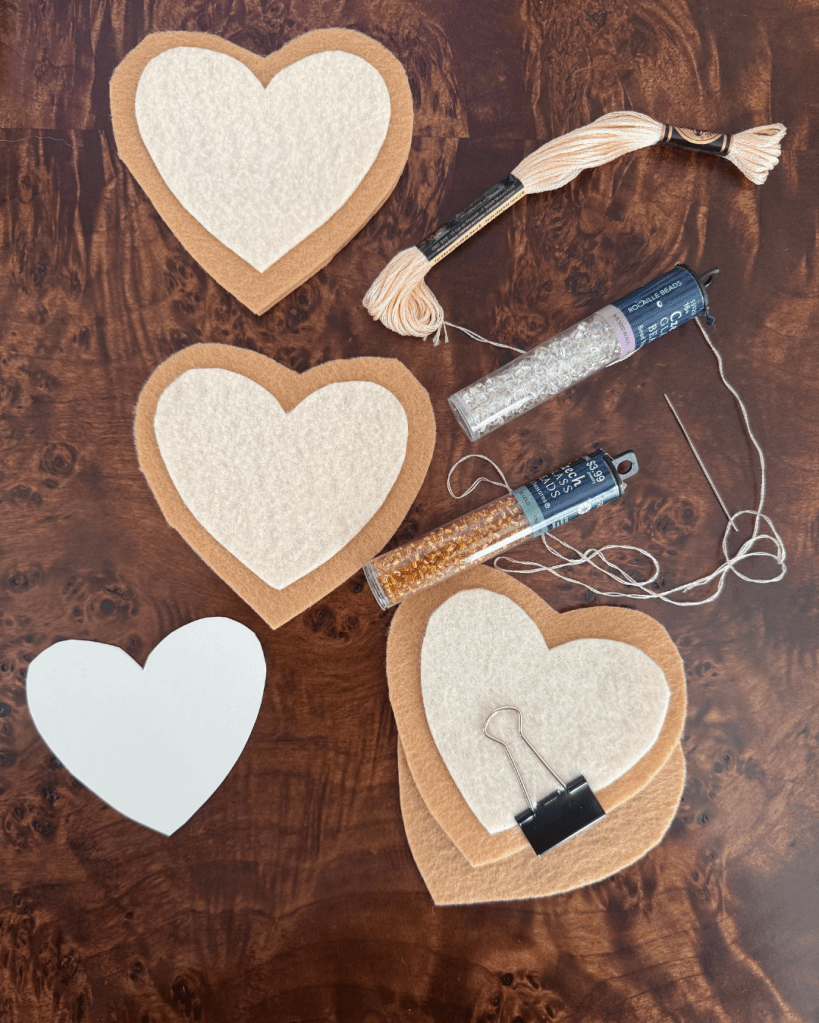
Materials Needed
- Brown felt for the cookie
- White or pastel felt for the icing
- Embroidery kit
- Embroidery floss or thread (sprinkle colors)
- Needle
- Small beads
- Ribbon
- Fiber fill or stuffing (you can also use scrap fabric)
- Heart-shaped pattern (easy printable or DIY)
This post includes affiliate links and if you click and make a purchase, I might earn a small commission (at no extra cost to you), which helps me keep creating and sharing projects like this.
Step-by-Step Instruction
1. Create Your Heart Pattern
Start by making a heart-shaped pattern in your desired size. Use this pattern to cut:
- Two large brown felt hearts (these will be the cookie)
- One smaller heart from icing-colored felt
The slightly smaller icing piece helps create that classic frosted cookie look.
2. Attach the Icing
Place the icing heart onto one of the brown felt cookie pieces. Stitch it down securely using a simple running stitch or whip stitch around the edges. This will be the front of your ornament.
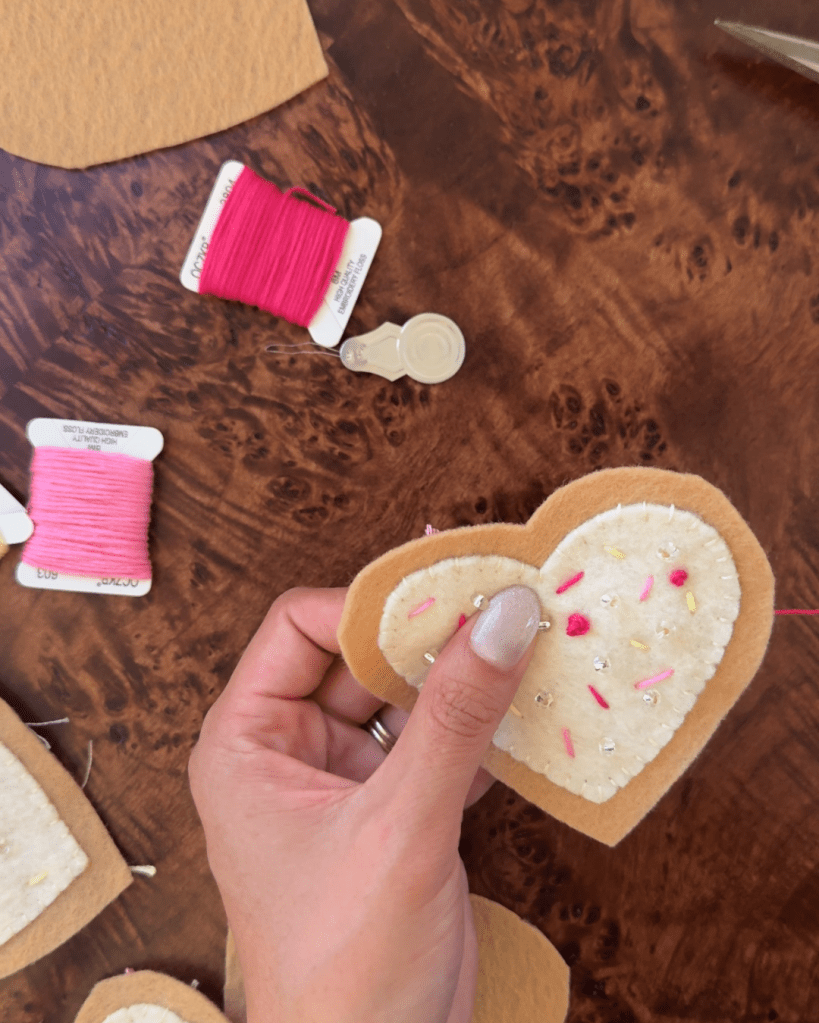
3. Add the Sprinkles
Now for the fun part…decorating! Use embroidery thread and/or small beads to create sprinkles on the icing:
- Use straight stitches for classic sprinkle shapes
- Add French knots for texture and variety
- Sew beads directly onto the felt for extra sparkle and dimension
Mix colors and stitch styles to give your cookie a playful, iced look.
4. Add the Hanging Ribbon
Before assembling the ornament, cut a short piece of ribbon and fold it into a loop. Position it at the top center of the cookie front, with the loop facing inward. Secure it in place with a few stitches.
5. Stitch the Ornament Together
Place the finished cookie front on top of the second brown felt heart (the back). Using a blanket stitch, begin stitching around the edges. Leave a small gap before closing the ornament completely.
6. Add Filling
Gently add fiber fill through the opening. You want the ornament to feel soft and slightly puffy, but don’t overstuff. Too much filling can distort the shape and make stitching harder.
7. Close & Finish
Once filled, continue the blanket stitch to close the gap completely. Tie off your thread neatly and trim any loose ends.
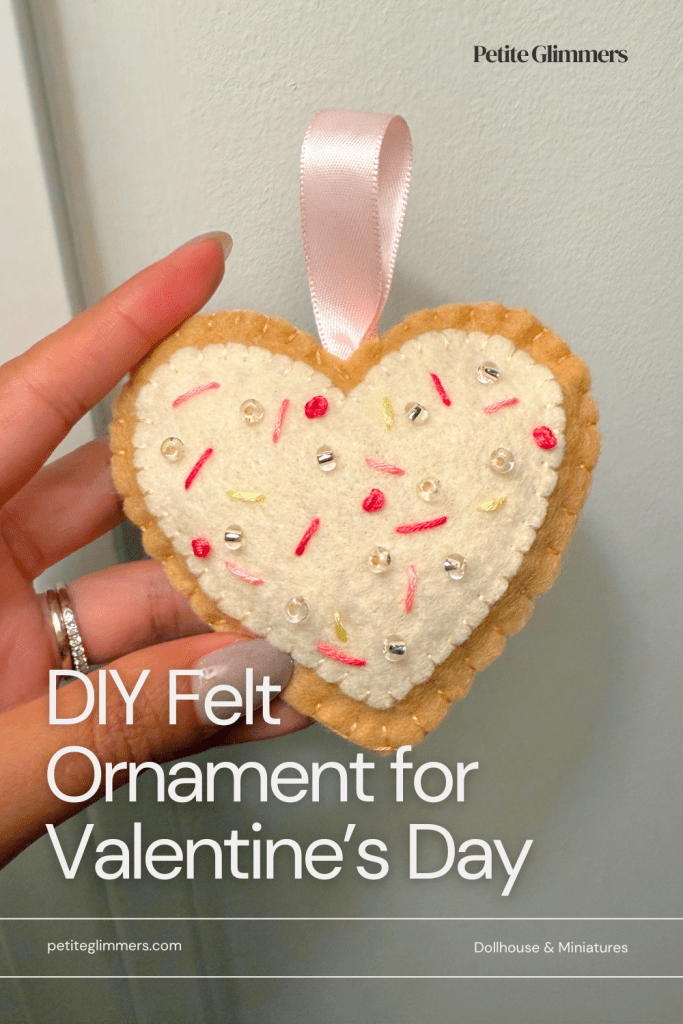
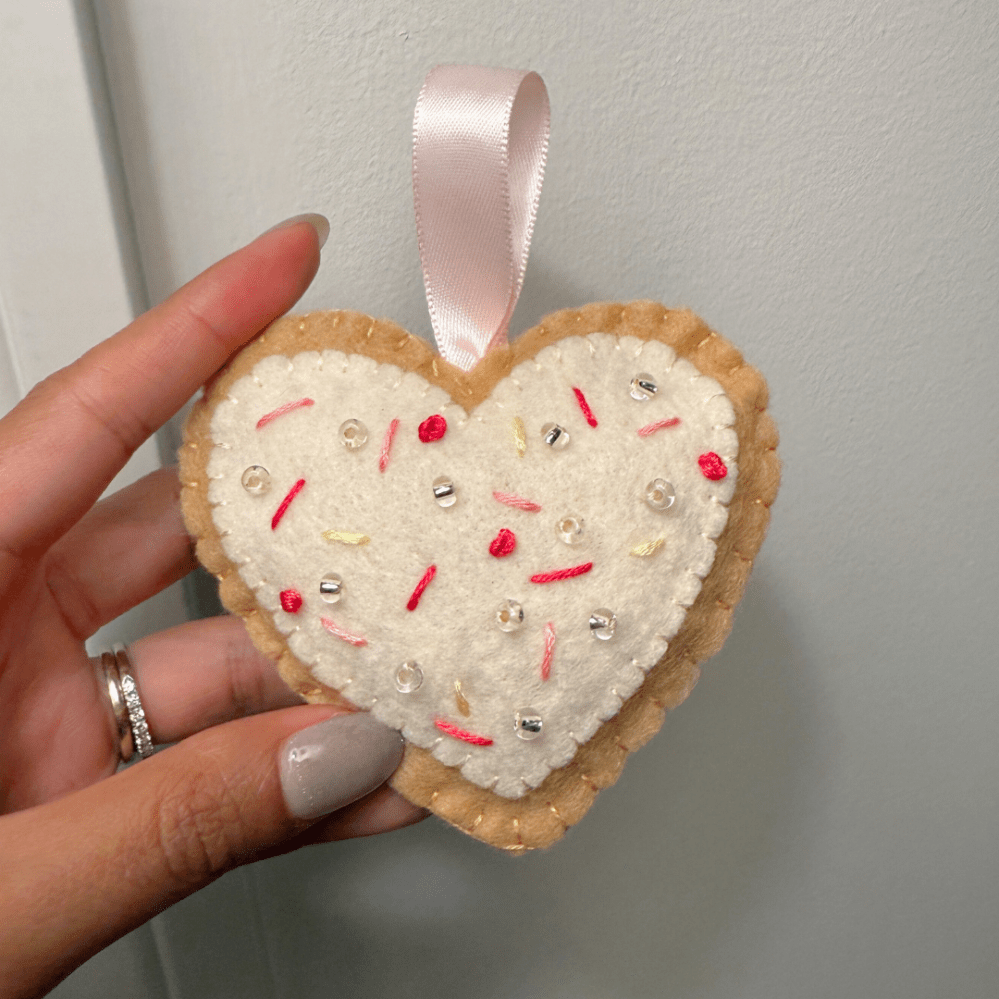
Admire Your Work 💕
That’s it! You’ve created a sweet felt iced cookie ornament that’s perfect for Valentine’s Day. Hang it on a branch, add it to a seasonal garland, or gift it to someone who appreciates handmade items.
Each one is unique and just like real cookies, they’re even better in a batch. Happy crafting!


Leave a comment