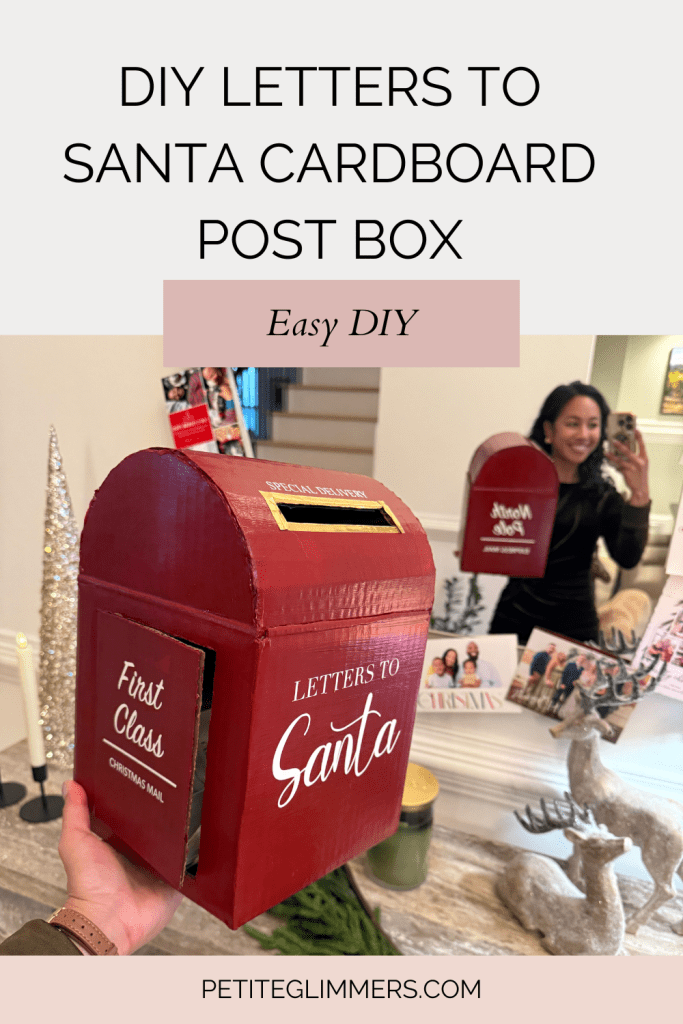
Every holiday season I love adding a little extra magic to our home, and this year I decided to create a DIY Letters to Santa mailbox using items I already had on hand. Not only was it budget-friendly, but it was also a fun, creative project that turned a simple cardboard box into a keepsake holiday decoration.
Here’s how I designed and built it from start to finish.
Starting With a Simple Cardboard Box
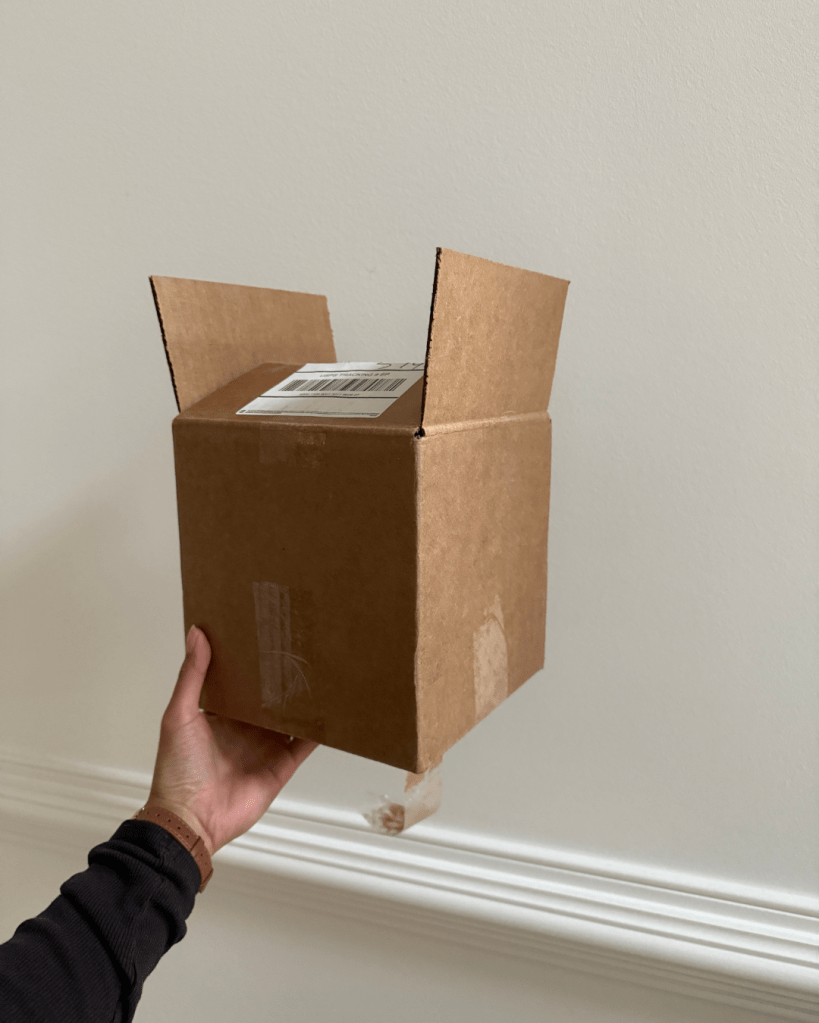
I began by reusing a standard cardboard box—nothing fancy. The first step was to cut off the front and back length flaps, leaving the side flaps intact. These side flaps would eventually become the curved top of the mailbox.
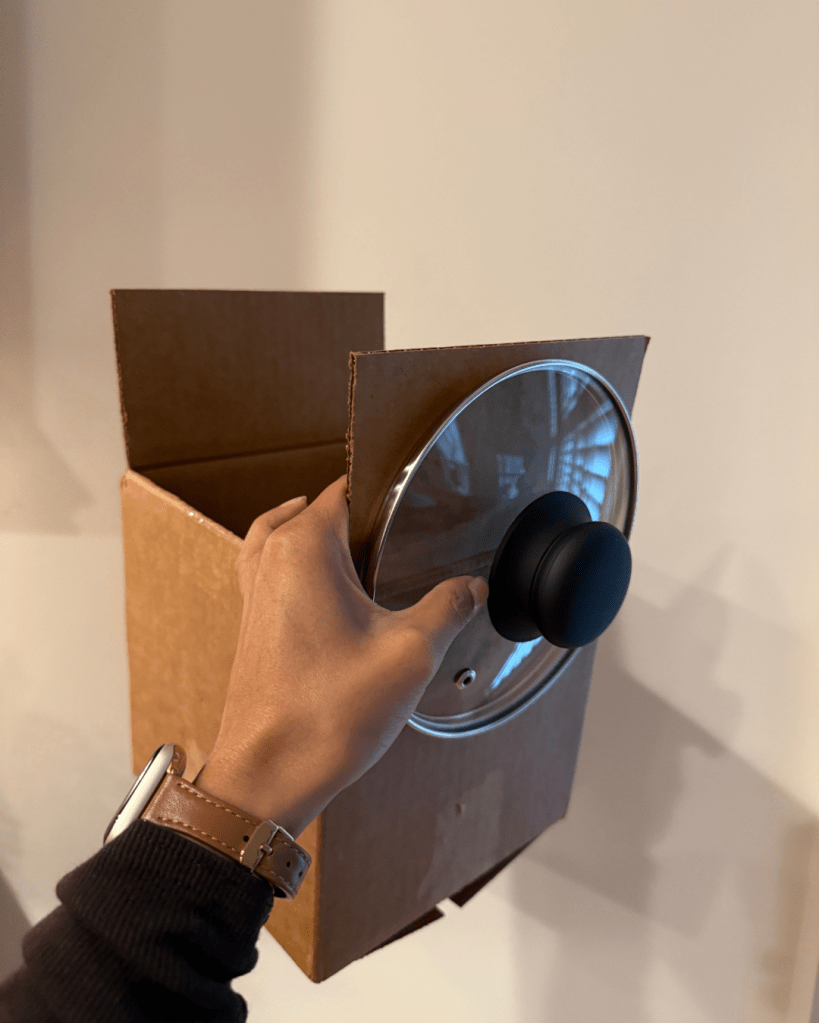
Creating the Curved Mailbox Shape
To get that classic mailbox look, I used a pot cover as a guide. I traced semi-circles onto the top of each side flap, then carefully cut them out.
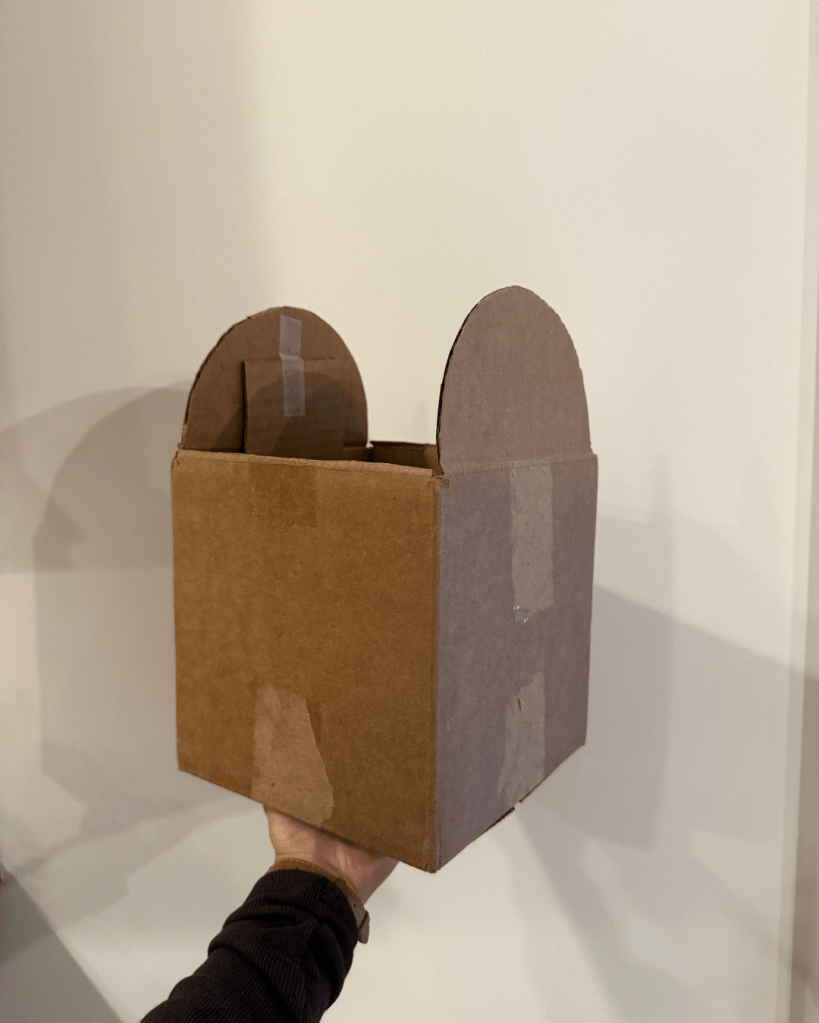
To help the cardboard bend smoothly, I scored the inside of the cardboard, which allowed me to create a gentle curve across the top flaps without cracking or tearing.
Adding the Letter Slot
Next, I cut a slit at the top of the box where letters to Santa could be dropped in. This instantly made it feel like a real mailbox and brought the whole idea together.
Reinforcing the Structure
To make sure everything stayed sturdy, I superglued supports to the flaps, then glued the scored cardboard securely to those flaps. This step was key for keeping the curved top in place and making the box durable enough for daily use throughout the season.
Painting the Box

Once the structure was complete, I painted the entire box—excluding the bottom—with two coats of red paint. The bright red instantly gave it a festive, North Pole–approved look.
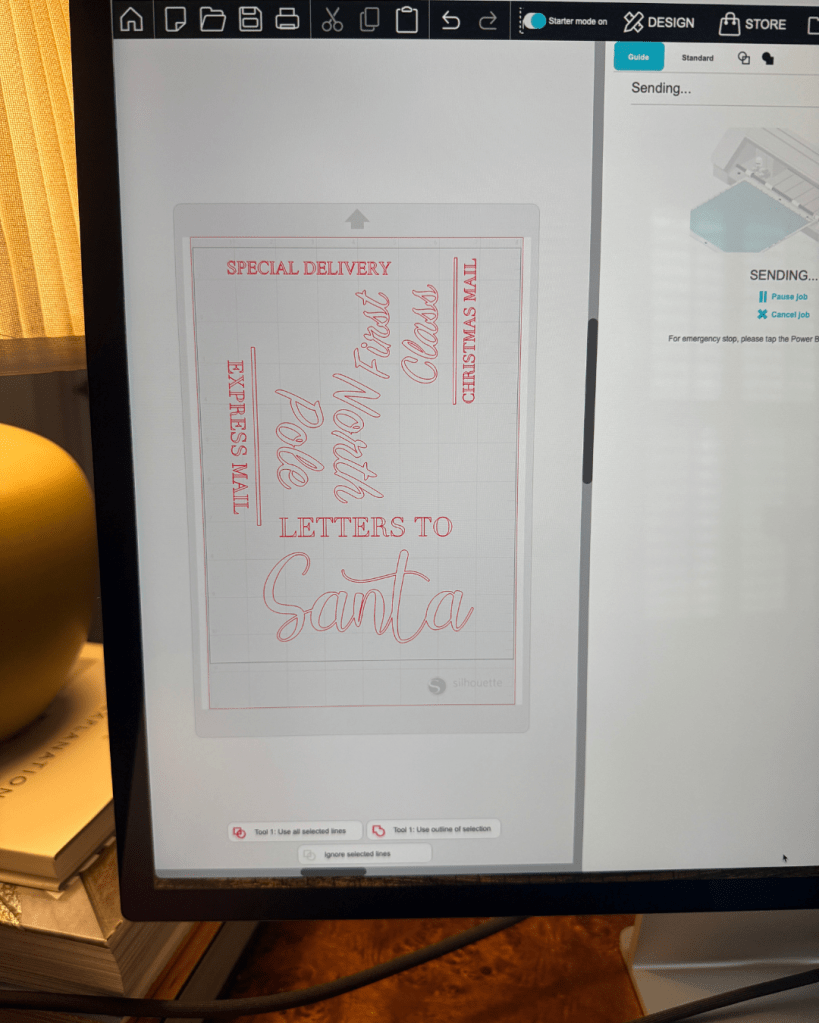
Adding Vinyl Details
For the finishing touches, I used my Silhouette machine to create custom vinyl stickers with festive phrases for the box. After weeding the designs, I carefully affixed them to the painted surface. This step really elevated the project and made it feel polished and intentional.
Final Festive Touch
To add a little extra charm, I lined the letter slit at the top with gold washi tape. It was a small detail, but it added just the right amount of sparkle and made the mailbox feel special.
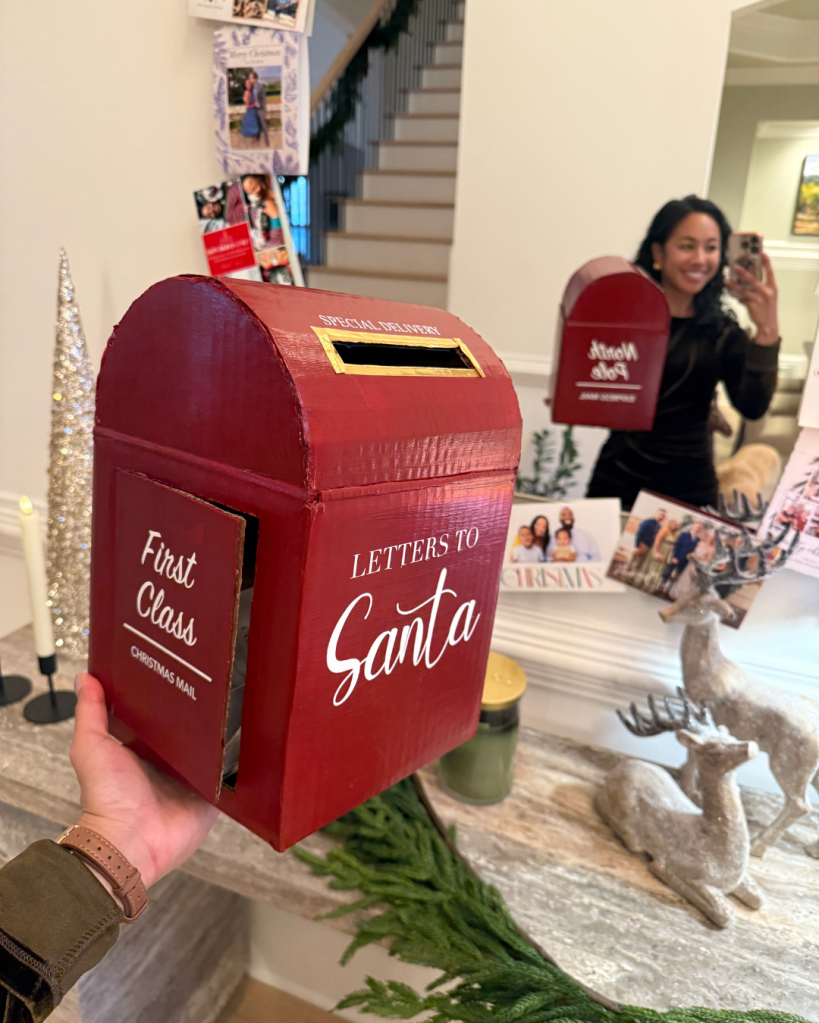
The Final Result
What started as a simple cardboard box turned into a magical Letters to Santa mailbox that’s both functional and festive. I love that it’s handmade, reusable, and filled with holiday spirit—and best of all, it’s ready to collect all those wish-filled letters straight to the North Pole.
If you’re looking for an easy holiday DIY that feels meaningful and creative, this project is definitely worth trying. 🎄✨


Leave a comment