
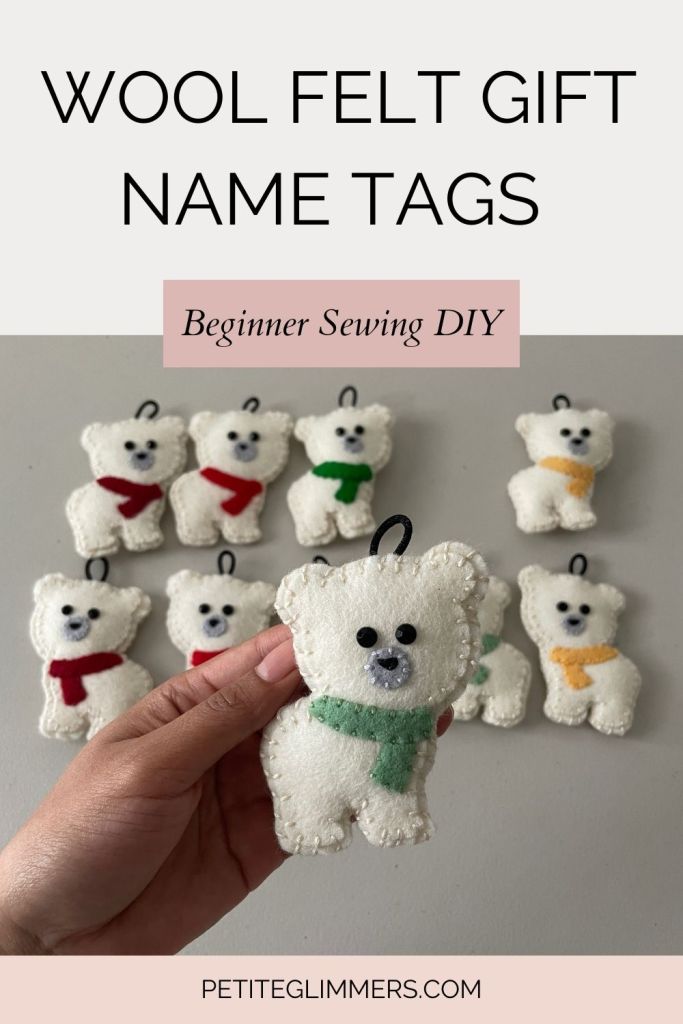
This year I created my very own heirloom wool felt advent calendar and I loved the ornament pieces so much that I decided to turn them into gift name tags for my family. I’m obsessed with how they turned out!

The process is similar to the advent calendar with a few changes. Here is a quick guide on how I created wool felt gift name tags:
Supplies:
- Printed Ornament Pattern
- 100% Wool Felt
- Off-White color – used for ornament base, “white” ornament details, and calendar
- Pine Green color
- Various colors (follow ornament pattern to choose colors)
- Embroidery floss
- Embroidery needle
- Scissors
- Iron-on vinyl
- Silhouette machine
- Iron
- Polyester filling
Steps:
The majority of the steps are listed in the ornament pattern guide, so I am going to keep my own instructions short and sweet!
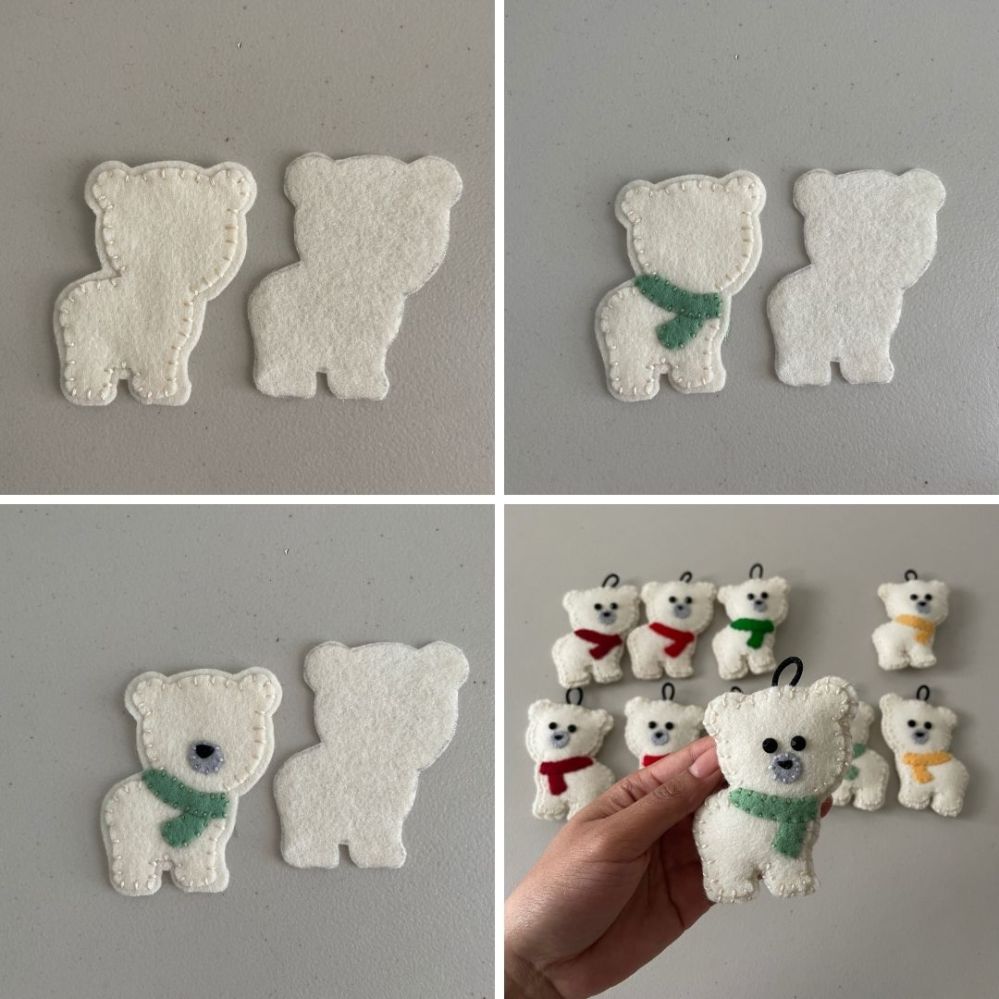
- Create ornament front following the pattern guide
- Cut pattern
- Trace onto wool felt
- Cut wool felt pieces
- Assemble front of ornaments using the wool felt, embroidery floss, and other items for details
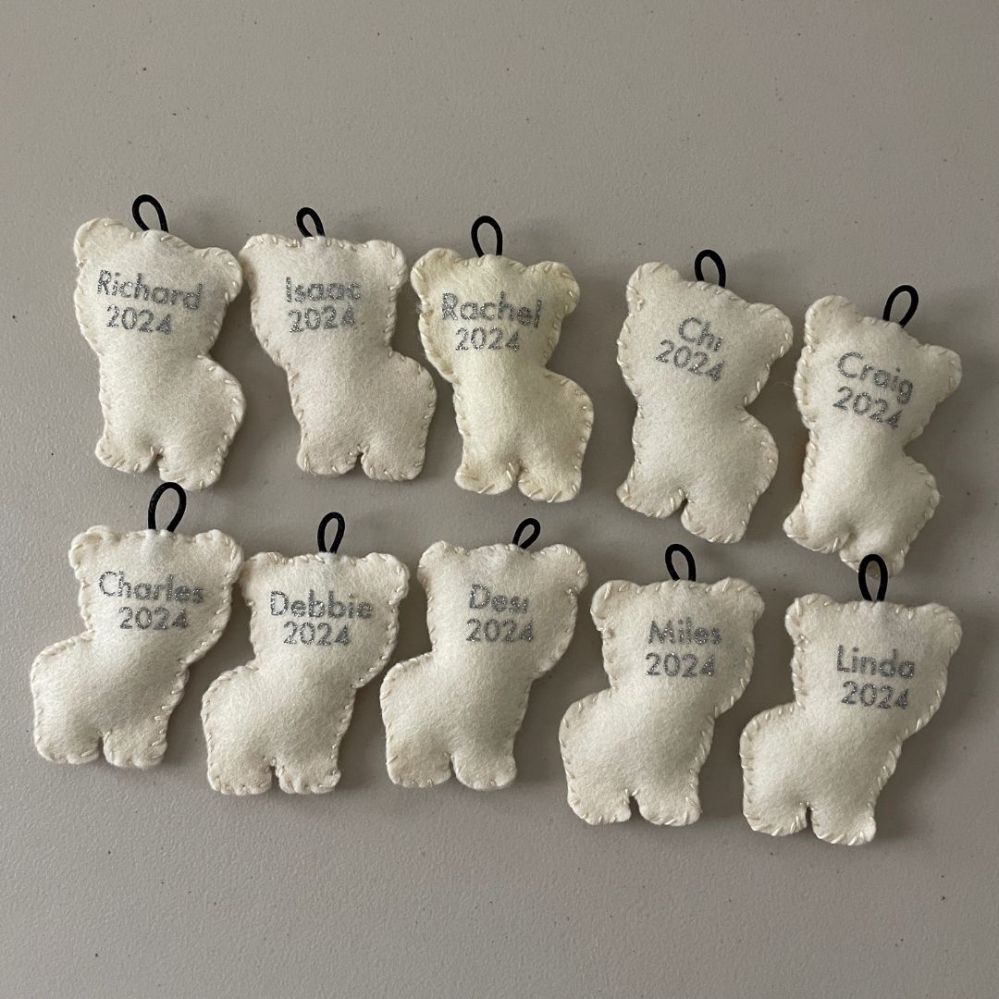
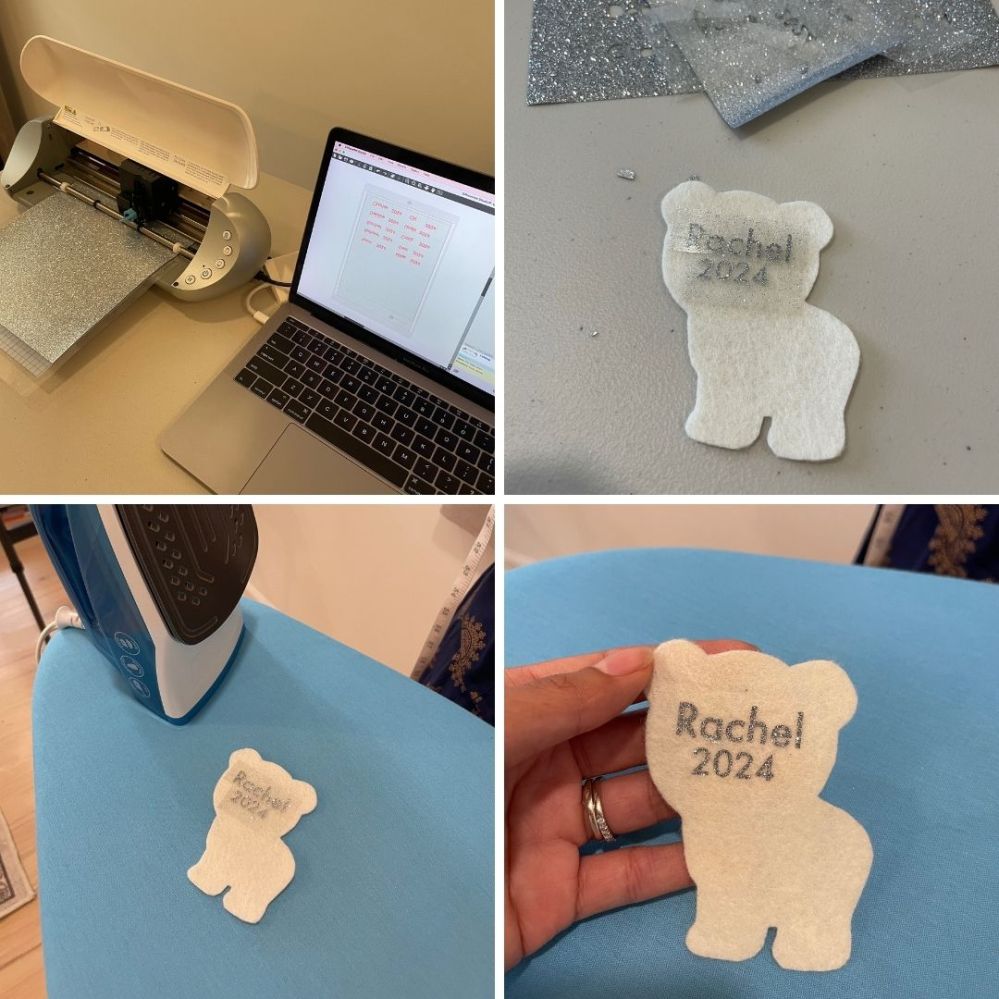
- Create custom name tag iron-on
- Measure the space on the ornament you want the name tag to appear
- Design your name tag style on your computer
- Send the design to the Silhouette machine to cut
- Weed away the vinyl you don’t want to appear on the ornament
- Assemble ornament gift tag
- Place custom iron-on on the back of the ornament and follow instructions to iron-on the ornament
- Hand sew the front of the ornament to the back leaving a 1” gap
- Fill the ornament with polyester
- Add ribbon loop
- Finish sewing the ornament closed


Leave a comment