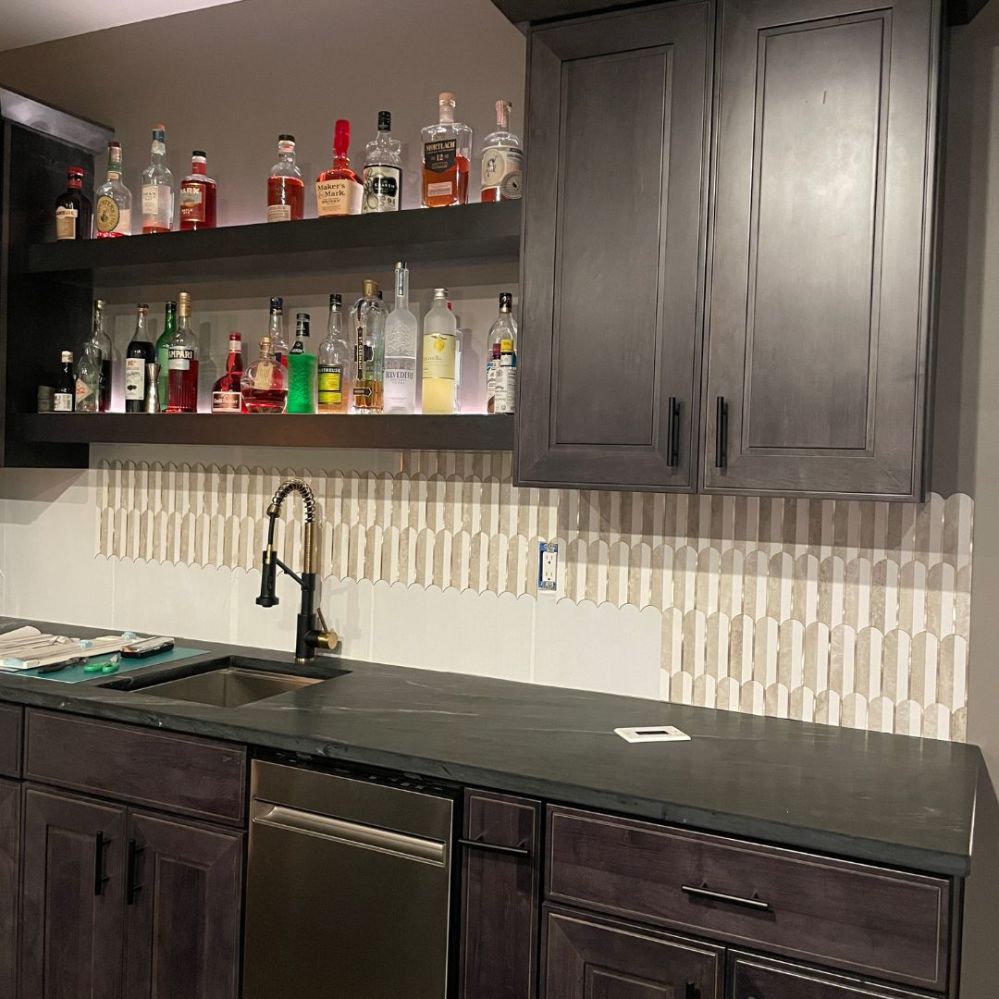
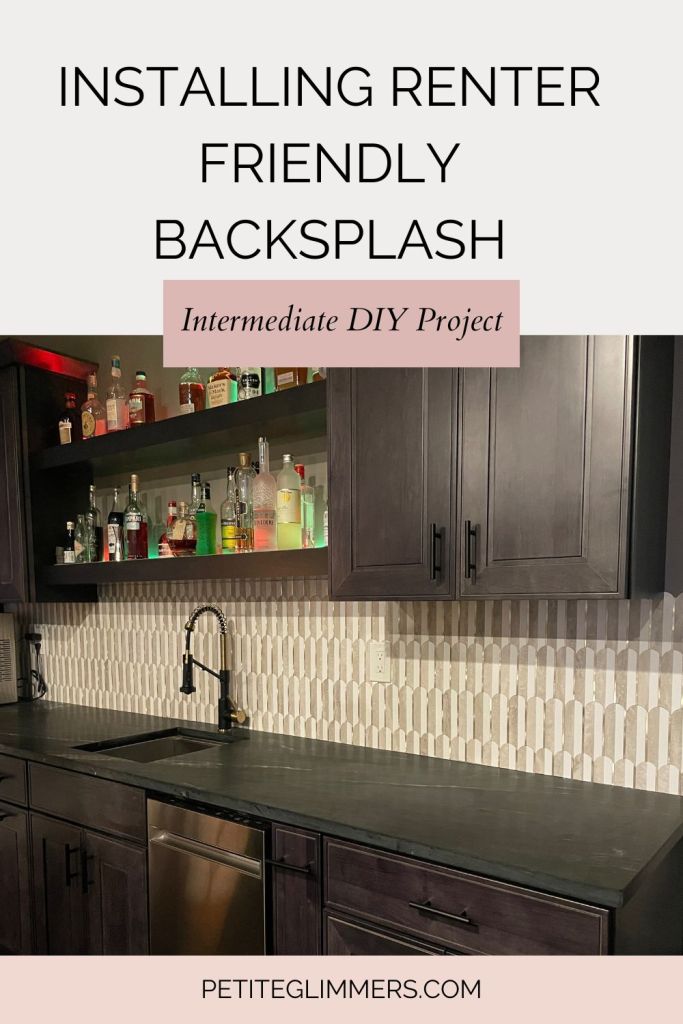
I finished my bar area in the basement roughly 1 year ago and I’m still undecided on the style backsplash I want above the counters. So I decided to put up a temporary backsplash until I am confident in moving forward with a permanent style (bc who knows how long that will take for me to decide lolz).


I’ve seen many “renter friendly peel and stick backsplash” posts, but the tile I found wasn’t necessarily “renter friendly” because the adhesive is extremely strong. There is zero way it will come off of the wall clean. Thankfully, I came across a fantastic idea to save my walls from being stripped of paint when I remove the peel and stick tiles with extra strong adhesive. The simple solution was applying contact paper to the wall before adding the peel and stick tiles!
Here’s a quick guide to setting up truly temporary peel and stick backsplash tiles that won’t ruin your walls upon removal:
This post includes affiliate links and if you click and make a purchase, I might earn a small commission (at no extra cost to you), which helps me keep creating and sharing projects like this.
Supplies
- Contact Paper
- Peel and Stick Backsplash
- Heavy Duty Utility Scissors
- Ruler
- Measuring Tape
- Pen/Pencil


Steps:
- Measure the area to be covered in tile
- Order appropriate amount of supplies based on measurements (note, you may need to order more depending on the tile design – rectangle styles have less waste)
- Measure, mark, and cut contact paper to size
- Peel contact paper backing and stick to wall
- Use a smoothing tool to remove any bubbles
- Repeat until area is fully covered with contact paper
- Measure, mark, and cut tile to
- Peel and stick to surface (contact paper)
- Repeat until area is fully covered with peel and stick tile
Tips:
- Always measure twice (maybe even two times) and cut once
- Rectangular tile patterns create little waste compared to complicated shapes (ex. The one I used lol round)
- Use a hair dryer or heat gun to loosen the adhesive upon removing the contact paper


Leave a comment