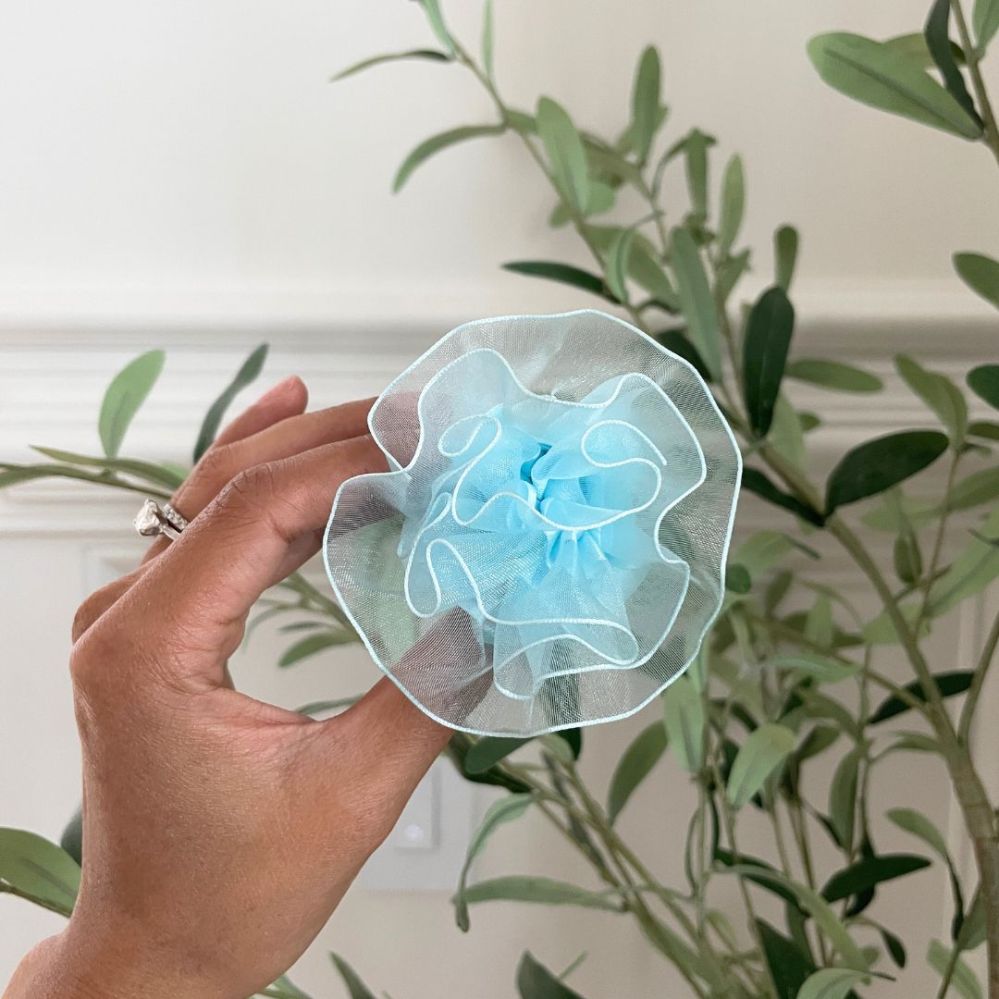
I recently shared a post on how to create this satin and organza rosette and today I’m showing you how to turn them into accessories!

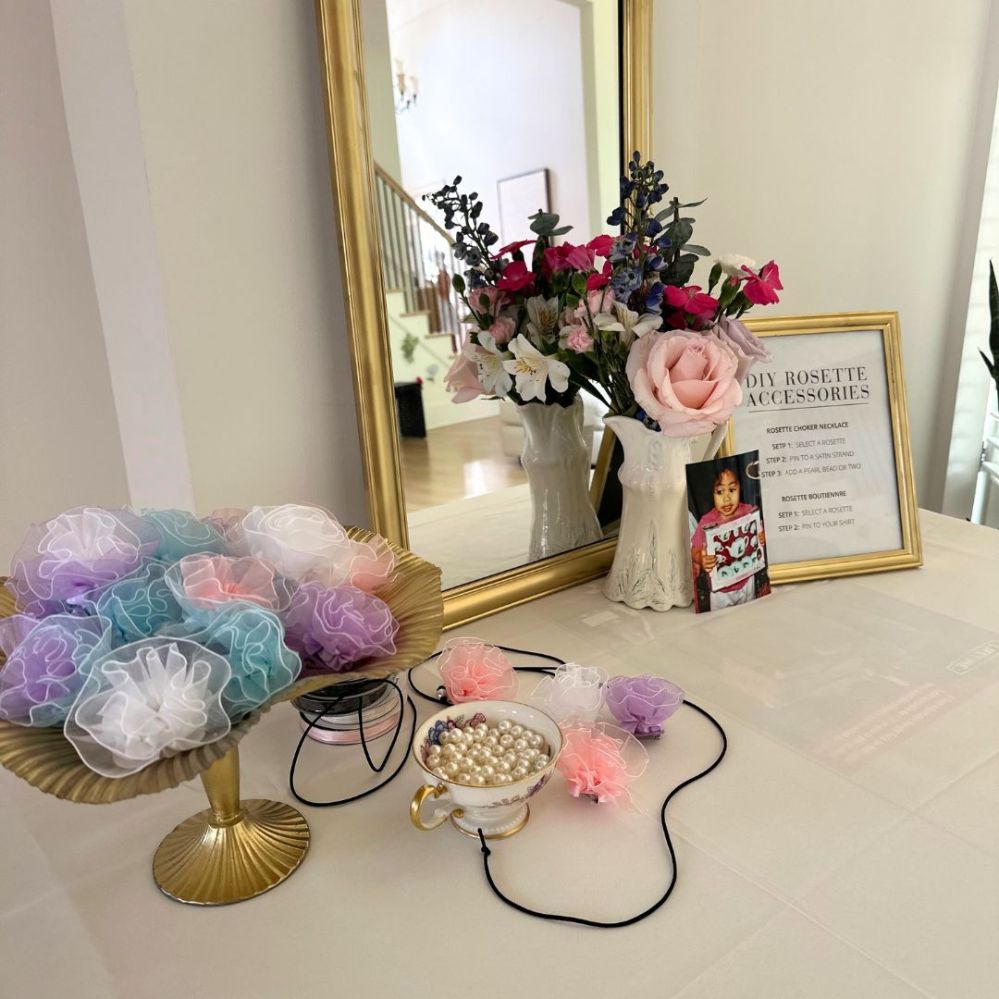
I originally created them for a DIY station at my birthday party. It was a fun and interactive way for my guests to get dressed up for the party theme.
Supplies:
- Trim
- Needle
- Thread
- Hot glue sticks
- Hot glue gun
- Crafting safety pins
- Felt
Additional Supplies for Choker necklace
- Round satin ribbon
- Pearl beads
Instructions
Complete steps 1-4 for a boutonniere. Complete all steps for a choker necklace.
- Create rosettes, you can find my tutorial on how to create a rosette here
- Cut out felt to use as backing
- Hot glue the felt backing to the bottom of the rosette
- Hot glue crafting safety pens to the felt
- Cut a 5ft long piece of round satin ribbon (or your preferred length)
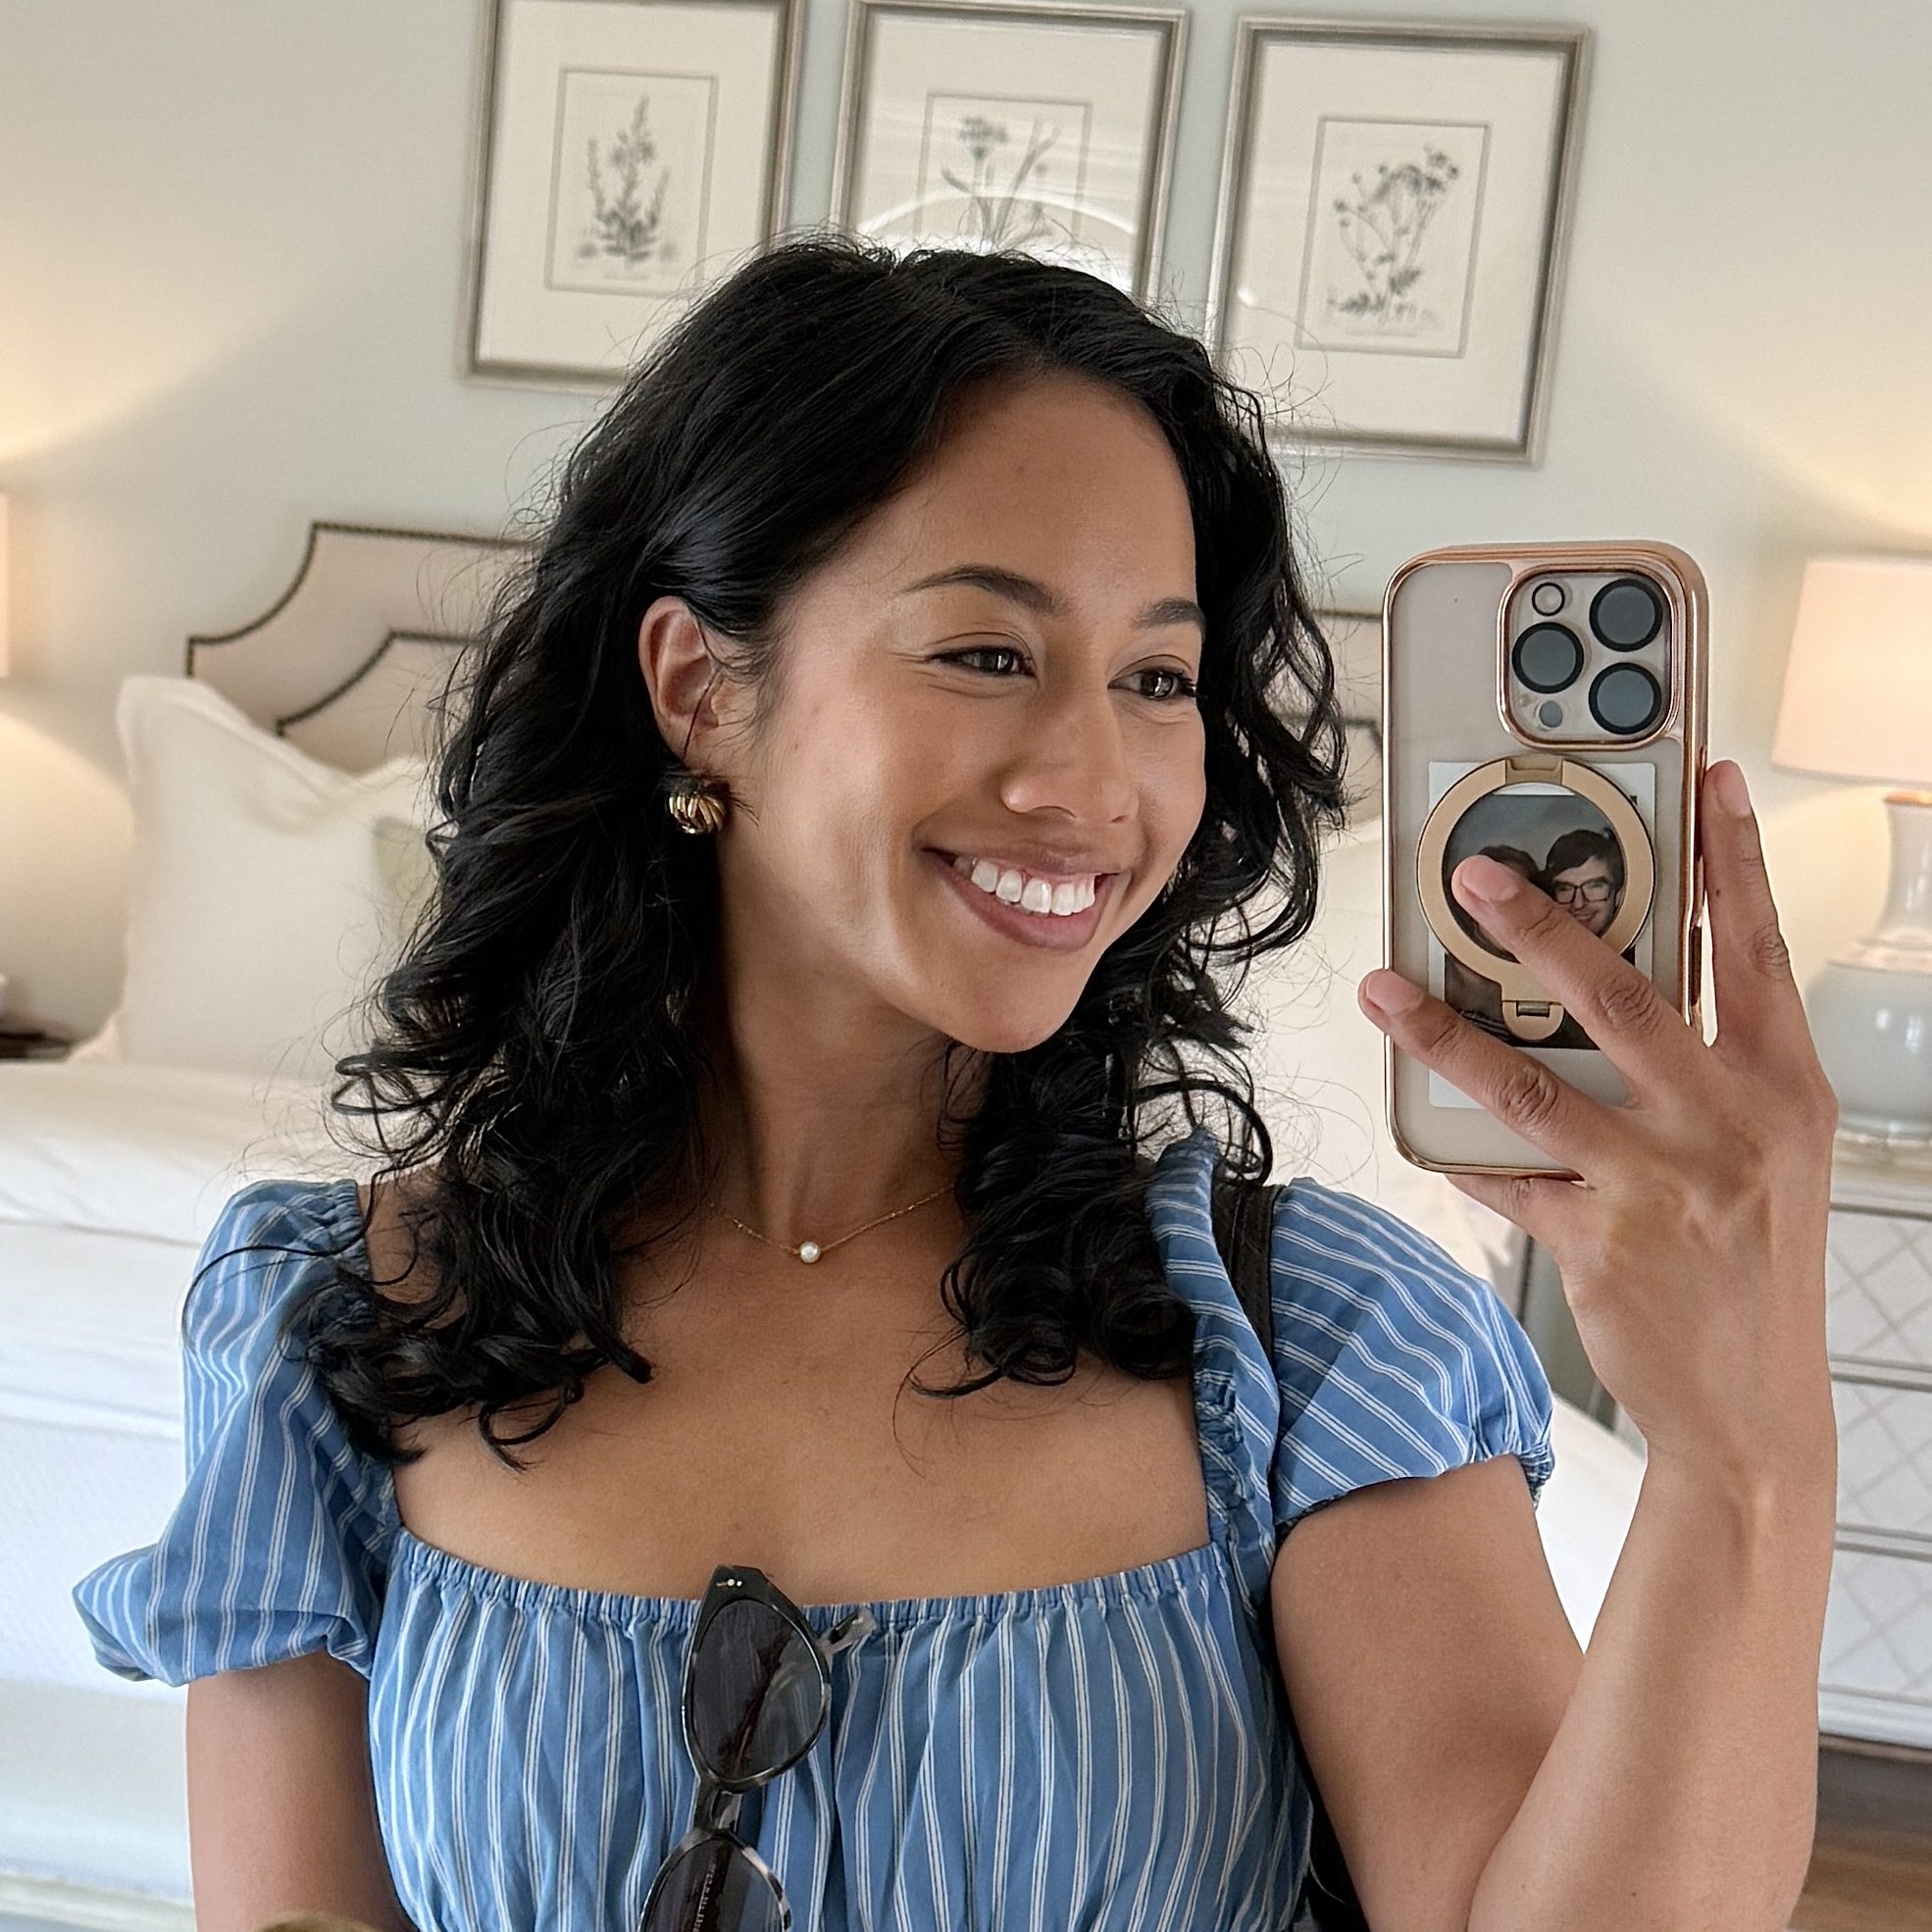
- Loosely wrap around your neck and while looking in the mirror, hold the rosette to your preferred placement
- Remove the ribbon and pin the rosette to the spot you found as your preferred placement
- Add pearl beads (amount is up to you!) and tie the ends of the ribbon
Tips:
- I purchased felt in the color that matched the trim. For two-toned rosettes, I tried to used the felt that matched the outer edge of the rosette
- Feel free to swap out pearl beads for another type
- Use various trims to create rosettes with more texture


Leave a comment