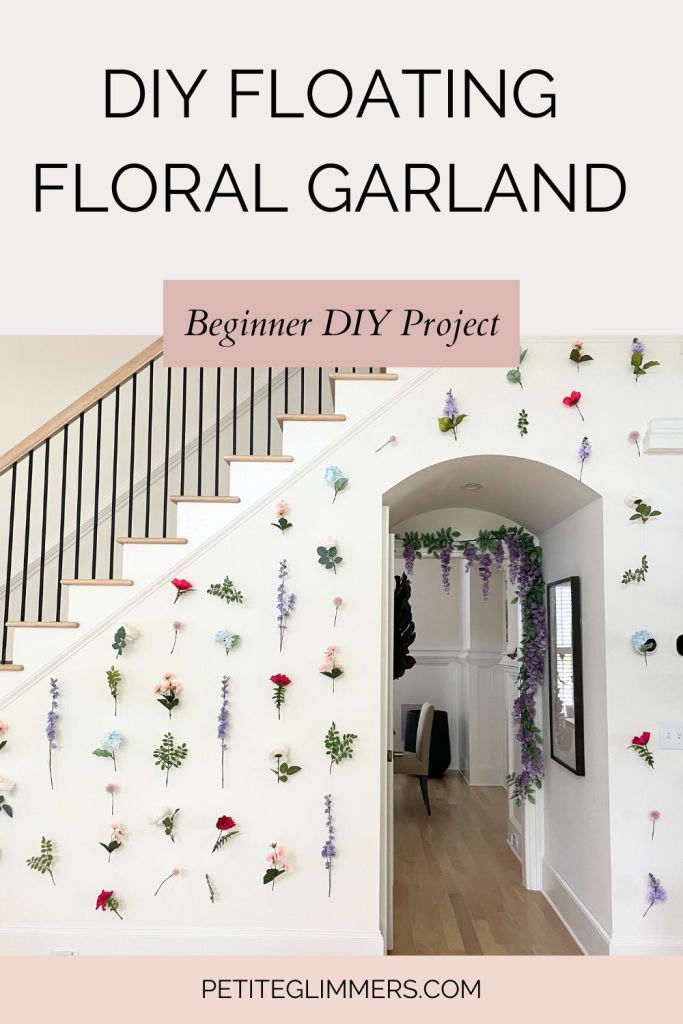
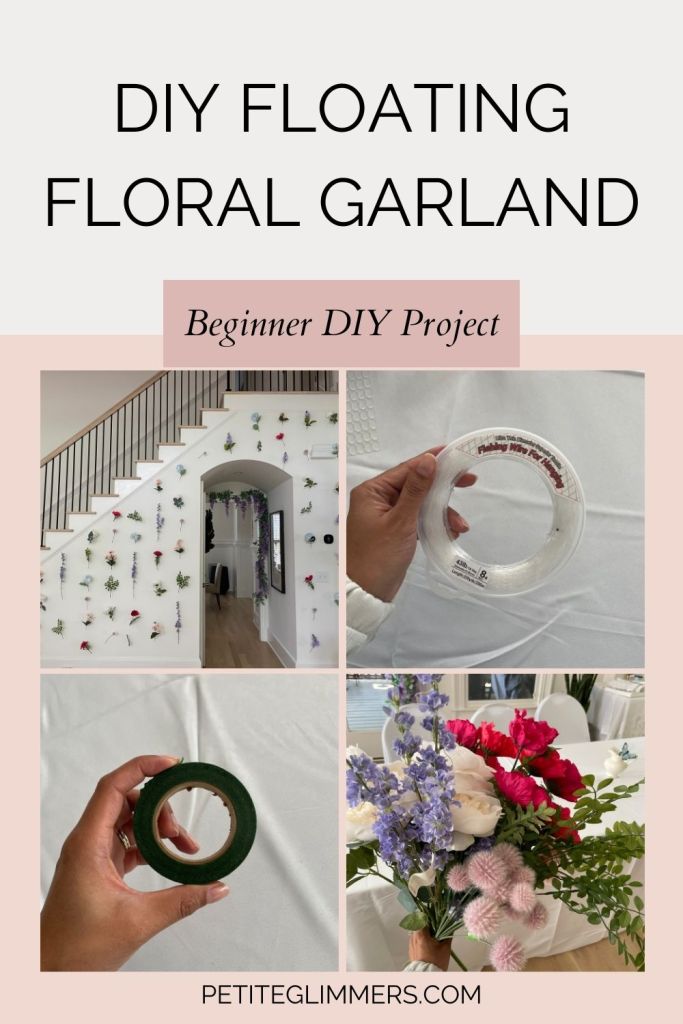
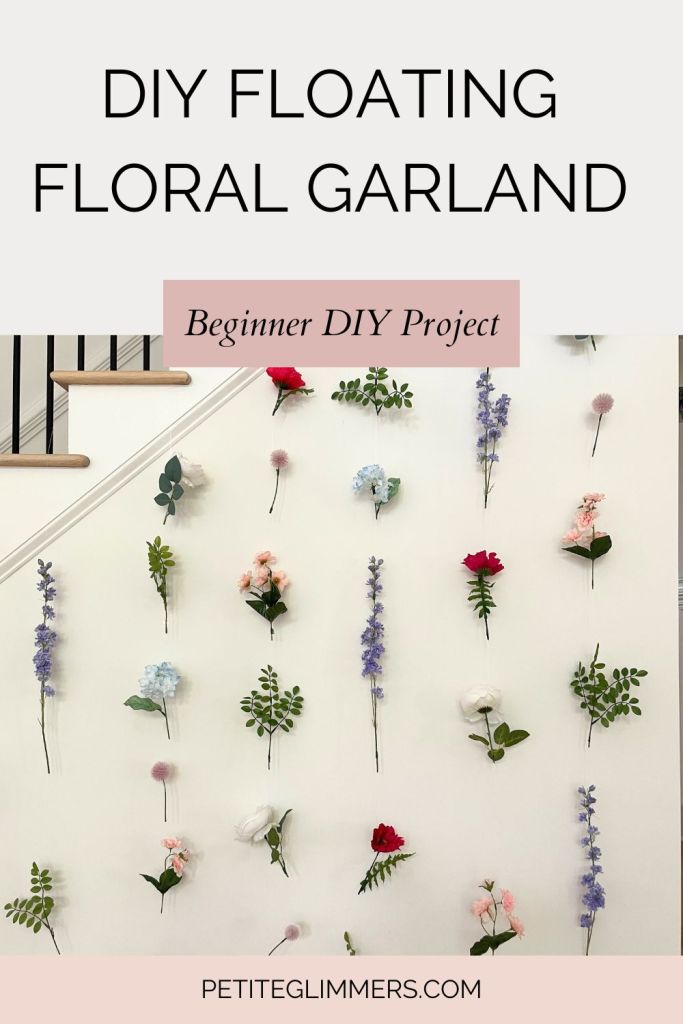
For my birthday party, I wanted to create a whimsical floral wall as a backdrop for photo opps. I’ve seen a lot of tutorials that recommended sewing the flowers to a fishing line and using hot glue to hold the flowers in place, but that didn’t work for me since I hung the fishing line before adding flowers – I didn’t have time for the hot glue to dry. Granted, I could have created the garland first and then hung it to the staircase second . . . but I didn’t want to take the time to measure the length of each individual garland that would align perfectly with the staircase.

Instead, I opted for using floral tape so I didn’t have to wait before moving to the next flower. The floral tape is a tiny bit more visible than hot glue, but it blends in pretty well since the stem is green. So without further ado, here is how I made my floating floral garland!

Floating Garland Supplies:
- Wire cutters
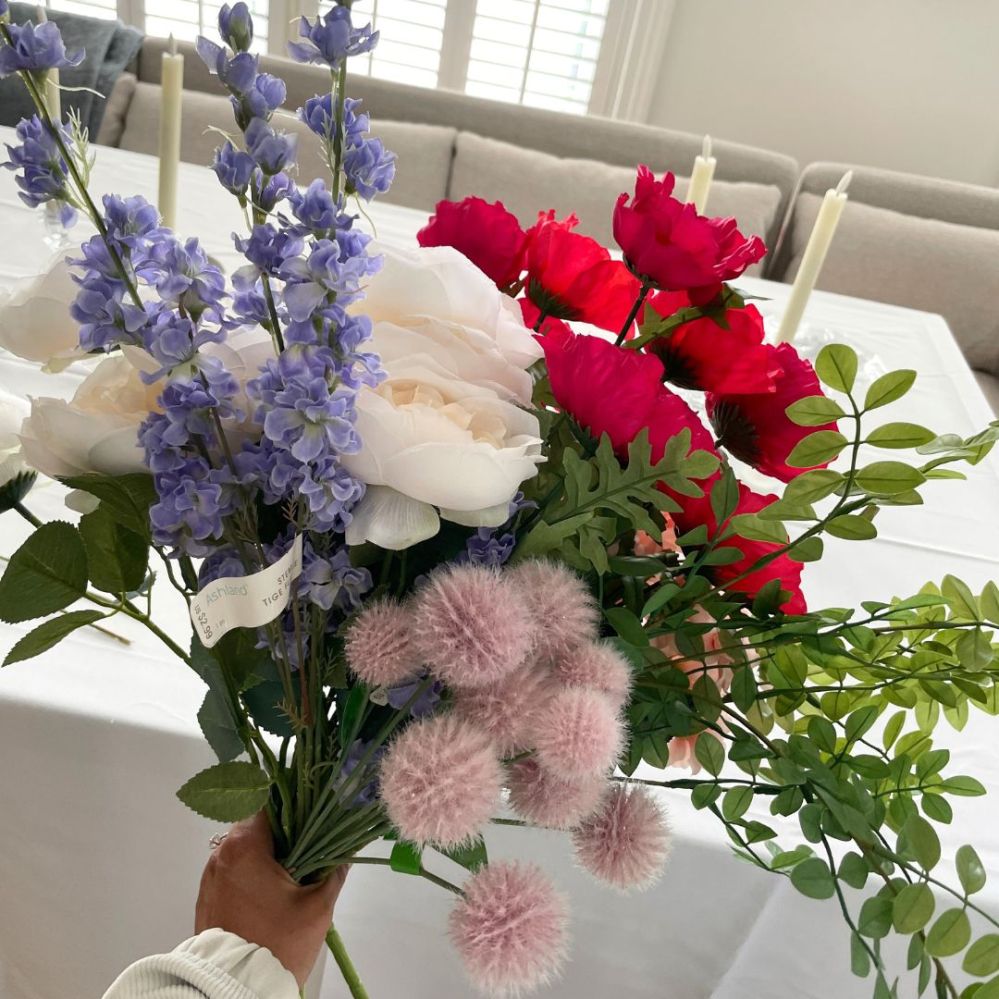
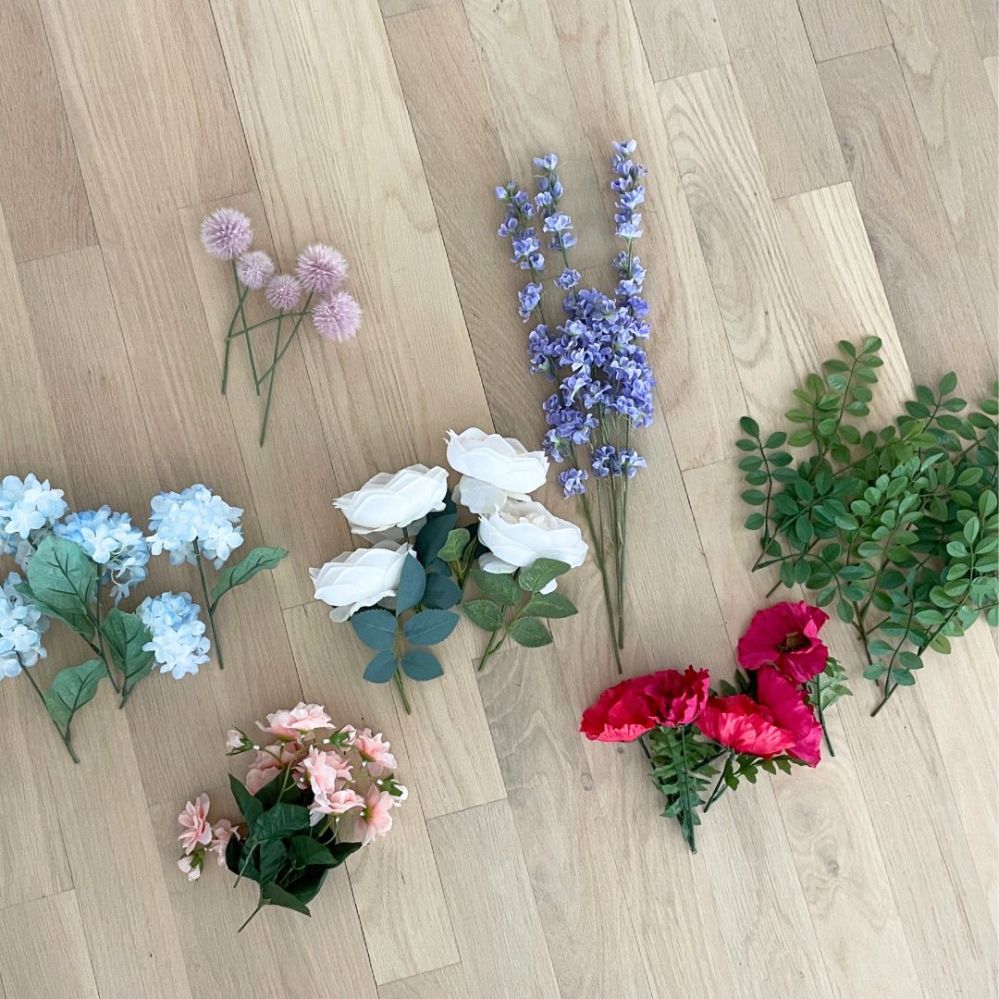
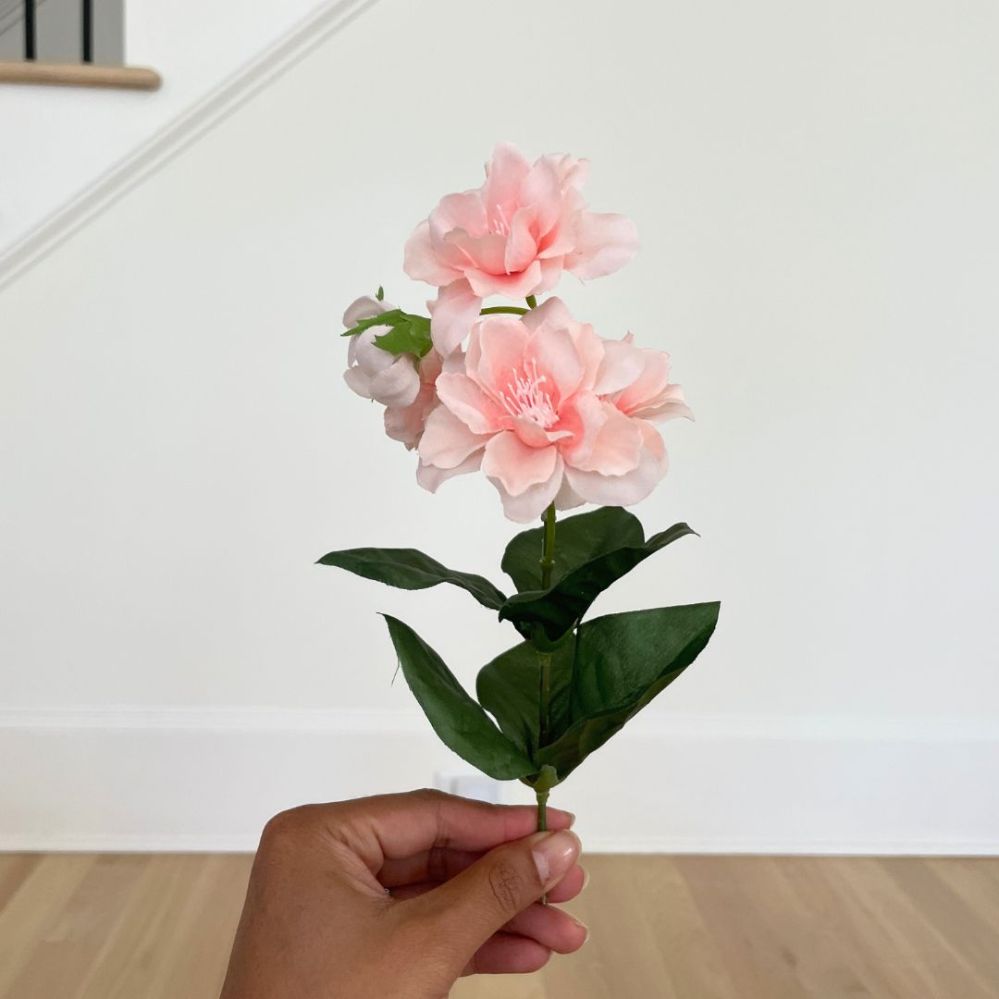
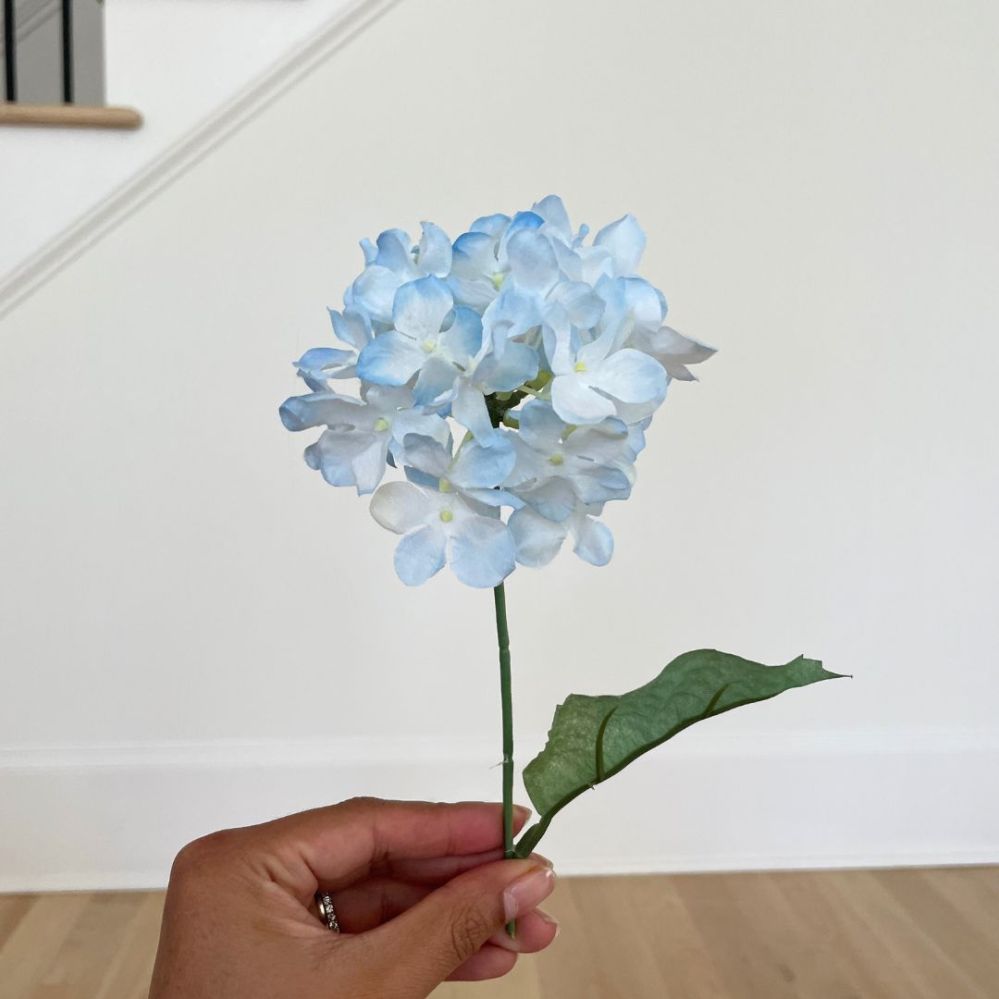
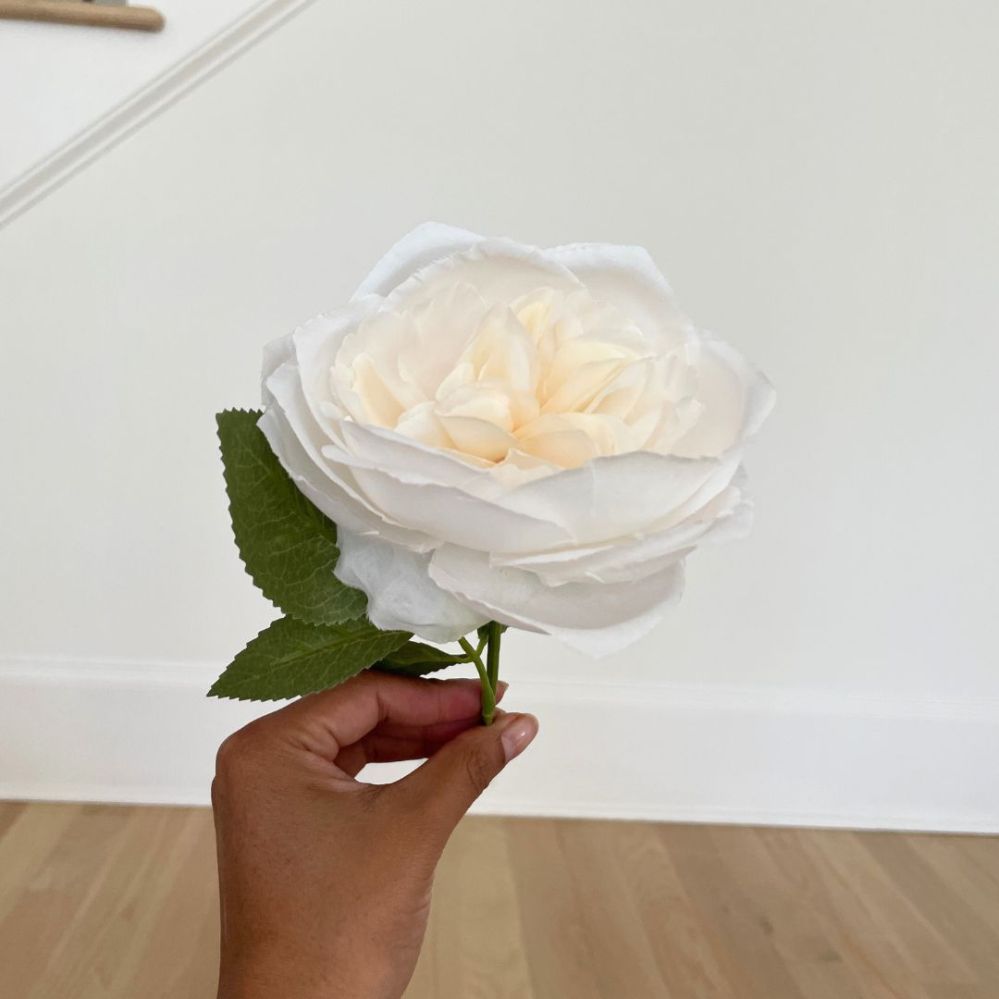
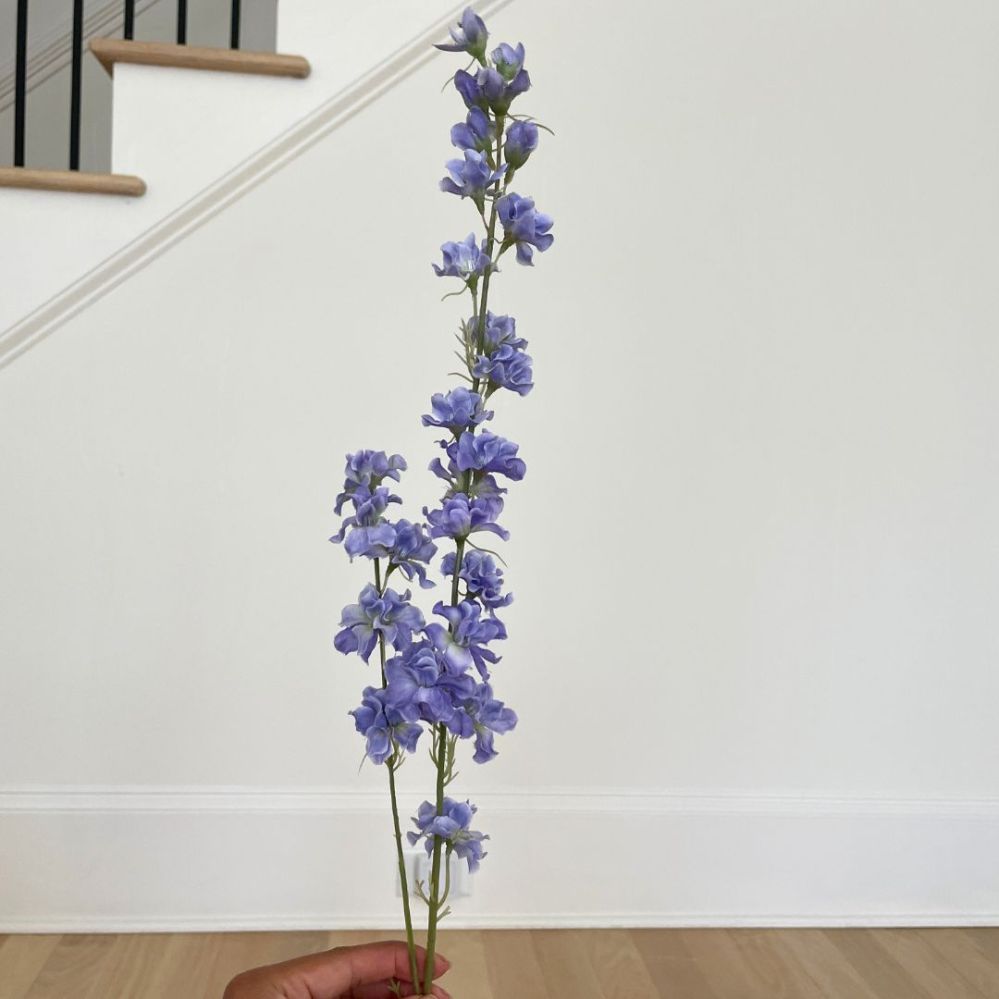
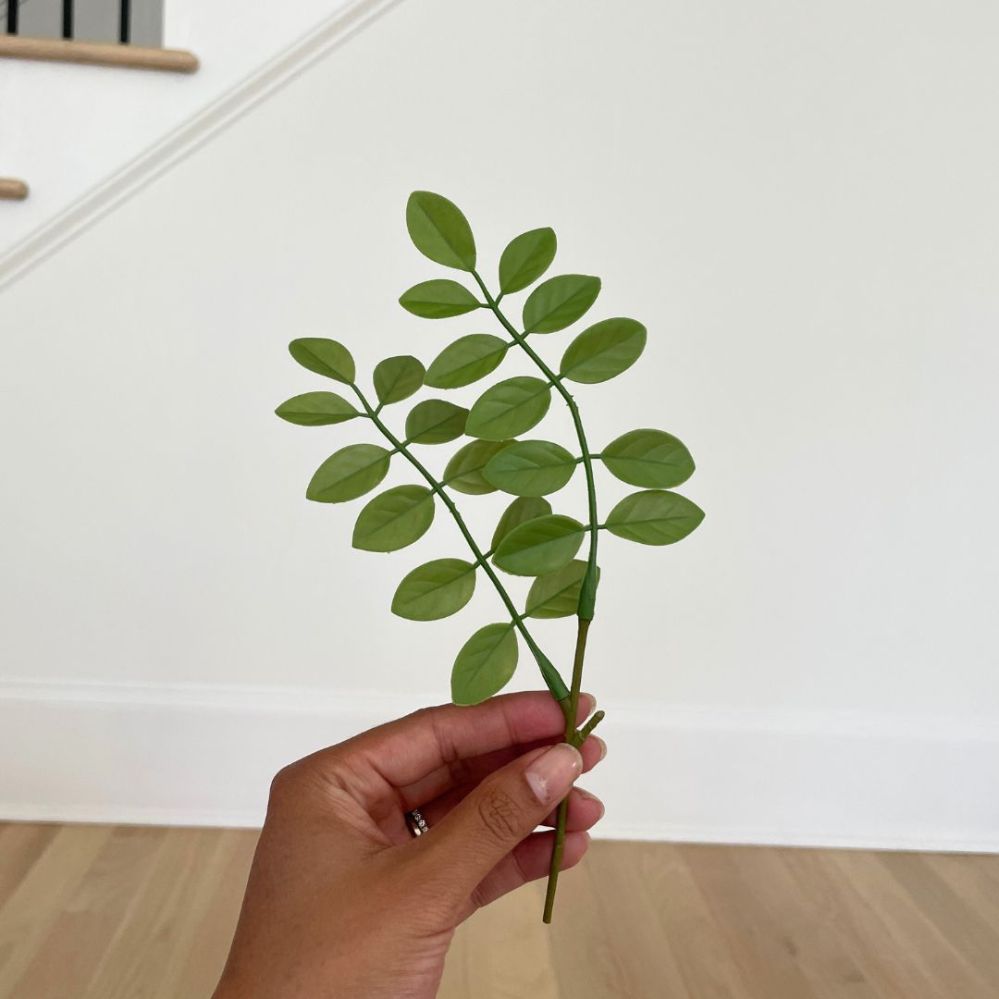
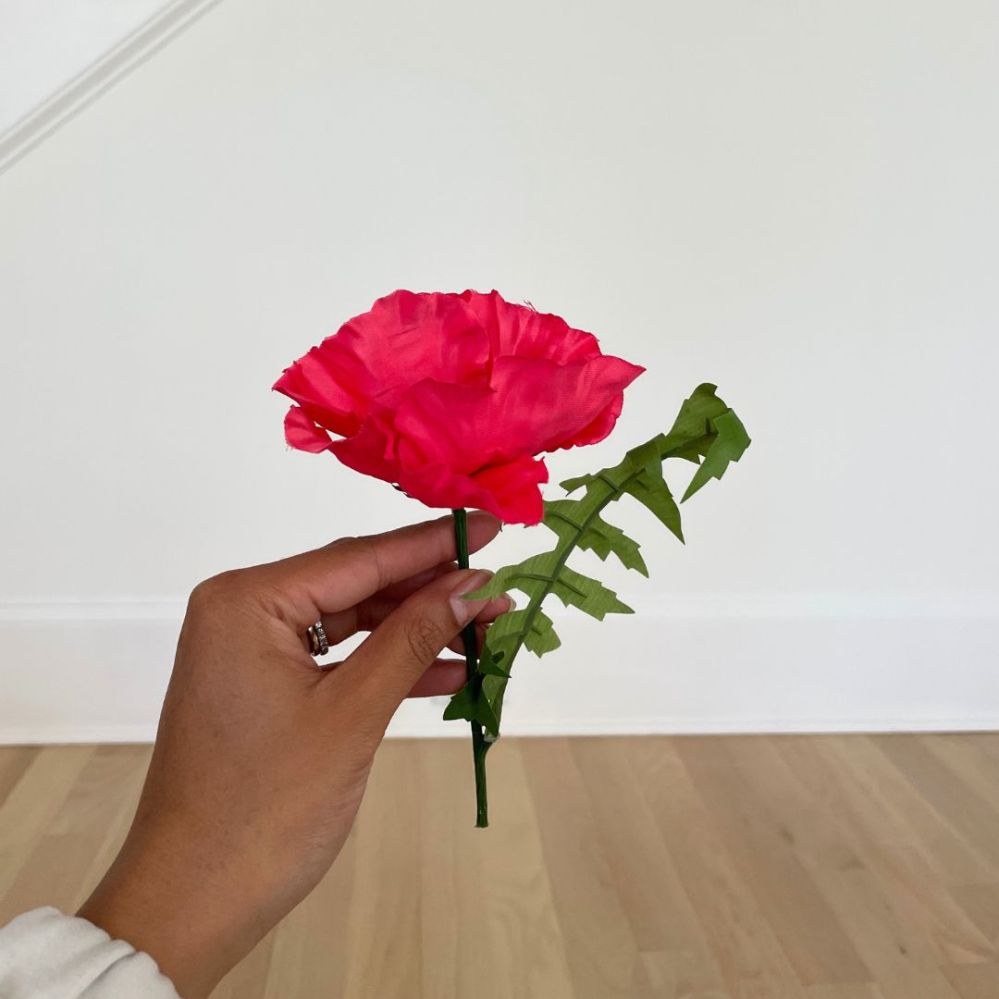
- Various faux floral stems
- Fishing line
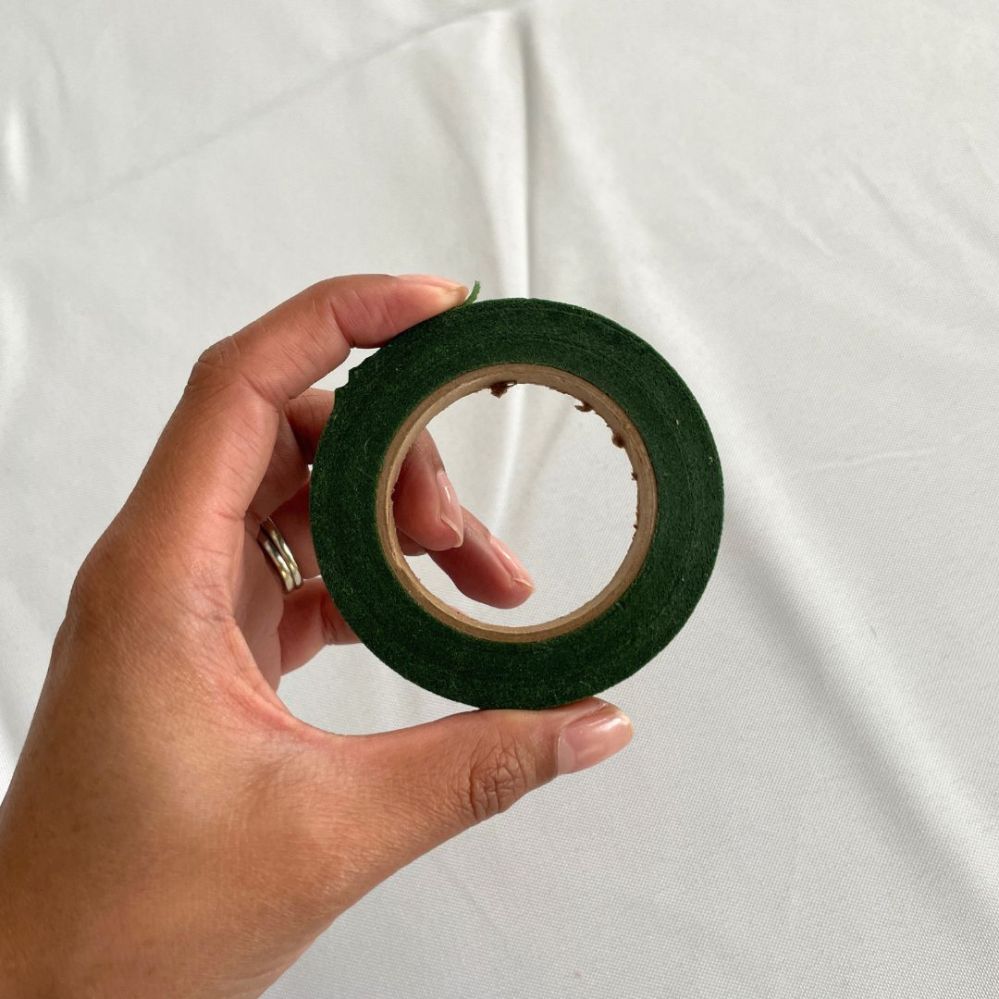
- Floral tape

Floating Garland Steps
- Hang the fishing line from your preferred location. I decided to use my staircase, so I simply tied the fishing line on the posts.
- Cut the faux floral stems to your desired length. Mine were about 6-8”long depending on the style.
- Tie the flower to the fishing line using floral tape. Tape at the top and bottom of the stem.
- Repeat until you complete the line.
Quick video tutorial
Floral Garland Tips
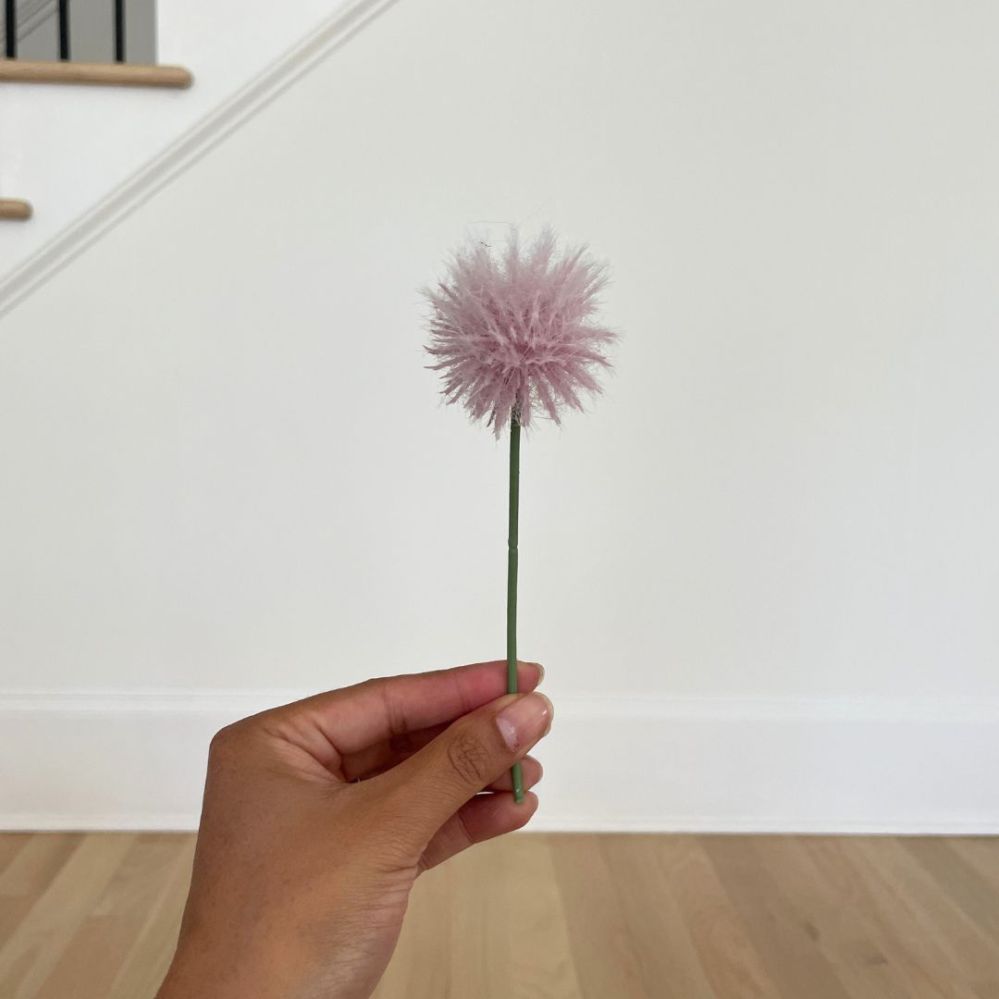
- Use various styles of flowers and foliage. I used some flowers with a large bloom while others are elongated with tiny blooms.
- Stick to a color color palette to keep everything cohesive. You can still keep the garland interesting by using various flowers in a colorway that matches your palette.
- To keep the wall organic-looking, stagger thw flowers so they do not create a grid shape along the entire wall.


Leave a comment