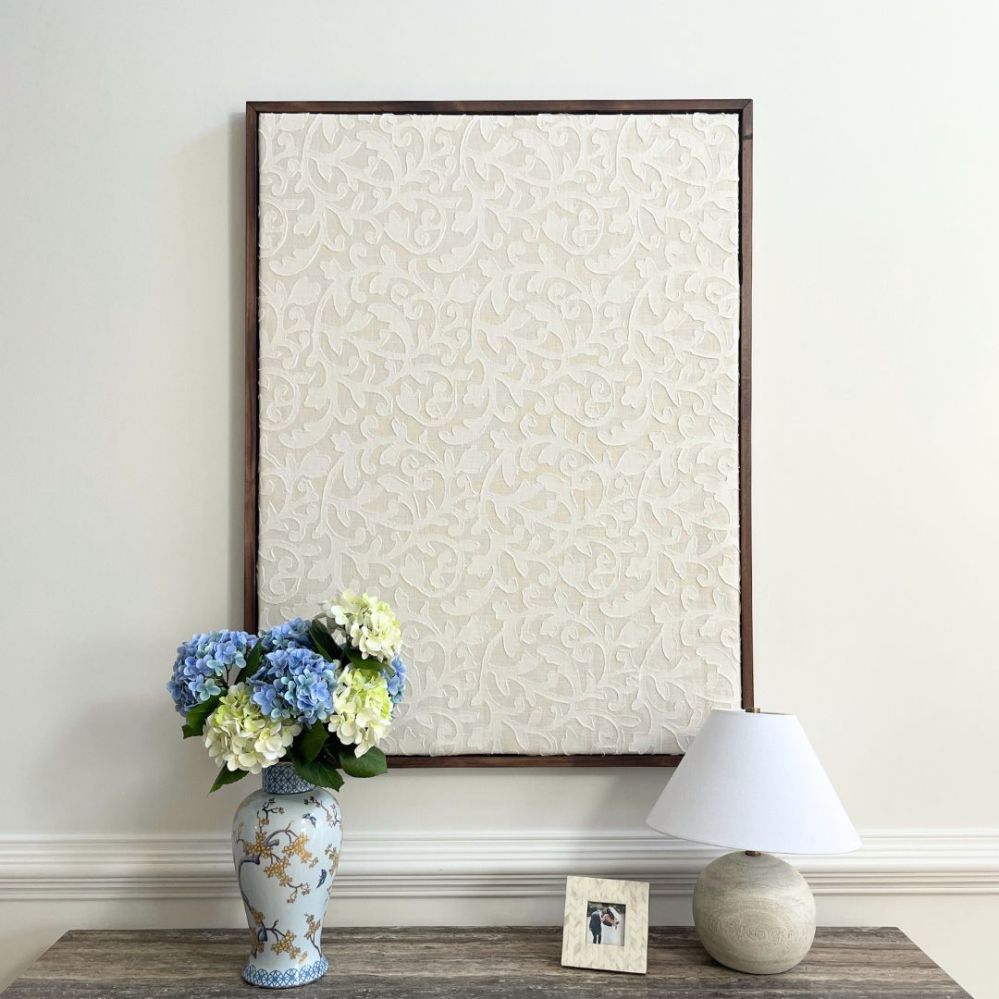
I recently created this Oversized Wall Art with just a 36”x48” canvas and fabric. I thought the piece itself was beautiful, but the space needed a little bit more color. So I challenged myself to create my very own floating frame. These usually retail for $150+ depending on the type you get. It costs $250+ to have it professionally done. This project ended up being around $25 for me to make on my own!
So without further ado, here is my guide to how to create your own oversized floating frame.
Supplies:
- 2 1”x2” 8ft Pine Board
- U Hooks (only used the bar, not the U hook or nut)
- Gorilla glue
- Wood Stain
- Polyurethane
- Sanding sponge 220 grit
- Screws
- Sawtooth Hanger
Tools:
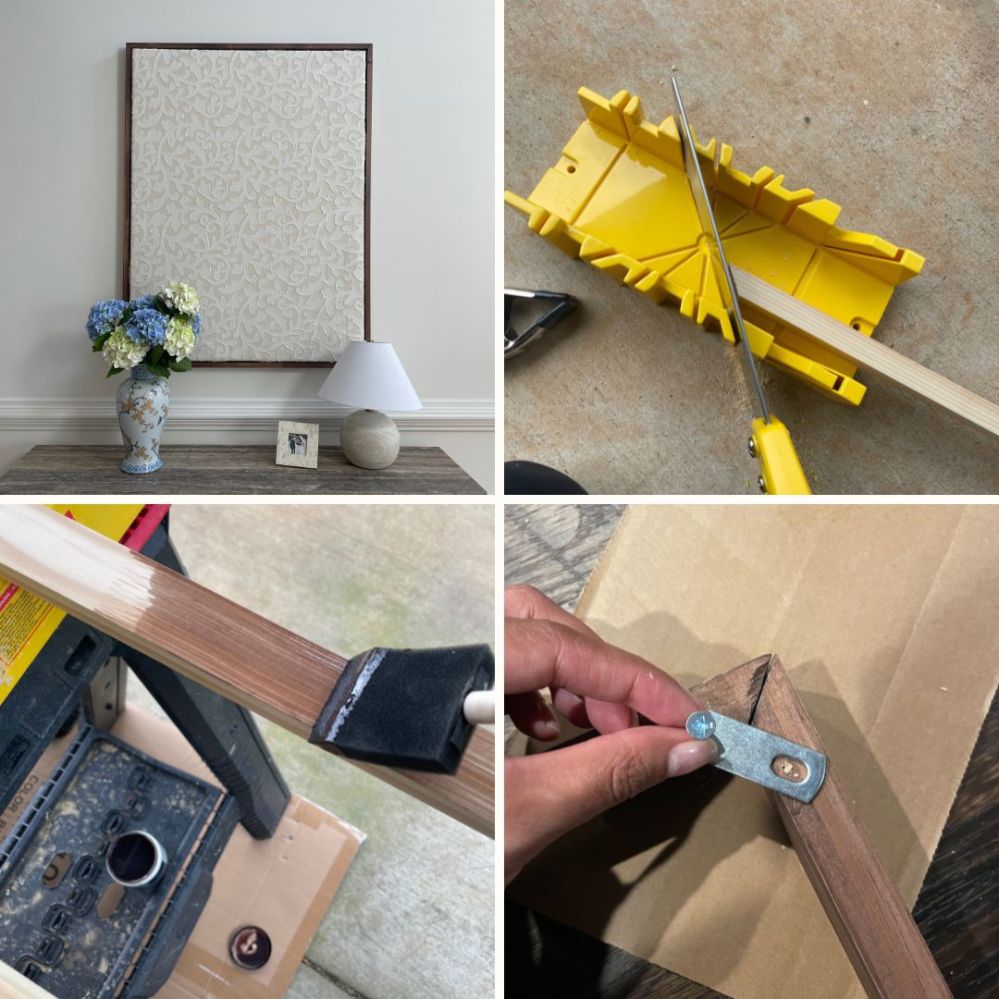
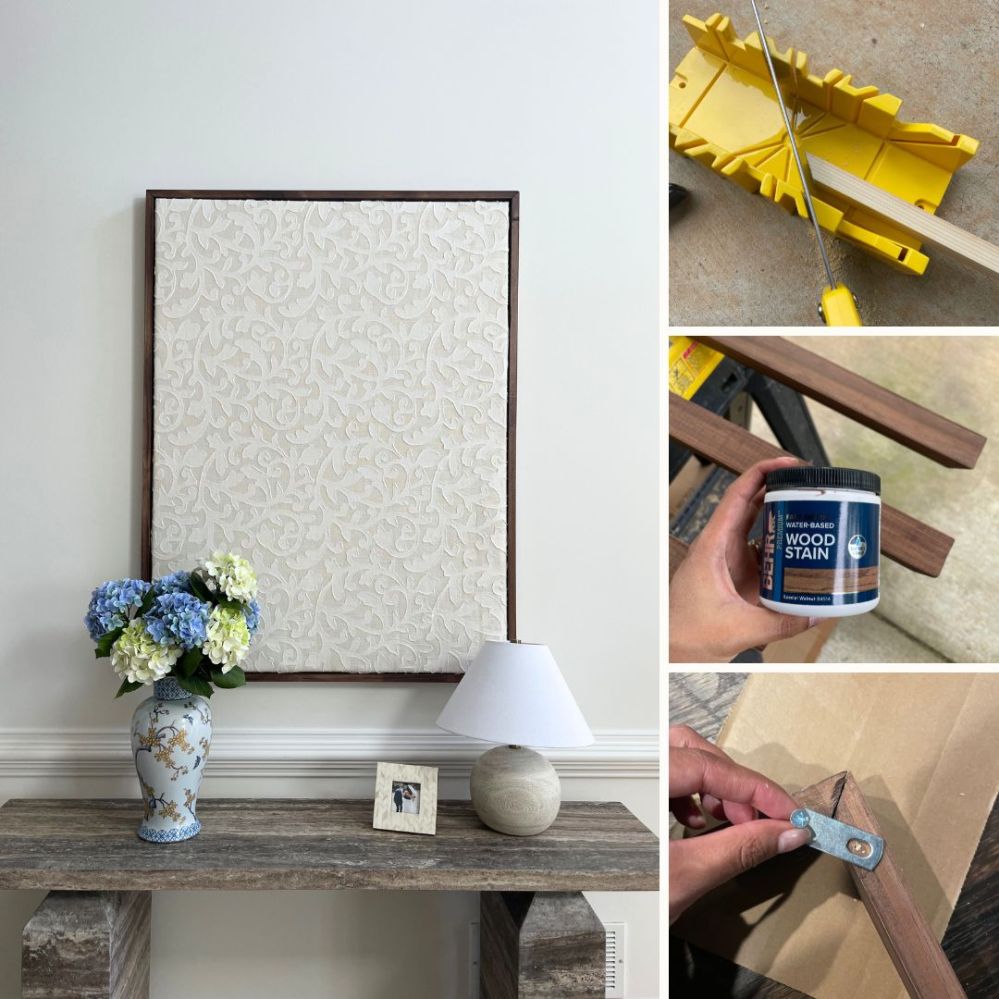
- Miter Box and Saw
- Drill
Steps
- Mark the length and width on the pine
- Using the miter box and saw, cut the pine at a 45 degree angle. Repeat 8 times for all sides of the frame
- Sand the 4 pieces to smooth all edges, especially around the freshly cut areas
- Apply the stain of your choice to the wood and let dry
- Treat the wood with polyurethane and let dry
- Apply glue to the inside pieces or one corner and screw in the plate from the U hook
- Repeat for all 4 corners
- Add sawtooth mount to the center of frame
- Let dry overnight
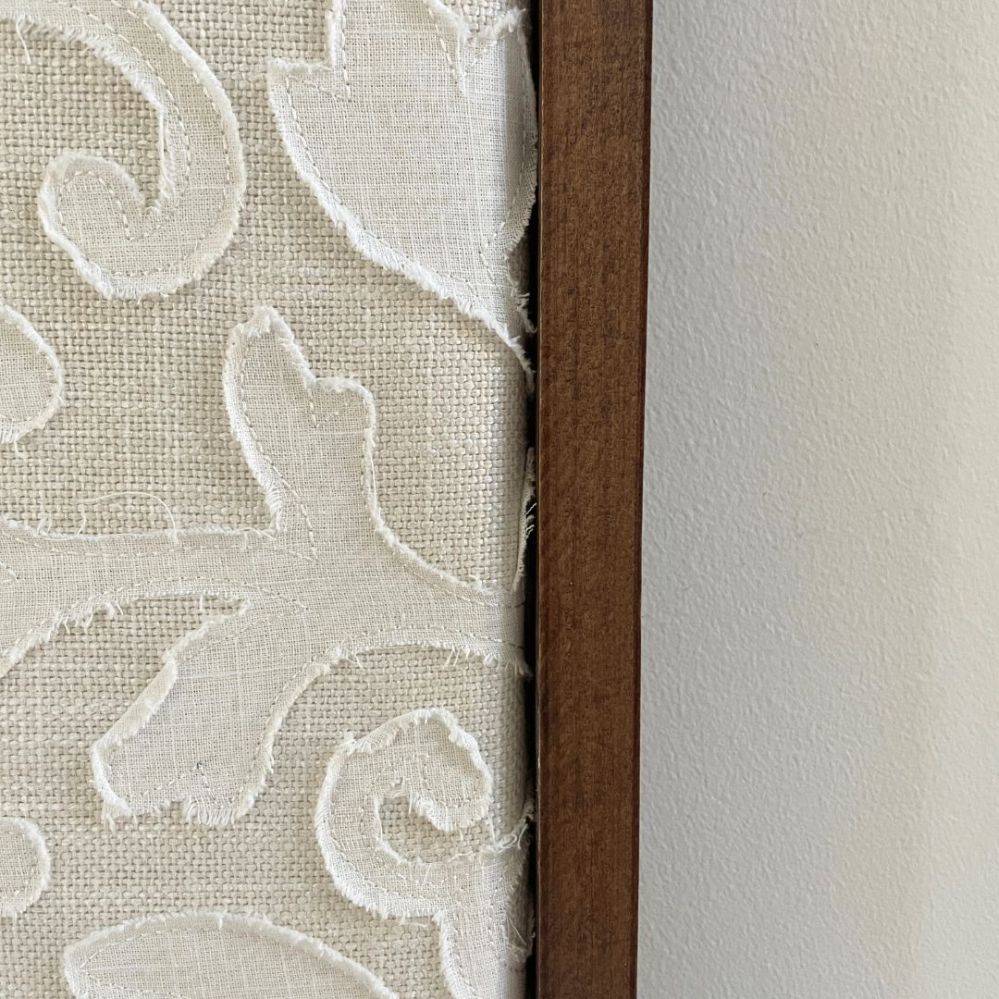
- Place the canvas inside of the frame
- Drill 2 nails from the inside of the canvas into the leg of the frame
- Repeat for 3 other sides
- Admire!
I LOVE how this piece looks in my entryway. Again, the wall art alone was beautiful, but the frame really helped elevate the overall look and bring everything together.


Leave a comment