
Yay, my first shirring project! I’ve been wanting to learn how to shirr for a while because I think it’s a great skill to have and a lot of the clothing that I already have feature a shirred back or panel. I think this feature makes the clothing more fitted and forgiving.
Steps to make a Shirred Tank Top
- Measure the length of the fabric and mark on your fabric
- For the width, use twice the measurement of your bust
- Cut out the fabric
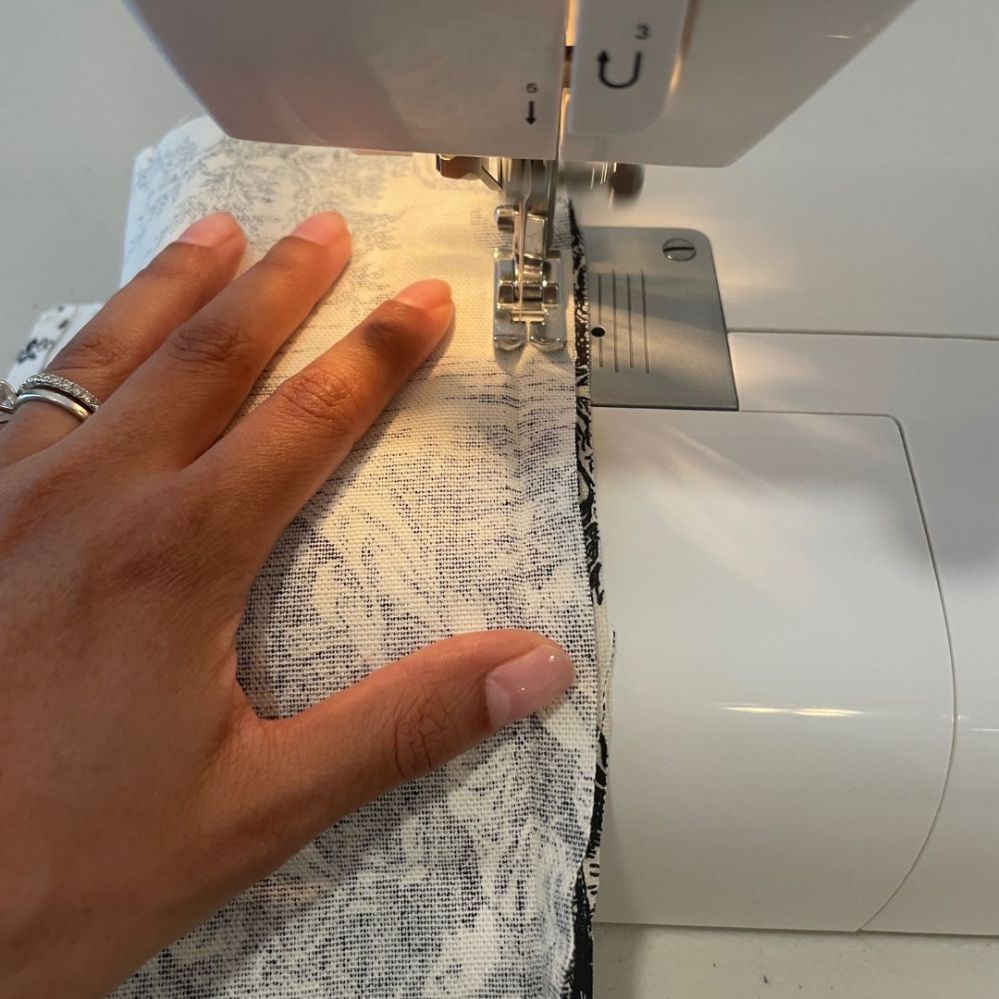
- Hem the top and bottom
- Shirr the body of the top from your preferred starting and ending point
- Sew a french seam to secure the sides (stop here if you want a tube top!)
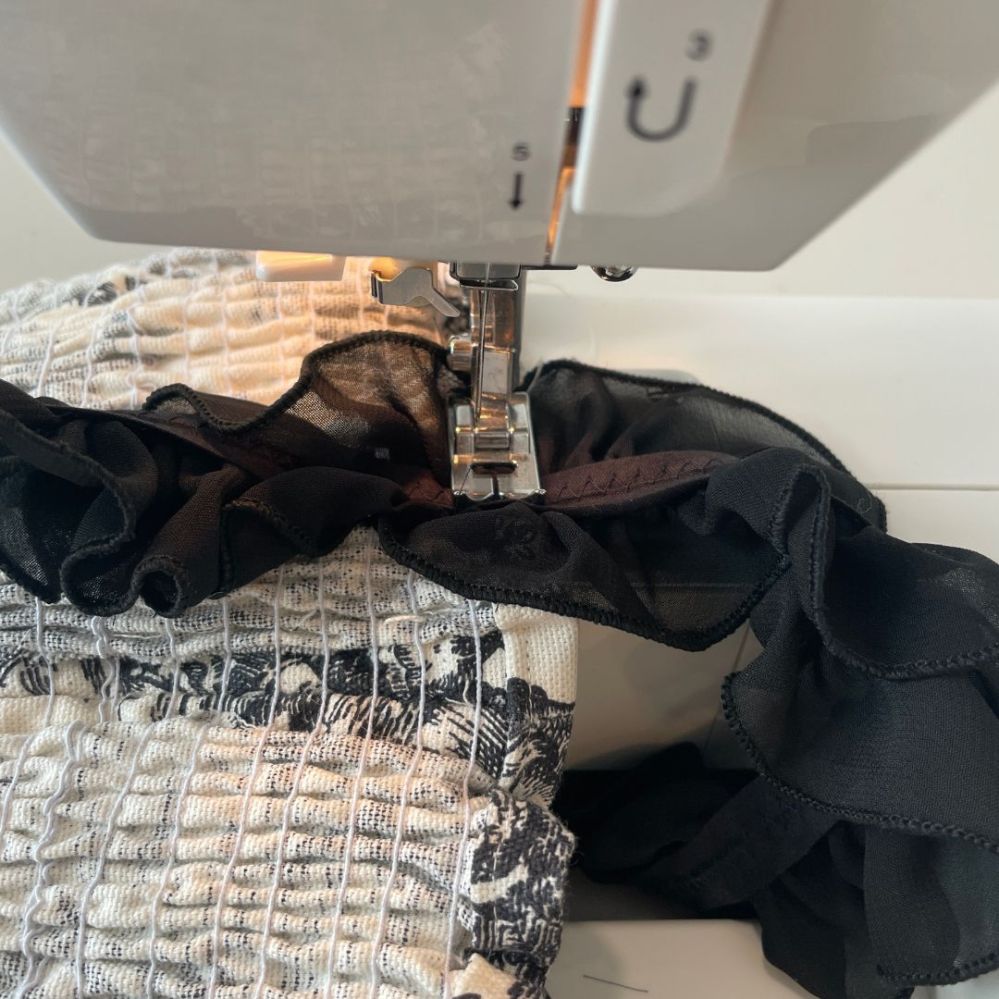
- Pin straps to the position you like
- Sew the straps to the top
- Admire!
For those who were new to shirring like me, here is a video on how I shirred my fabric
A couple things I had to finesse for my thrift flip project:
- I was using the fabric from a thrifted curtain, specifically the tap-tops. For the body, I seam ripped all of the tab-tops and sewed them together to create my fabric. Then I ensured the fabric I had matched the length and width listed in steps 1-2.


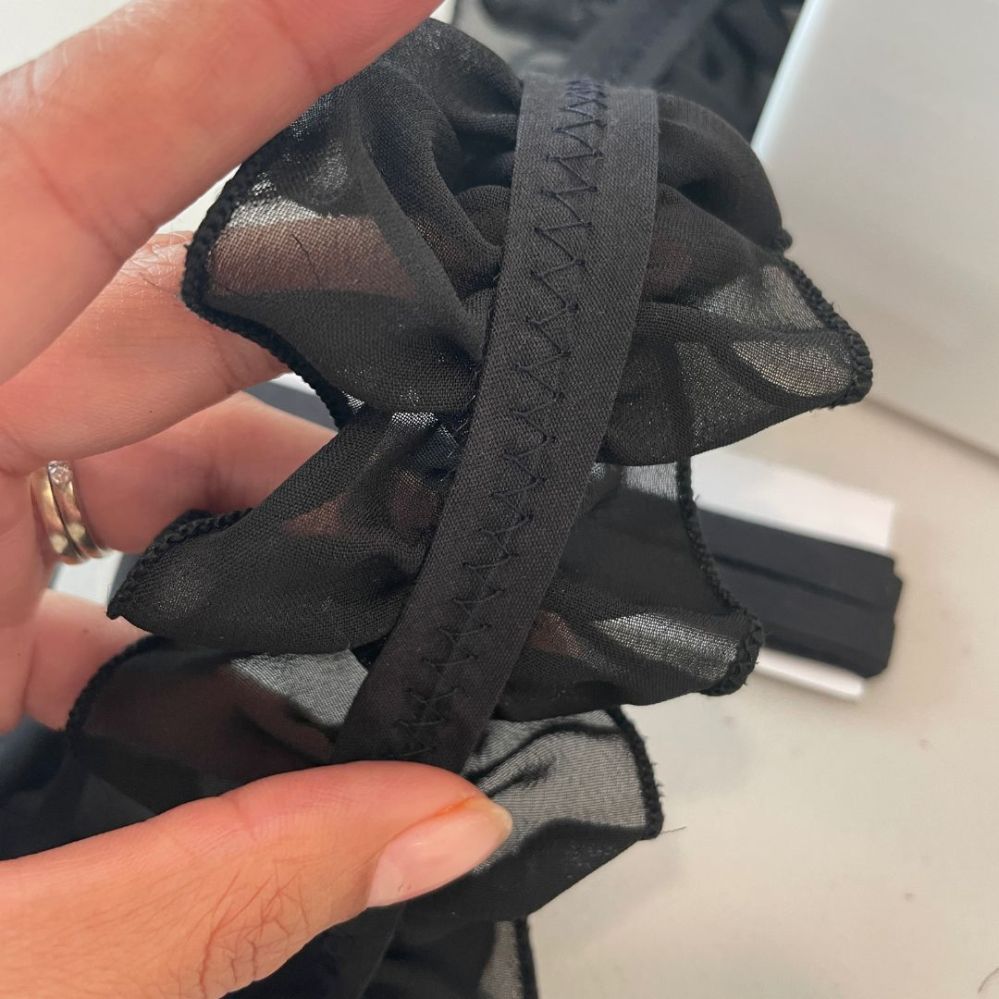
- The ruffle trim I purchased for my straps was super lightweight and cute, but the mesh was very uncomfortable and itchy. I opened up bias tape, placed it on the bottom of the trim to shield the mesh, and sewed a zigzag stitch along the top of the trim.


Leave a comment