


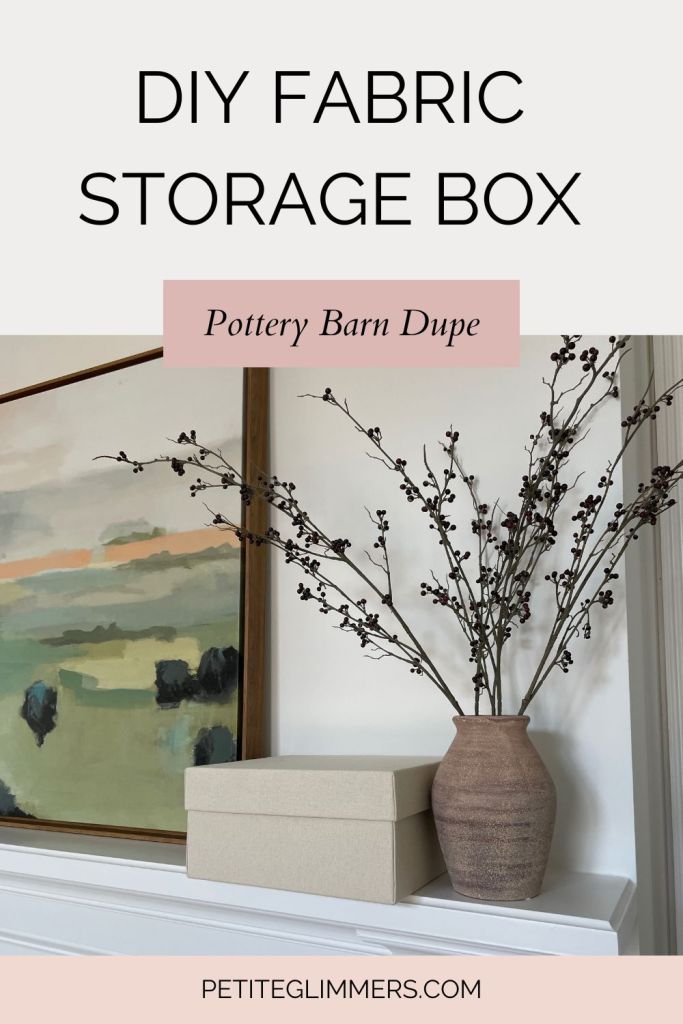
I’ve been on the search for the perfect storage boxes for the extra photographs and trinkets that I have in a pile on my bookshelves. I haven’t found the one just yet and the growing pile is beginning to drive me a little nuts (:
Until I find the right boxes, I decided to create fabric covered storage boxes with materials that I already had from previous crafting projects! I used this $39.50 Pottery Barn storage box as inspiration.

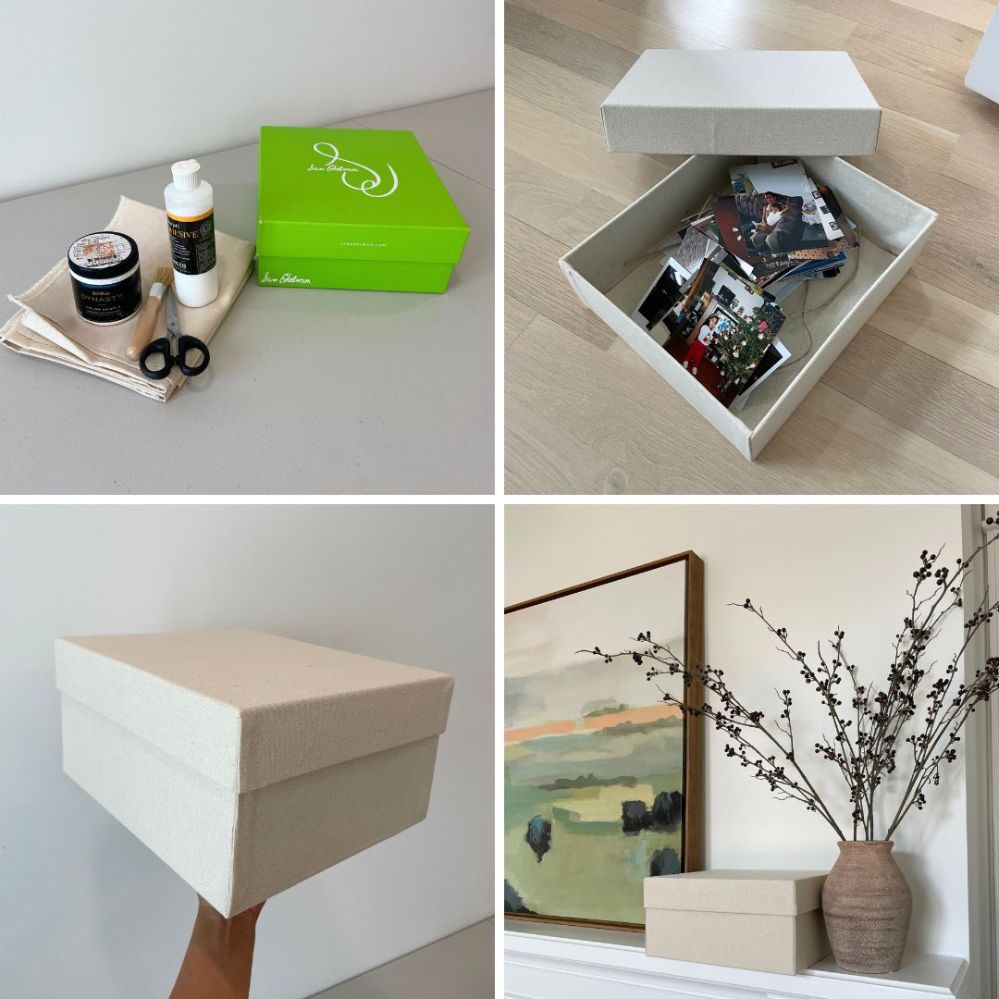
Here’s a step by step guide on how I created this fabric covered storage box without spending a dime.
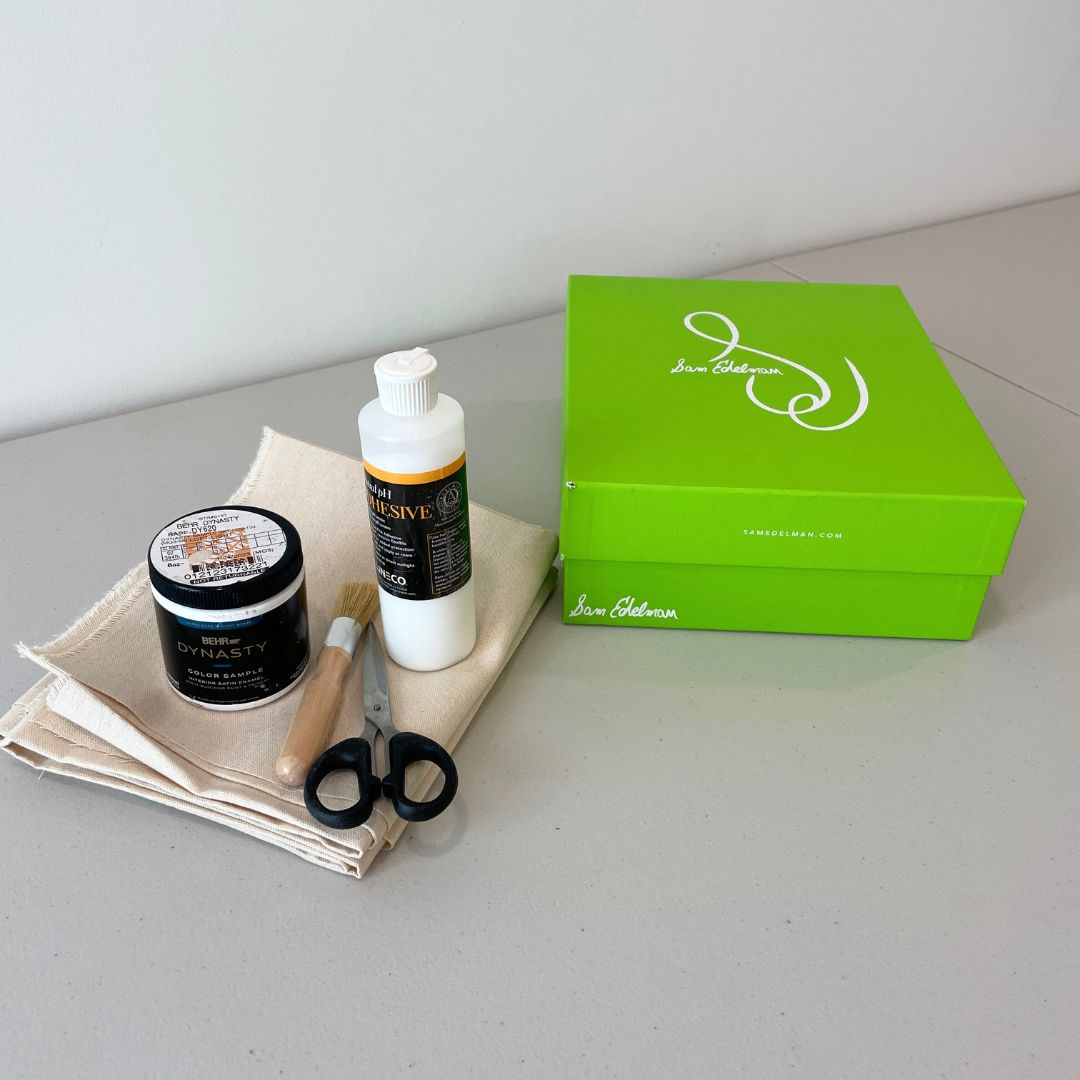
Materials:
- Shoebox (a high quality sturdy one if available)
- Fabric (I used duck cloth)
- Scissors
- Adhesive (I used leftover book binding glue)
- Ruler or measuring tape
- Paint (optional)

Before we start, I want to mention a step I did before I got started that can be skipped if you choose. Because my shoebox was a bright neon green, the original color could be seen through the duck cloth. I used paint from a previous project to cover the neon. I didn’t paint it to be completely opaque, but just enough for the neon green not to show beneath. I also only painted the outside of the box, not the inside.


Steps:
- Trace your fabric pattern by measuring around the bottom of the box + 2 x the length of the sides. This should be enough to cover the inside and outside lengths of your box. I also added an extra inch allowance to create folded edges (you’ll see where this comes into play in Step 5)
- Cut around the pattern.
- Glue the bottom of the box onto the wrong side of the fabric.
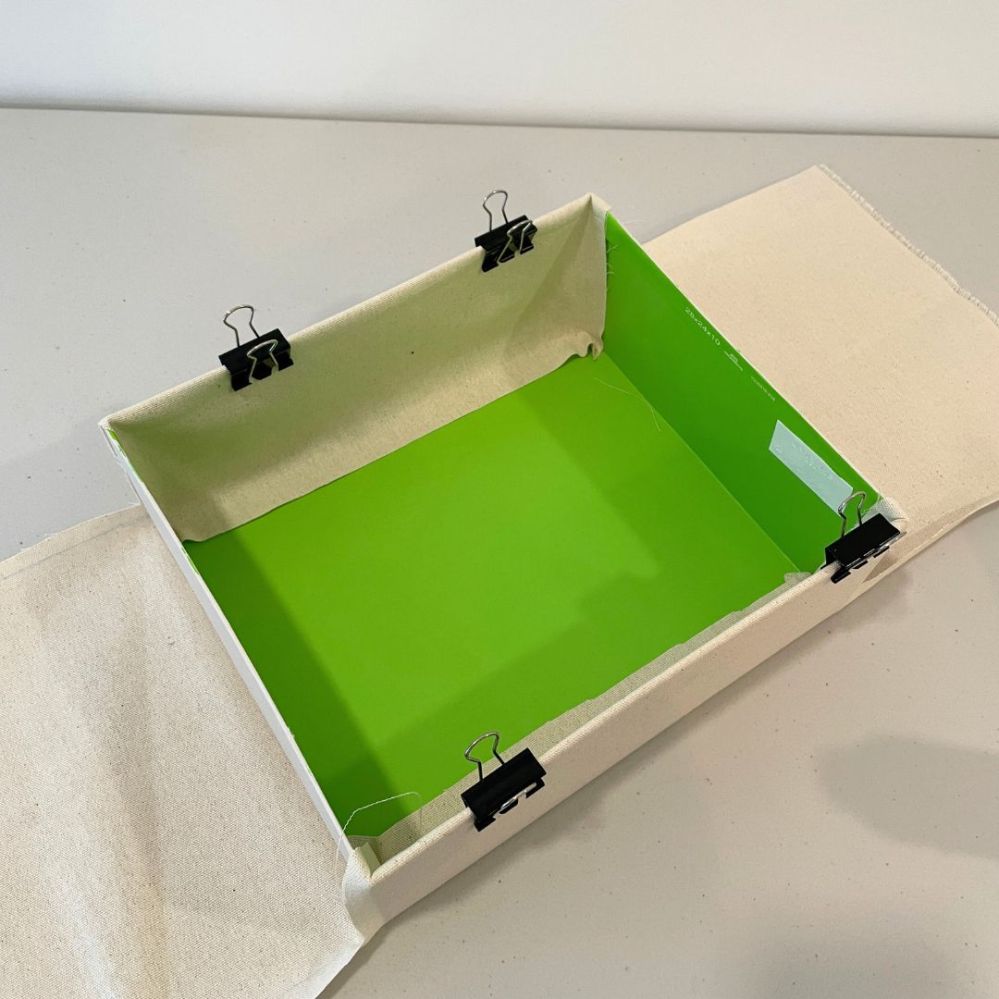
- Glue the outside length side of the box onto the fabric and clip in place. Repeat on the opposite side of the box.
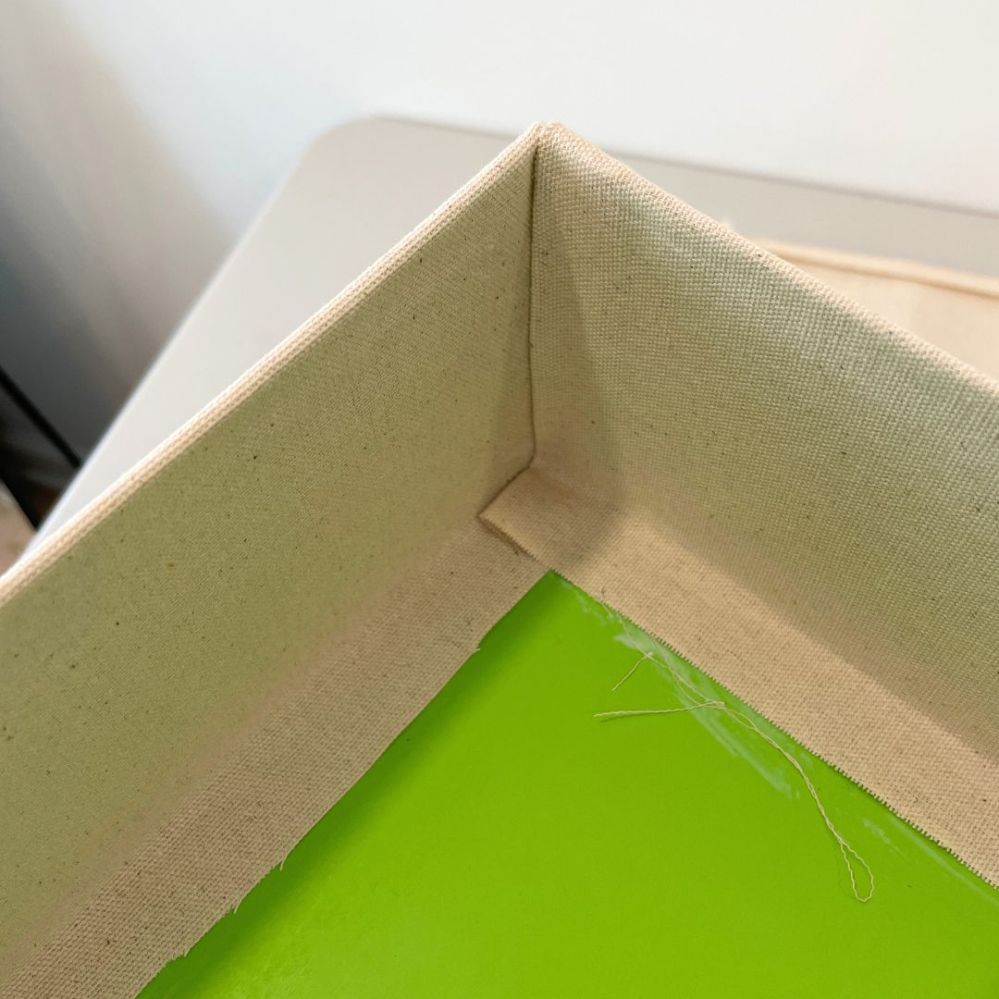
- Glue the outside width side of the box onto the fabric and clip into place. To create clean edges, fold the allowance from the width of the box on both sides inward. This will hide the raw fabric edges. Repeat on the opposite side of the box.
- Let the box sit until the adhesive dries.
- Repeat steps 1-6 for the top of the box.
- Glue the fabric into the inside of the length side. You may need to make a small cut in the corner for the fabric to lay completely flat. Repeat on the opposite side.
- Glue the fabric to the width of the box. Similar to the outside of the box, if you want to continue the clean edges, keep the fold from the outside into the inside of the box. Repeat on the opposite side.
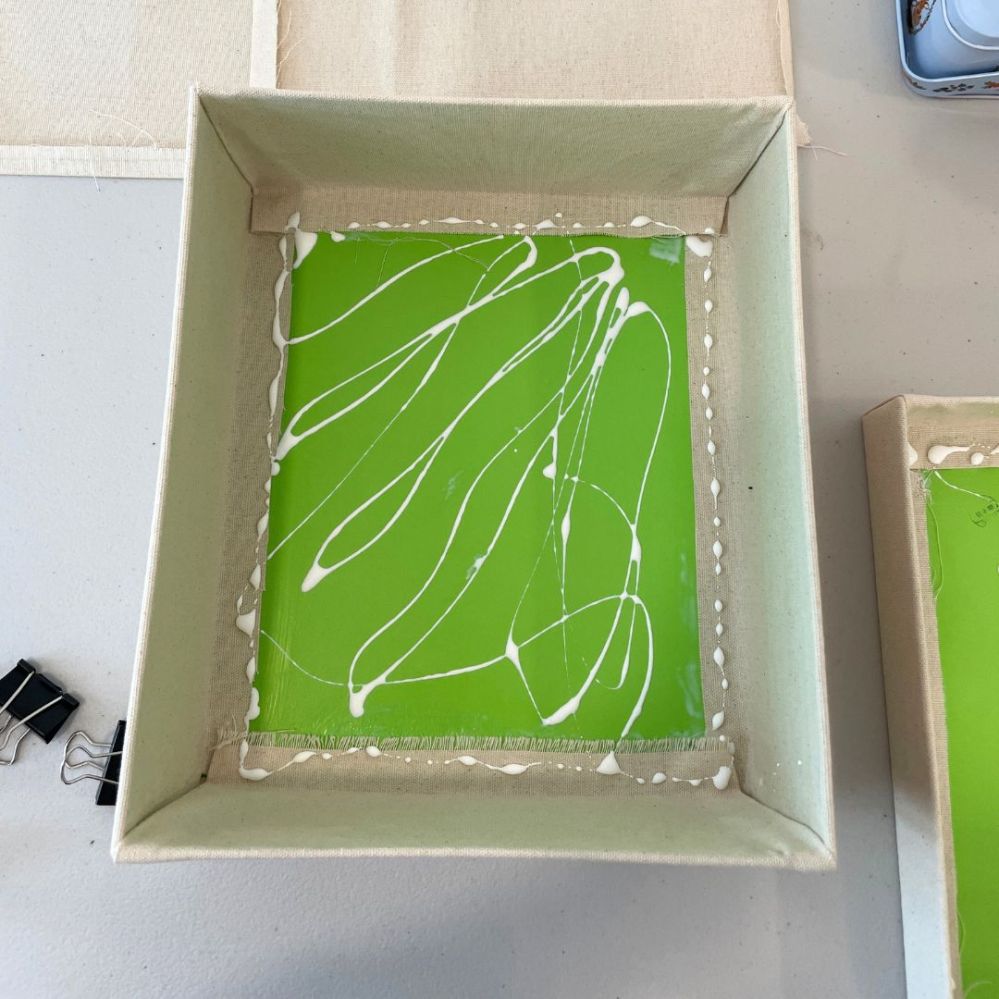
- Measure the inside of the box and cut the same dimensions from your fabric (+ ½ inch on each side for clean edges).
- Glue the wrong side of the fabric into the inside of the box. If you want clean edges, fold the ½ inch on the sides inward, then glue.
- Let the box sit until the adhesive dries completely.
- Repeat steps 8-12 for the top of the box.
- Done!

I love the way it looks on my shelves in the den and I didn’t have to spend any money on this project. It was fun to create something from nothing!

Tips:
- Order matters. Always work off of the opposite side instead of moving to the adjacent side. I liked to complete the project by focusing on the lengths first and then the width.
- Press/Iron your fabric. This will make your fabric easier to work with when it comes to gluing and cutting exact patterns.
- Always smooth down the fabric as much as possible after gluing.
- Explore with color and texture! I wanted to keep my boxes minimalistic, but maybe I’ll add in a leather handle in the future. This would add extra detail with a darker color and another texture.


Leave a comment