
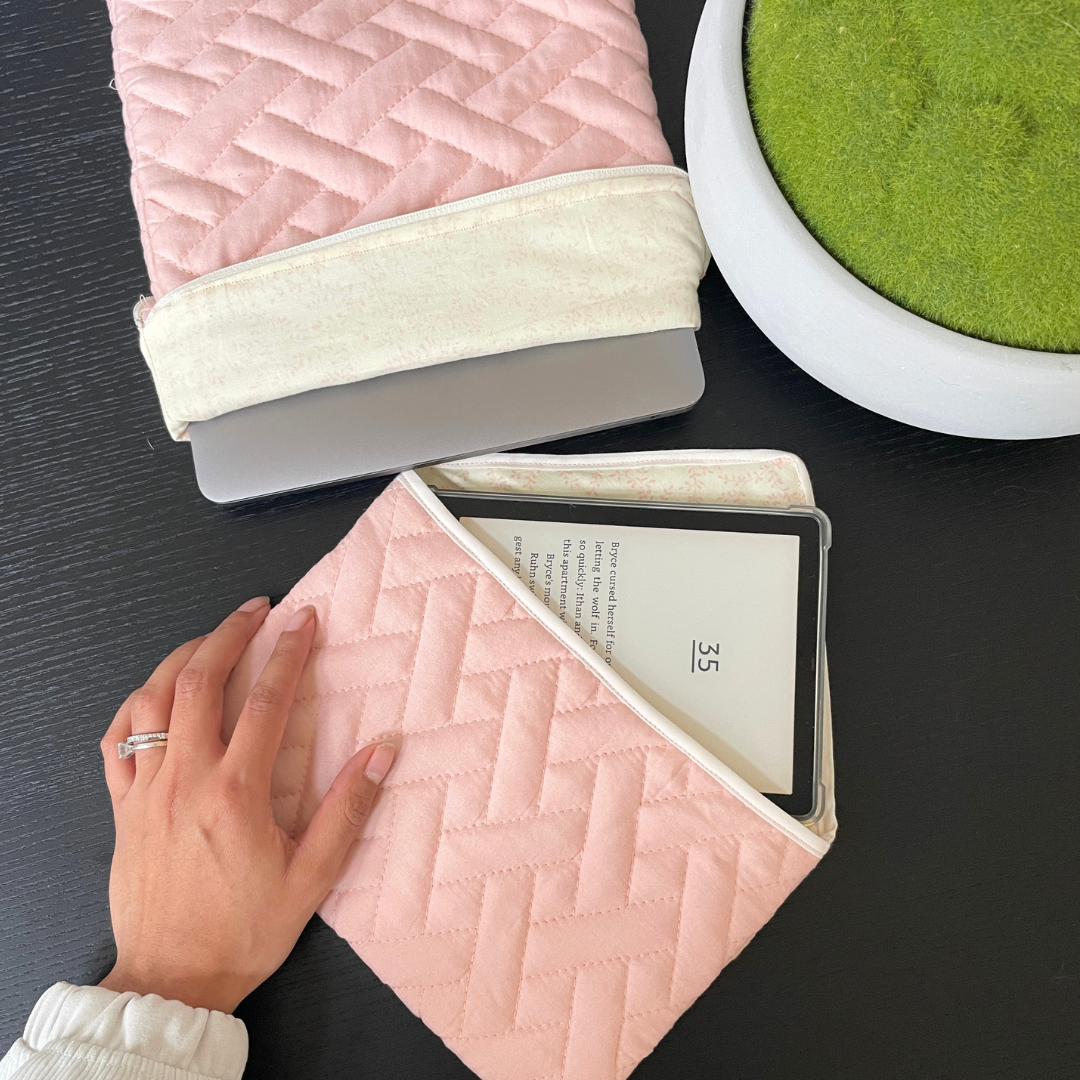
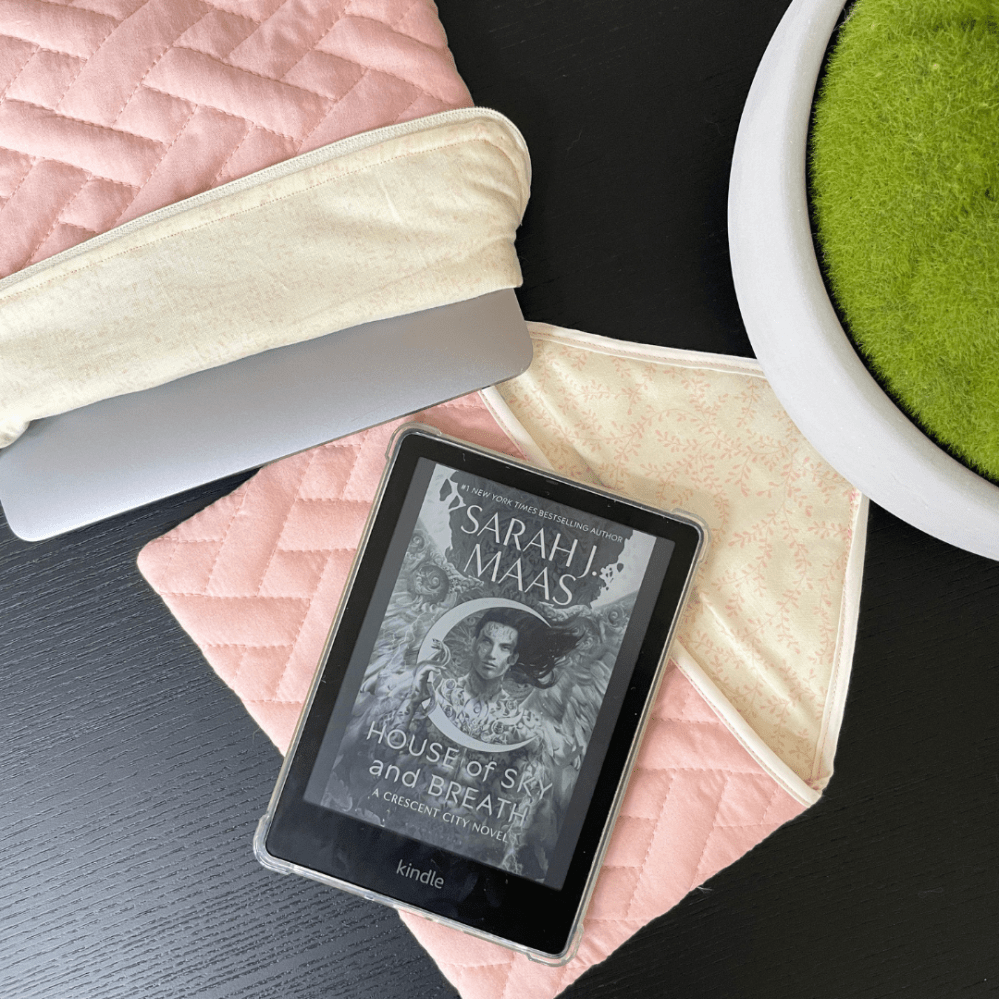
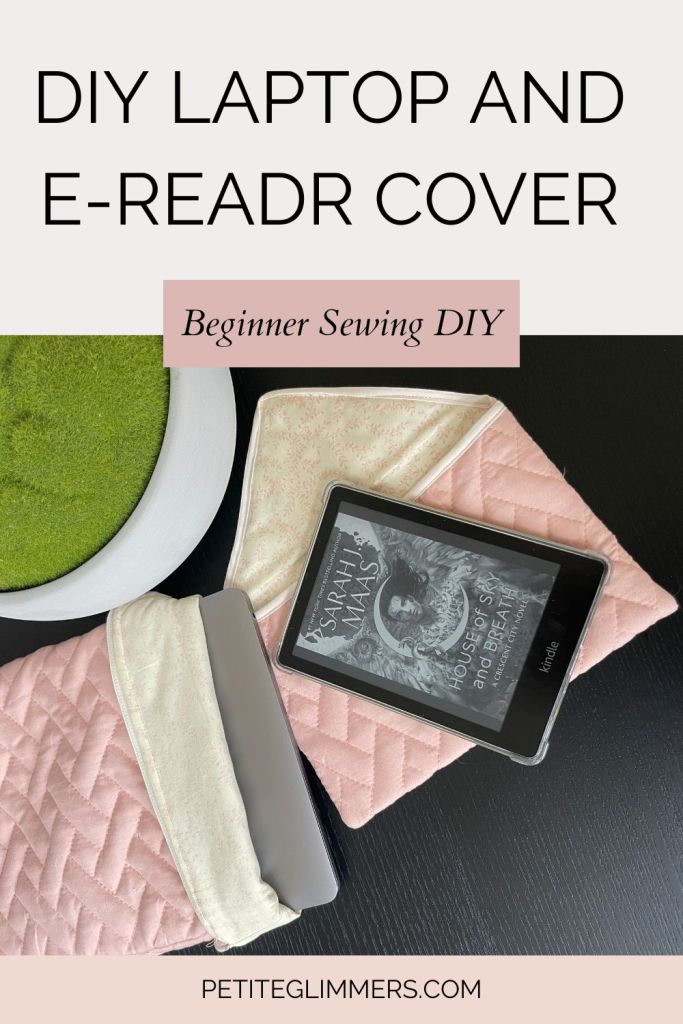
After following tutorials and creating my own Makeup Travel Pouches, I decided to make my own Kindle sleeve and laptop cover! I used the leftover fabric from the pillowcases I purchased at the thrift store which was pre-quilted with padding.
Kindle Sleeve Materials:
- Fabric
- Lining
- Bias Tape


Kindle Sleeve Steps:
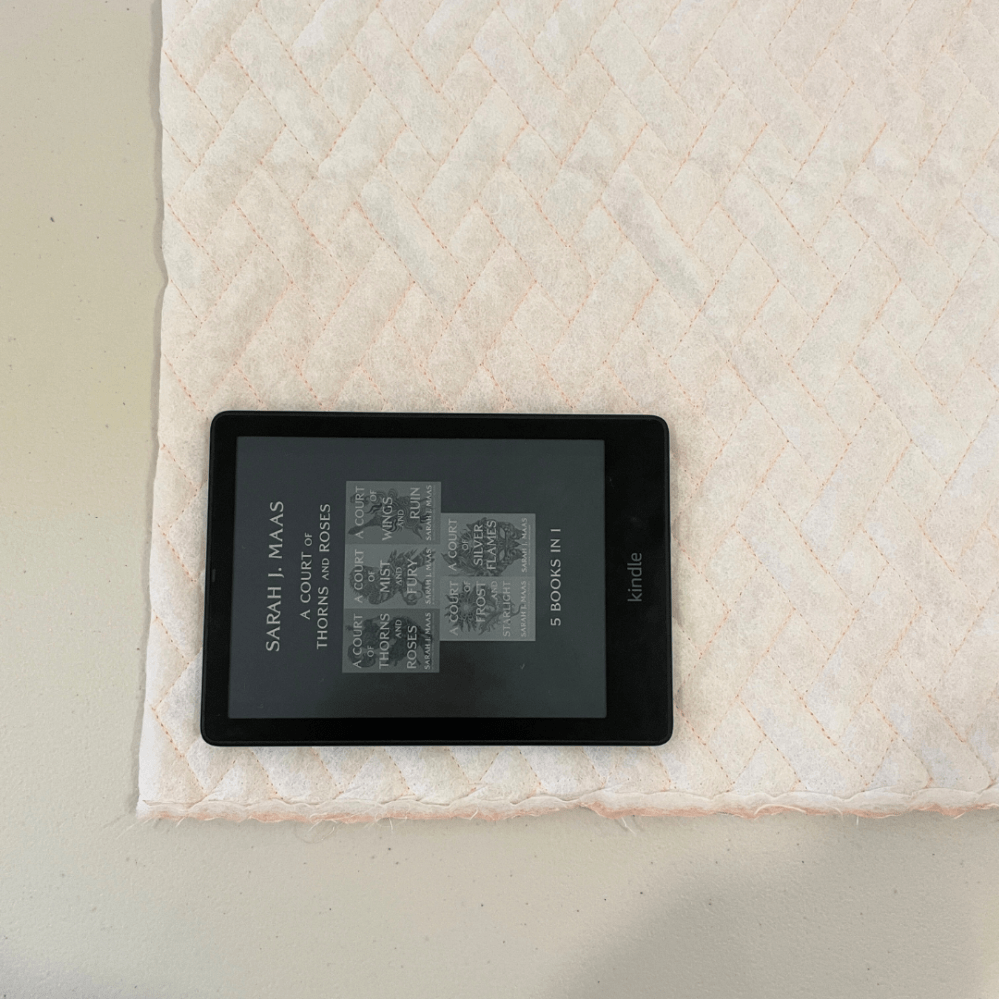
- Lay your kindle on your fabric and measure 3 times the width of your kindle
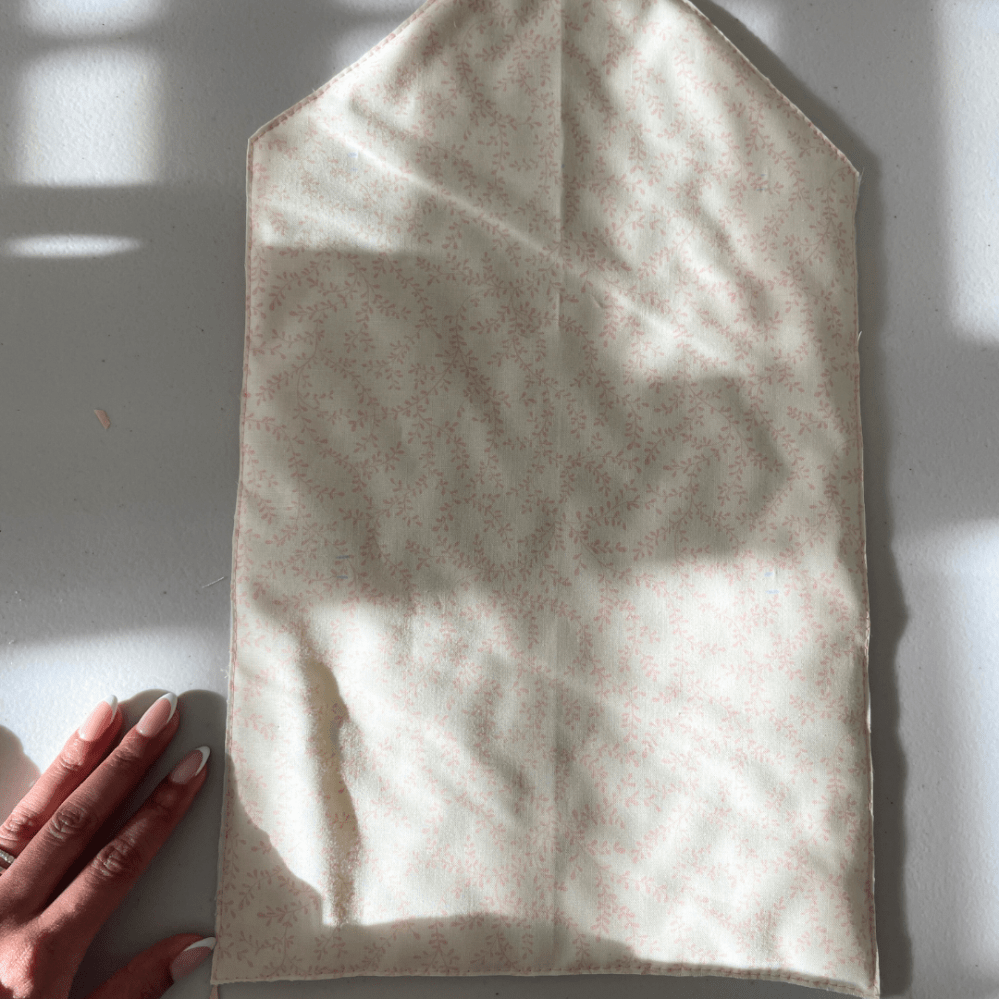
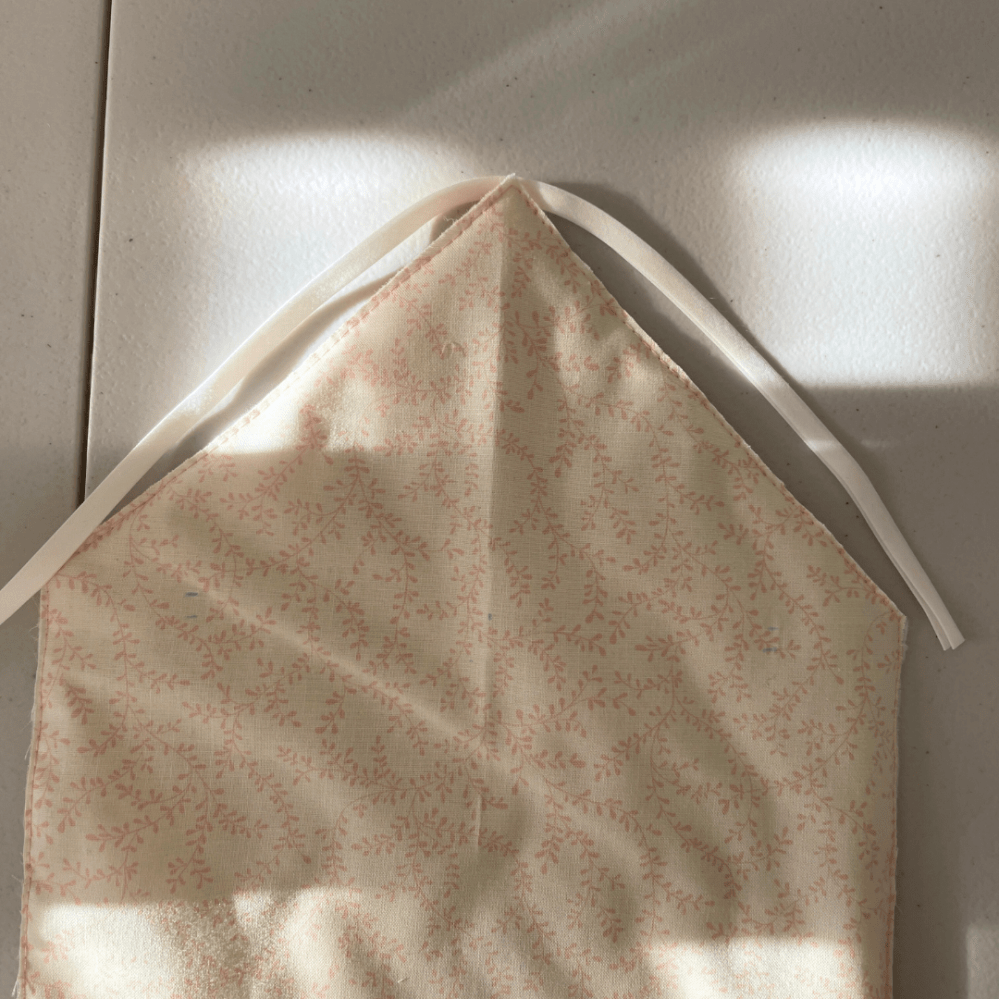
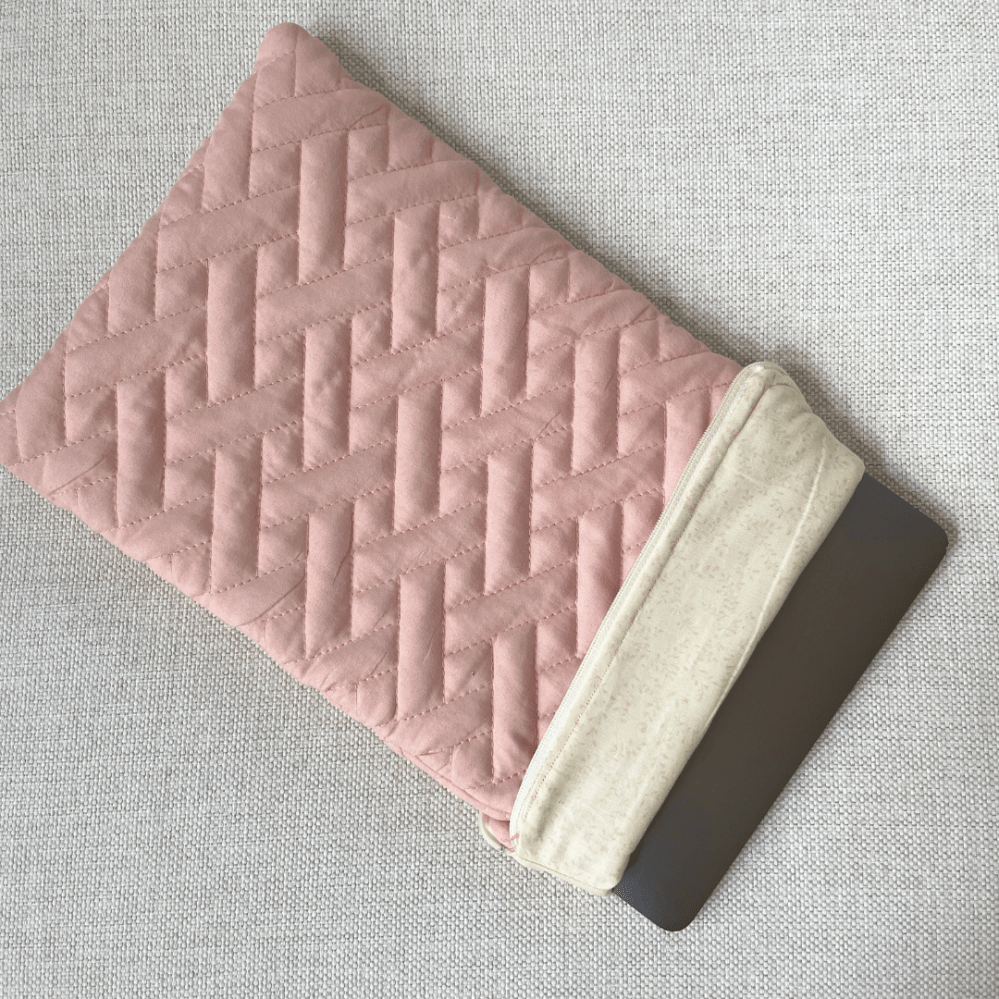
- For the envelope shape shown in my picture, trim the final ⅓ of the fabric into a triangle
- Cut out the same shape for your lining
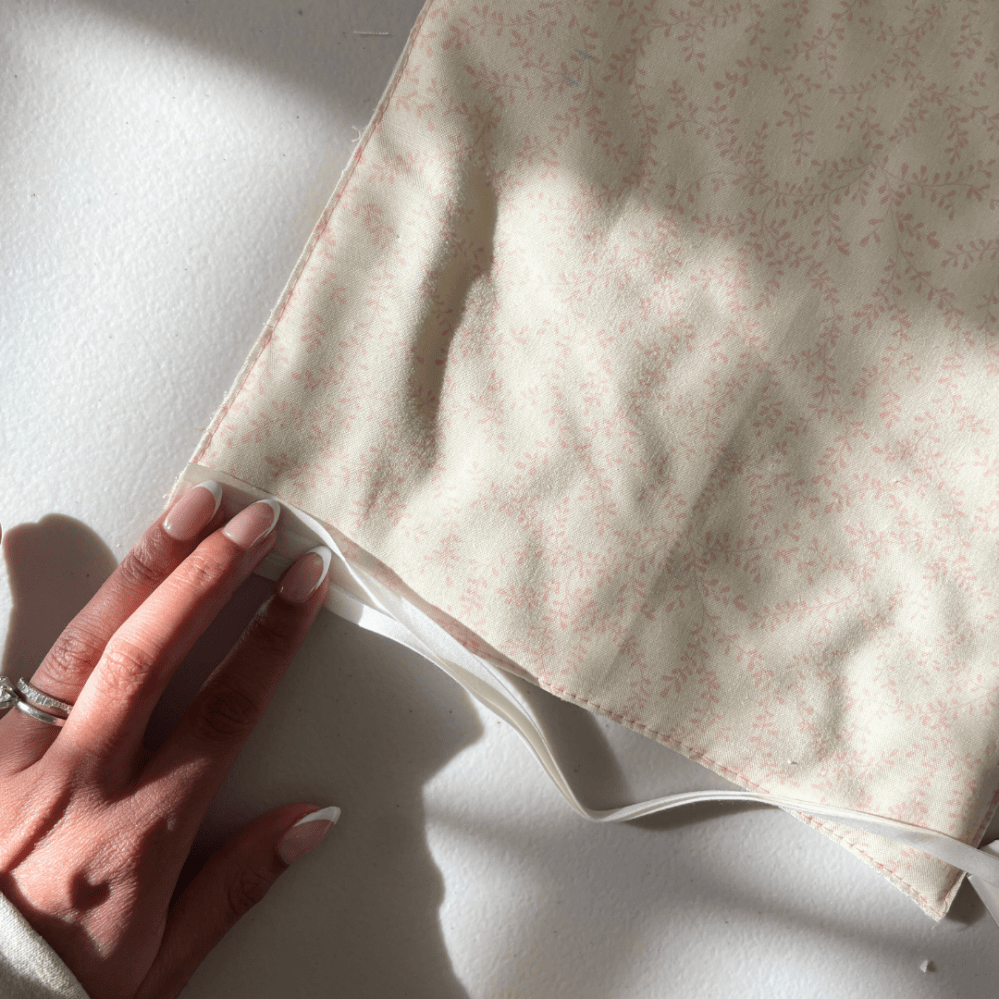
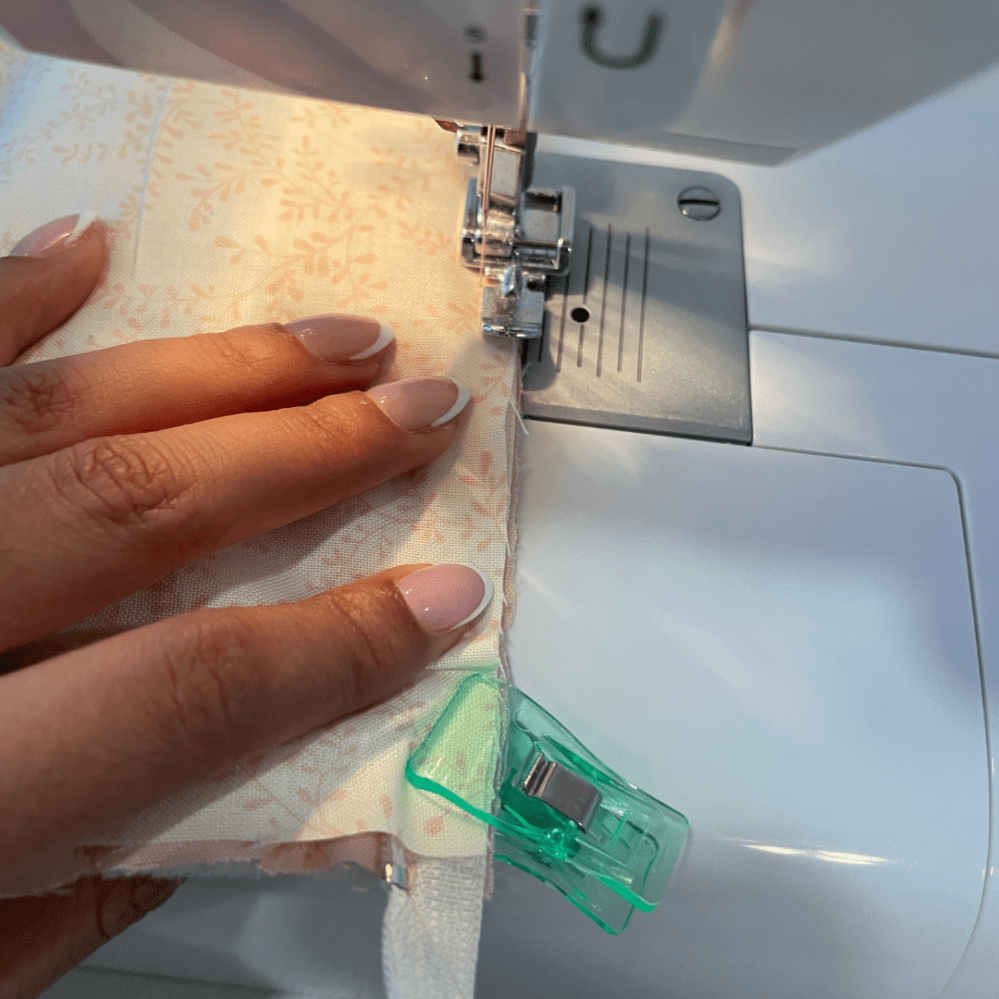
- With wrong sides together, top stitch around the entire outline
- Add bias tape to the straight end of the sleeve
- Fold the end of the sleeve (with bias tape) to line up to ⅔ of the fabric with the lining on the outside (main fabric on the inside)
- If you are creating an envelope shape, the end should line up to the base of the triangle portion
- Stitch along the two sides
- Flip the pouch portion you just created inside out
- Add bias tape around the triangle portion to enclose the seam
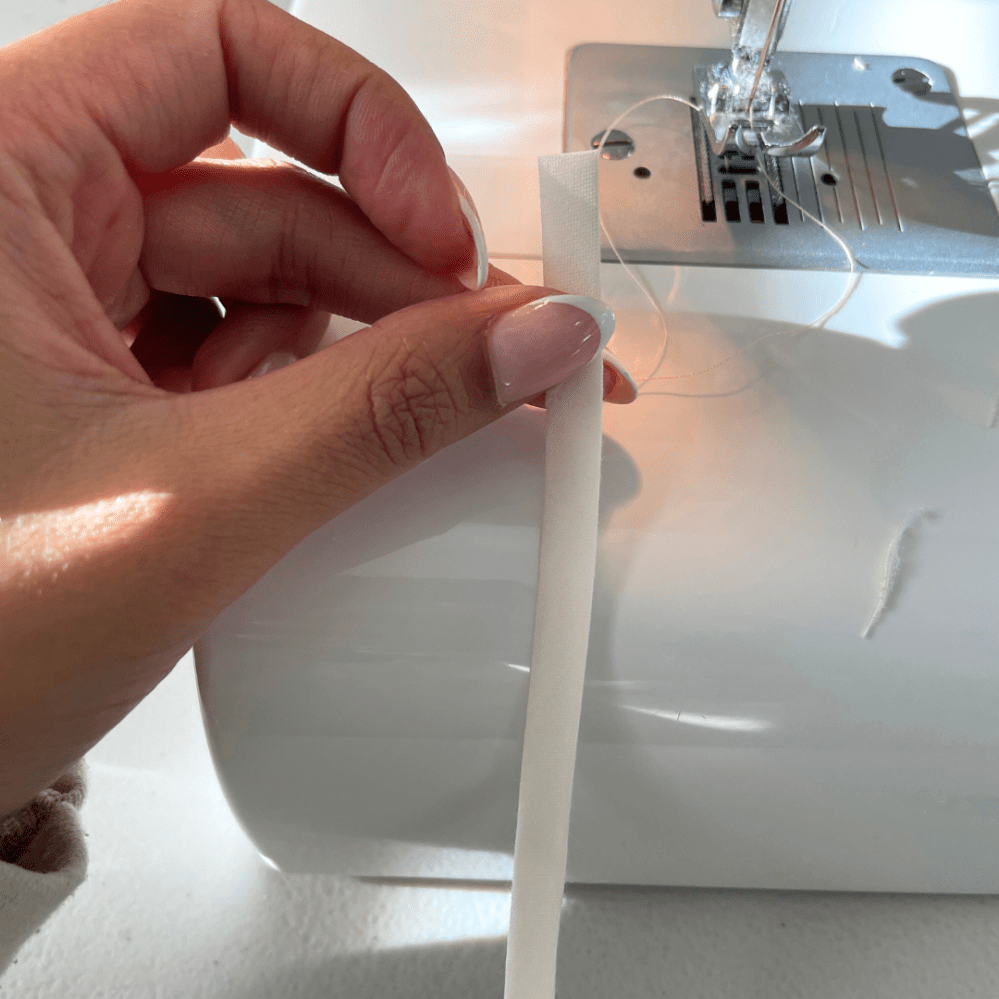
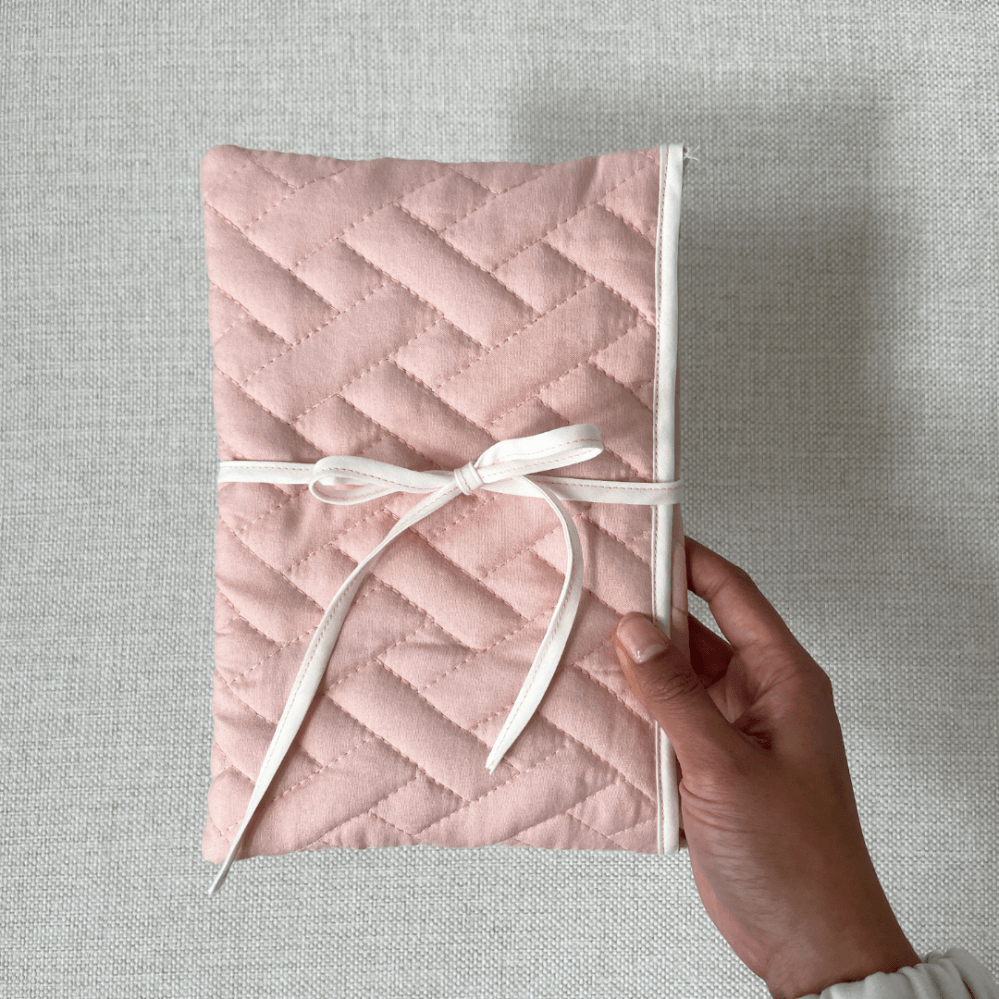
- Measure and cut your preferred length of bias tape to create the sleeve tie
- Sew the bias tape closed
- Top stitch the bias tape to the back of the sleeve
- Done!
Laptop Cover Materials:
- Fabric
- Lining
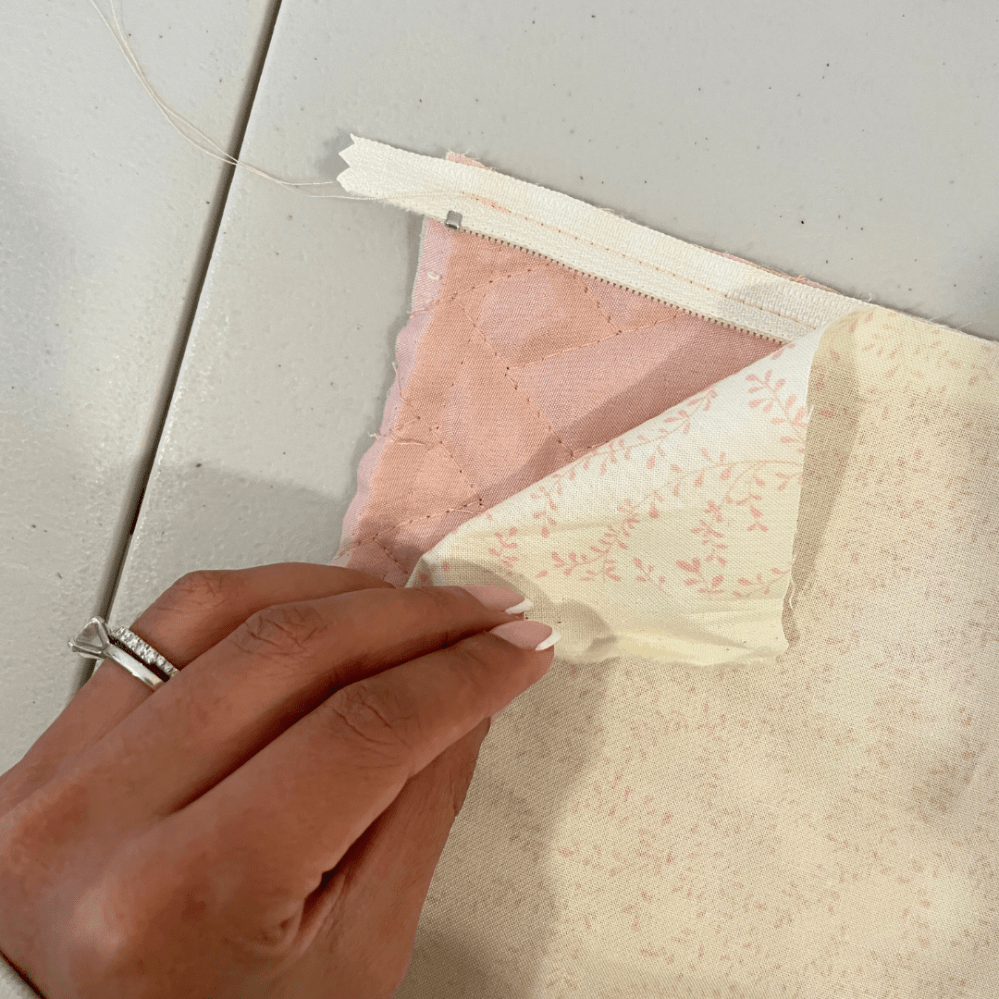
- Zipper ( I used a smaller zipper a little longer than the length of my laptop, but feel free to use a longer zipper to accommodate the width)

Laptop Cover Steps:
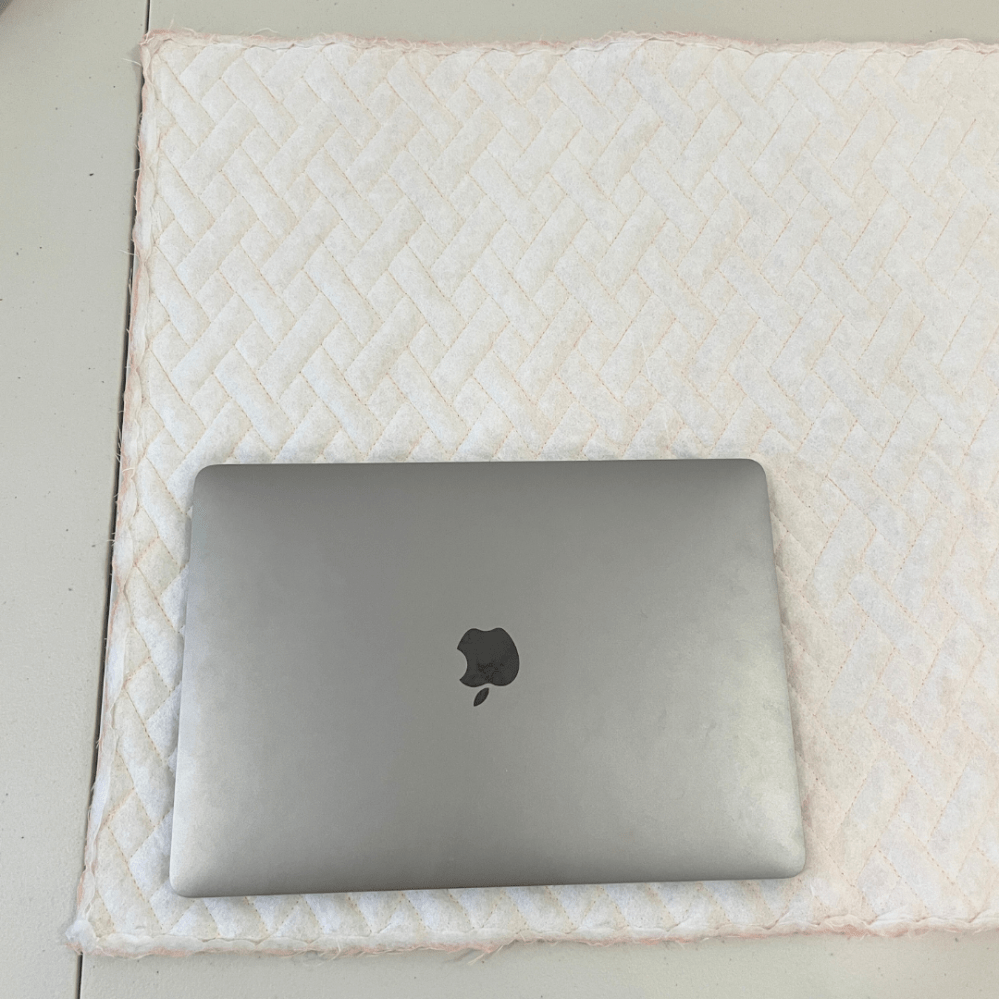
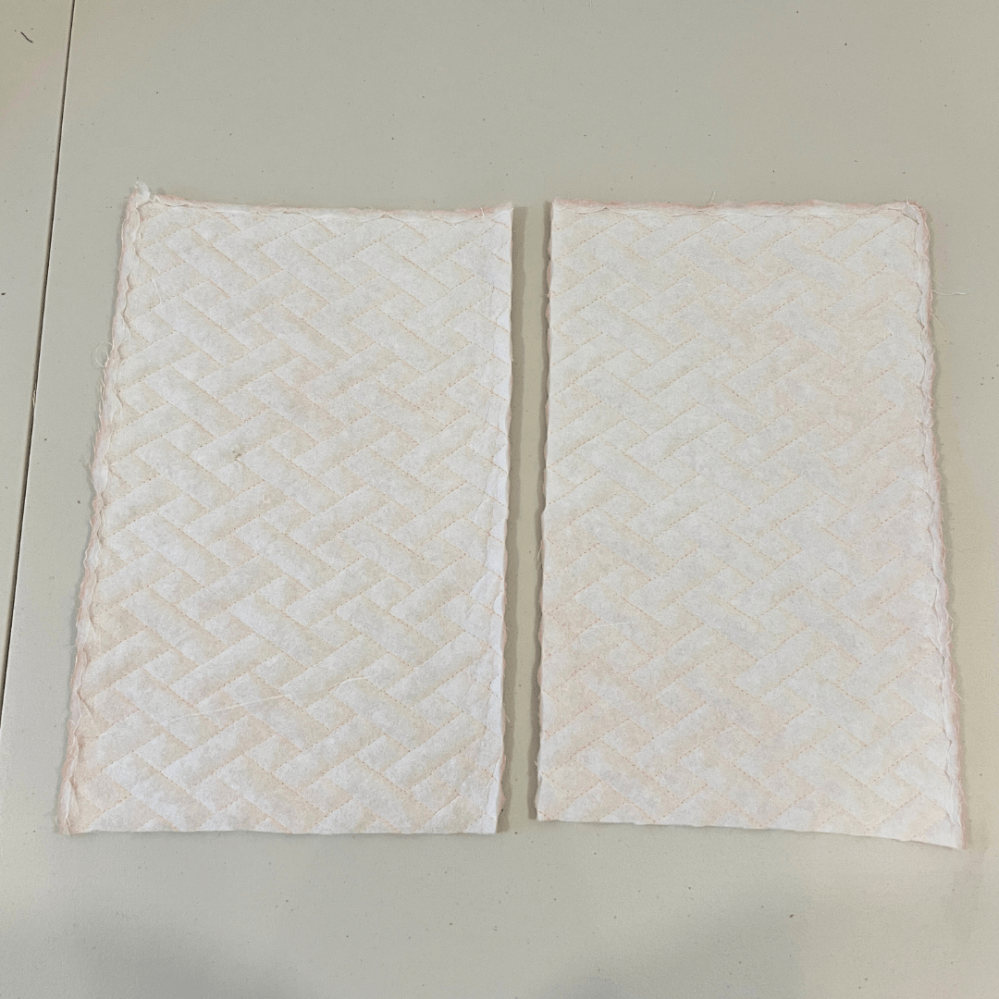
- Lay your laptop on the fabric to measure your preferred cover size (don’t forget to add enough for seam allowance
- Cut 2 pieces of fabric and 2 lining that match your measurement
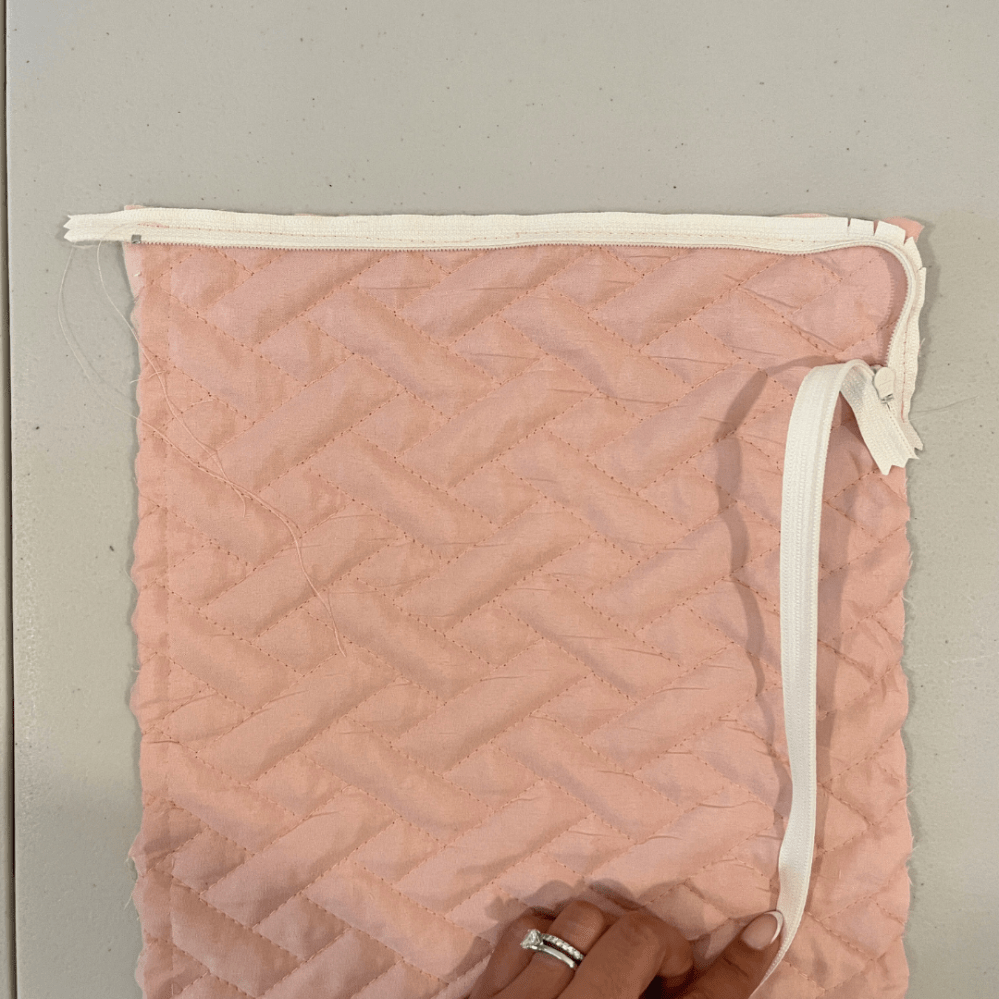
- Sew the zipper to the fabric and lining
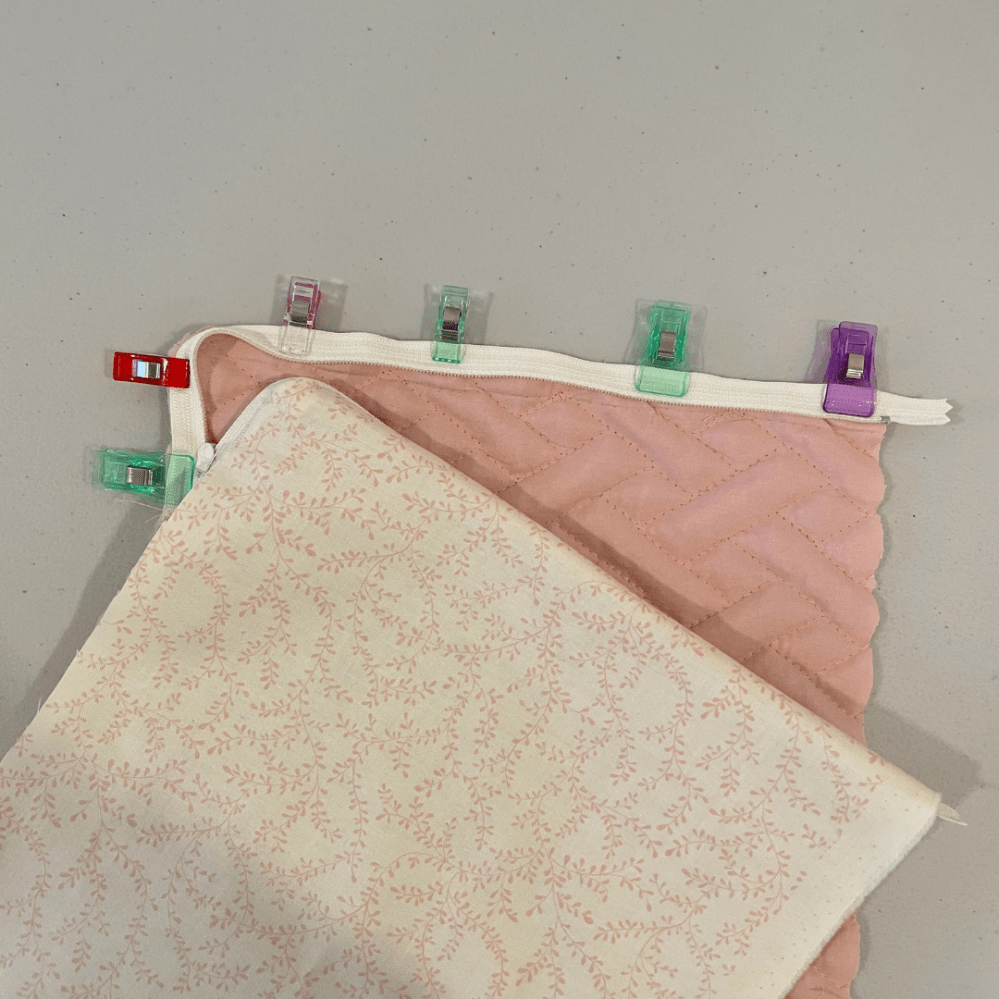
- Matching the fabric together, sew along the edges
- Repeat for the lining, but leave a 5” gap at the end
- Turn the laptop cover inside out
- Top stitch the 5” gap in the lining closed
- Done!


Leave a comment