I’m always looking for ways to incorporate more green and nature into my home decor that isn’t messy or takes a lot of maintenance. For a while I was looking into installing my own plant wall, but let’s be real . . . I don’t want dirt and bugs on my white walls. A fun and simpler option was creating artwork with preserved moss.
Here is a list of materials that I used to create this preserved moss wall decor:
Materials
- Various preserved moss
- Preserved moss adhesive
- Wood frame
- Hot glue gun
- Scissors
- Marker
Instructional Video
Written Instructions
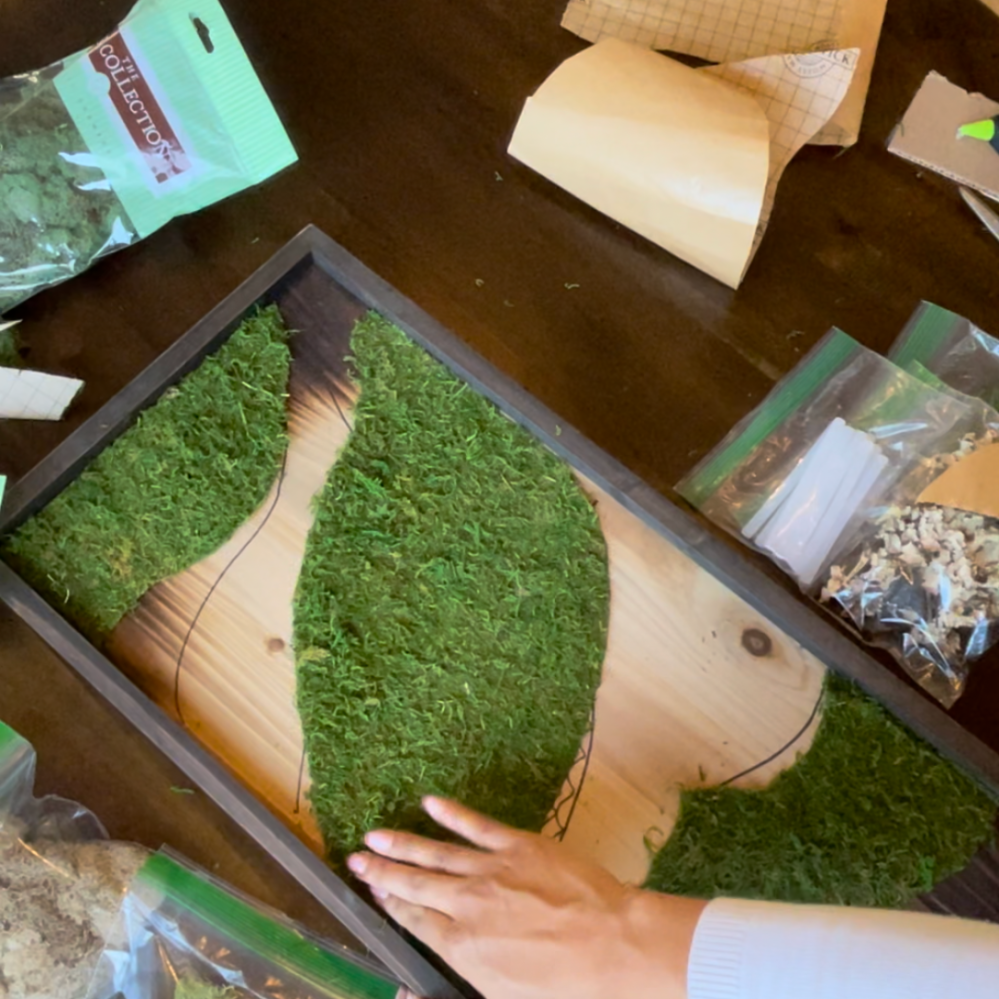
- Draw your ideal pattern (it may not turn out that way and that’s okay)
- Cut or tear the preserved moss to fit the frame
- Use a hot glue gun to attach the moss to the frame
- Arrange the moss in a way that you like
- Let the glue dry completely
- Hang your DIY preserved moss wall art and enjoy!


Helpful Tips
- Use a variety of different types of moss to add more texture and depth
- Add some accent pieces, such as rocks or crystals, to your wall art
- Hang your wall art in a place where it will get plenty of indirect sunlight

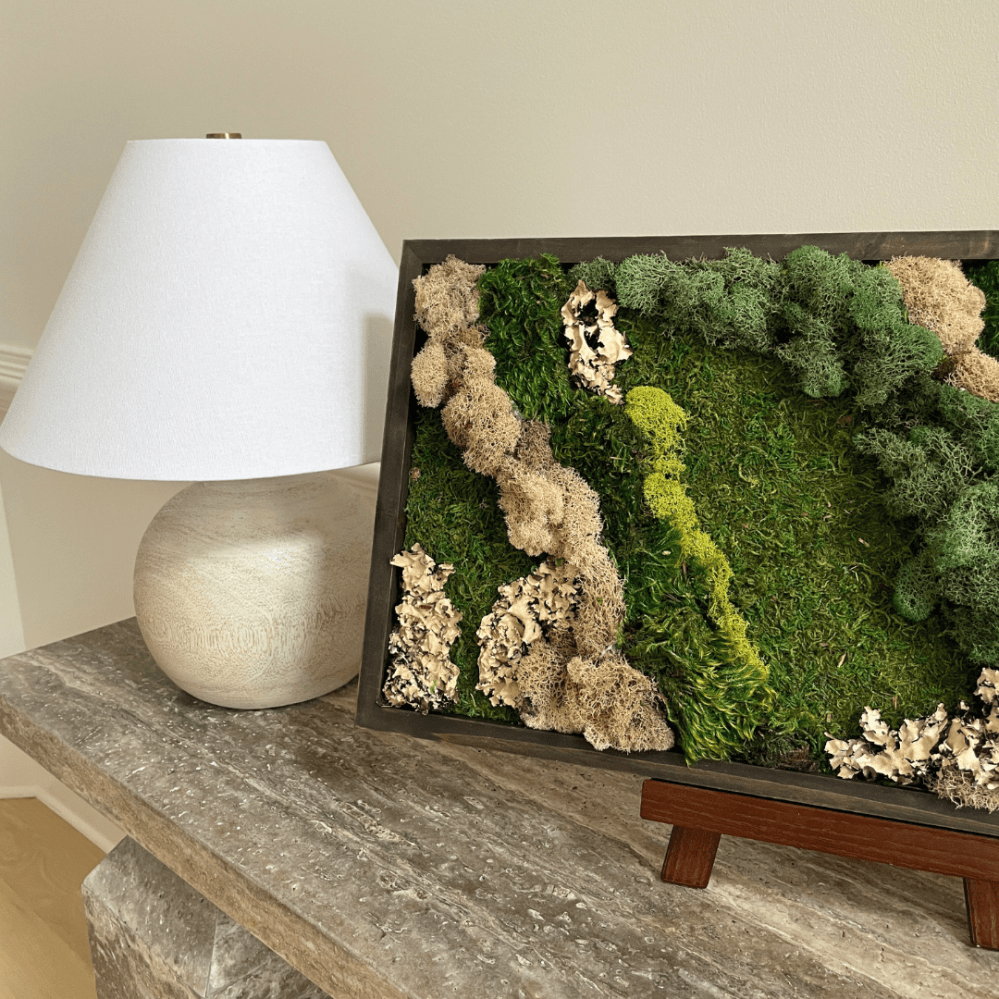
I love the way it turned out with the varying colors of green to brown and the textures throughout the piece. It was so easy to do and I have a few scraps left over. I may go find a bowl to make a preserved moss centerpiece. But I’ll save that project for another day! (edit on 4/29/24 –> Check out my DIY Moss Bowl Centerpiece post!)


Leave a comment