Friends and family send you thoughtful notes in greeting cards for momentous achievements and celebrations throughout your life – from birthdays to graduations, weddings to baby showers. Guiltily, I usually store mine in a shoebox within a plastic tote and they never see the light of day . . . ever again. Give me a break, doing that makes me feel better than throwing them away! And I know I’m not the only one.
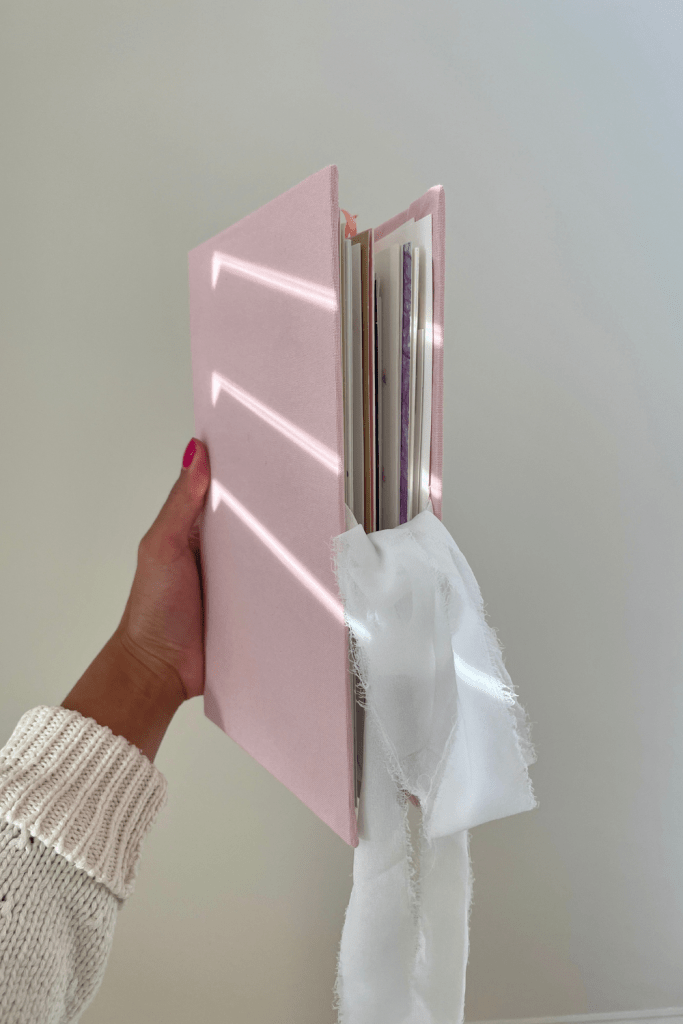
So I’m here today to show you how to bind your greeting cards so you can preserve those special notes from your loved ones in a stylish way.
Here’s what you’ll need:
- Greeting cards
- Book binding tool kit
- Book cloth
- Cardstock
- Canvas fabric
- Book board
- Book binding glue
I’ll do my best to write out the instructions below and I’m also linking a tutorial I followed here (step-by step images below):
- Find the largest size of your greeting card. Using the same dimensions, create two blank “cards” out of cardstock paper.
- These will be used later to bind your greeting cards to the book and will serve as your first page.
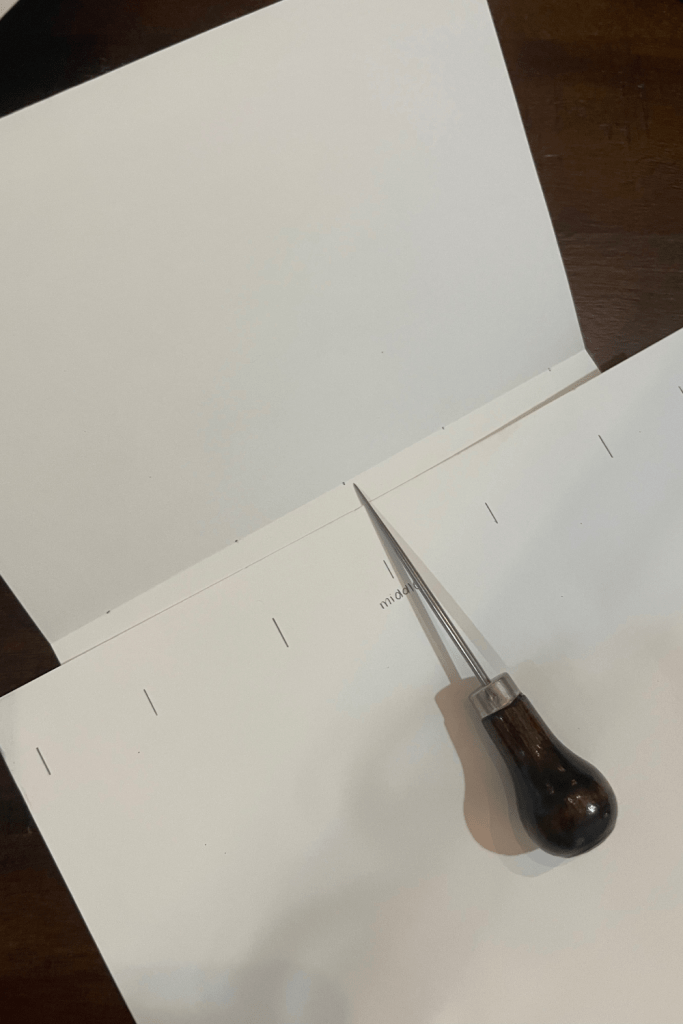
- Hole punch your greeting cards (and newly created blank cards). I created a template to ensure each whole was evenly spaced among all cards.
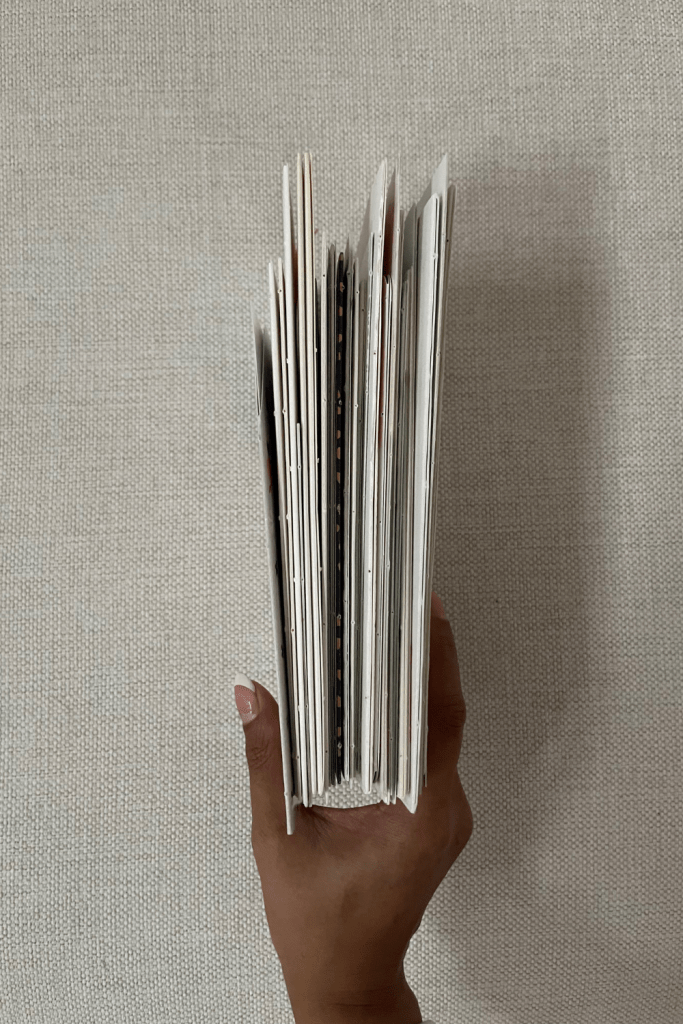
- Cut a piece of canvas fabric large enough to sew all of the cards together.
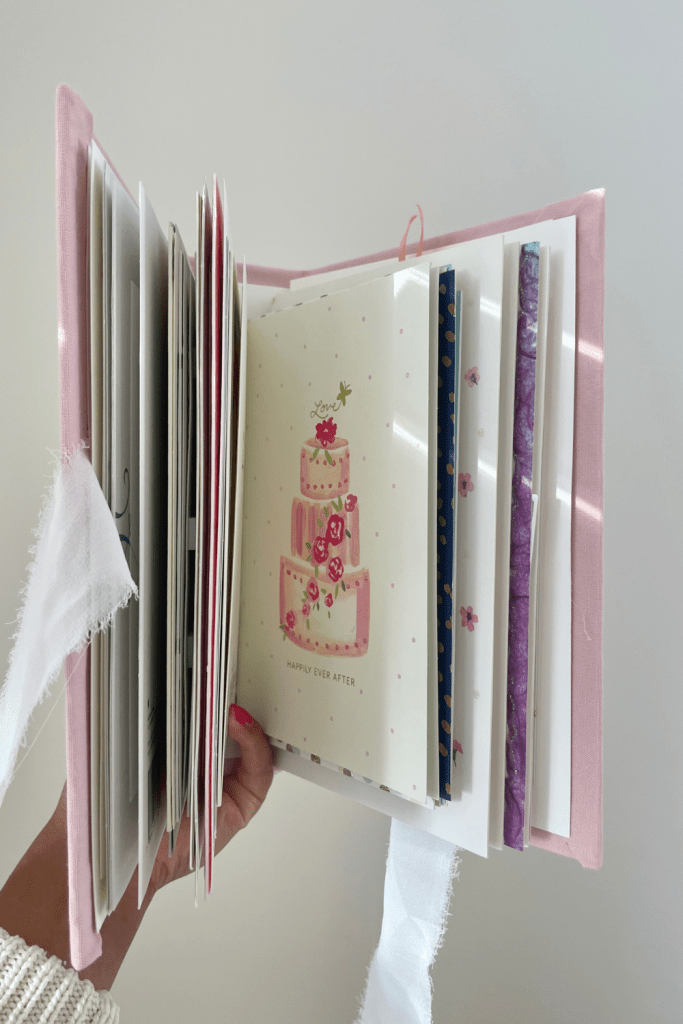
- Sew the cards into the canvas fabric.
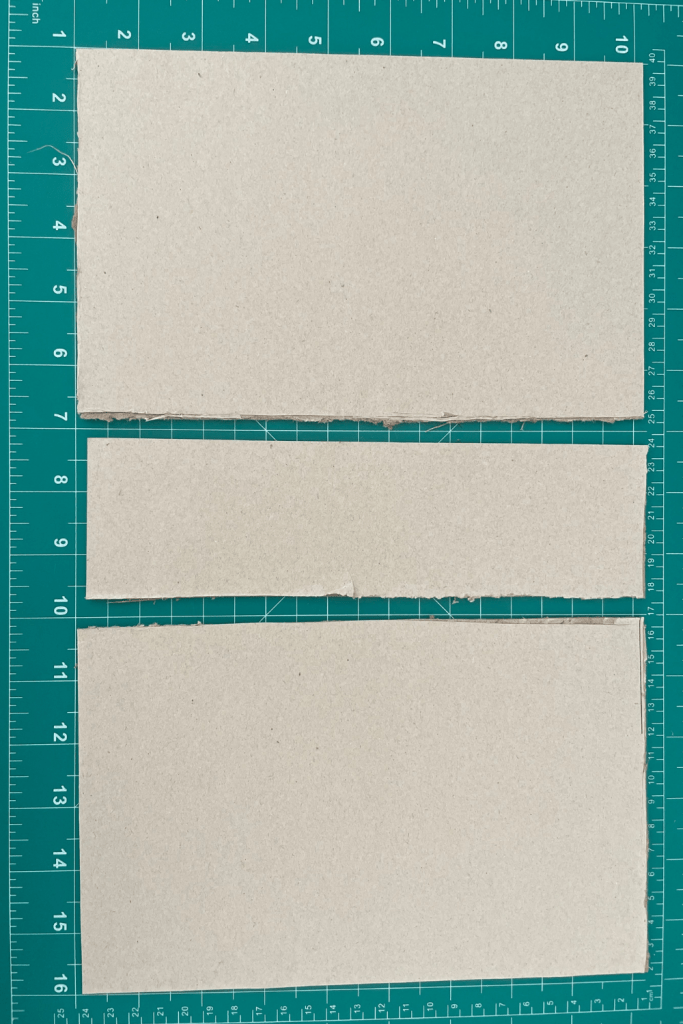
- Measure and cut the spine and book covers. The spine should be slightly larger than the width of the sewn greeting card stack.
- Lay the book covers and spine on the book fabric. Cut the book fabric 3 inches larger than the space covered by the book cover and spine.
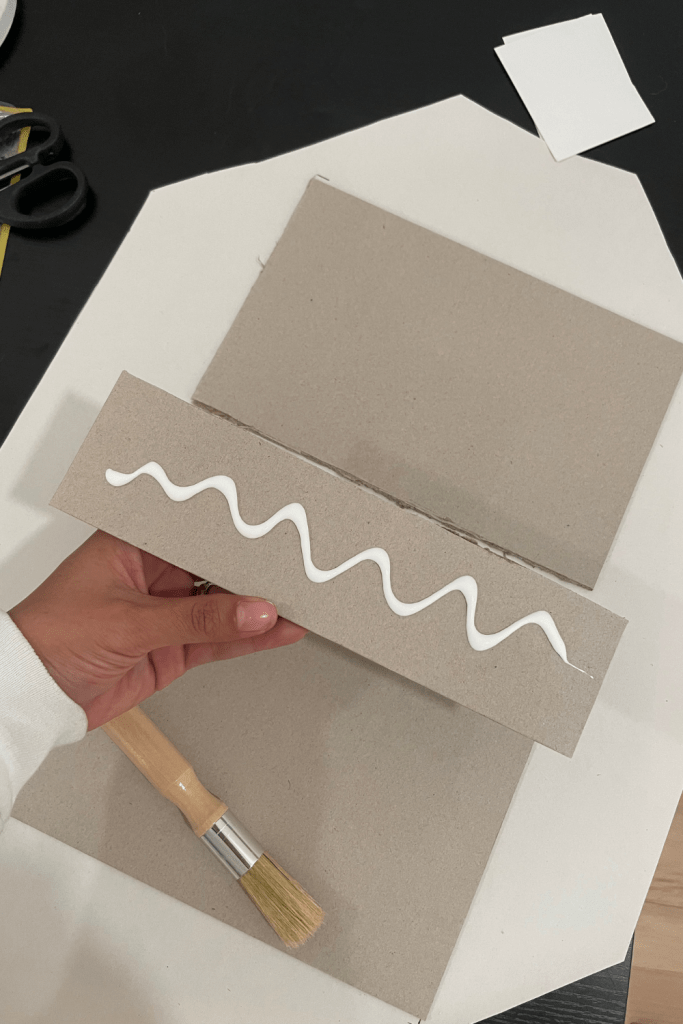
- Glue the book cover and spine onto the book fabric, ensuring a small gap between the three pieces. This will allow for the book to open and close freely. If you put the pieces too close together, the book may not close properly.
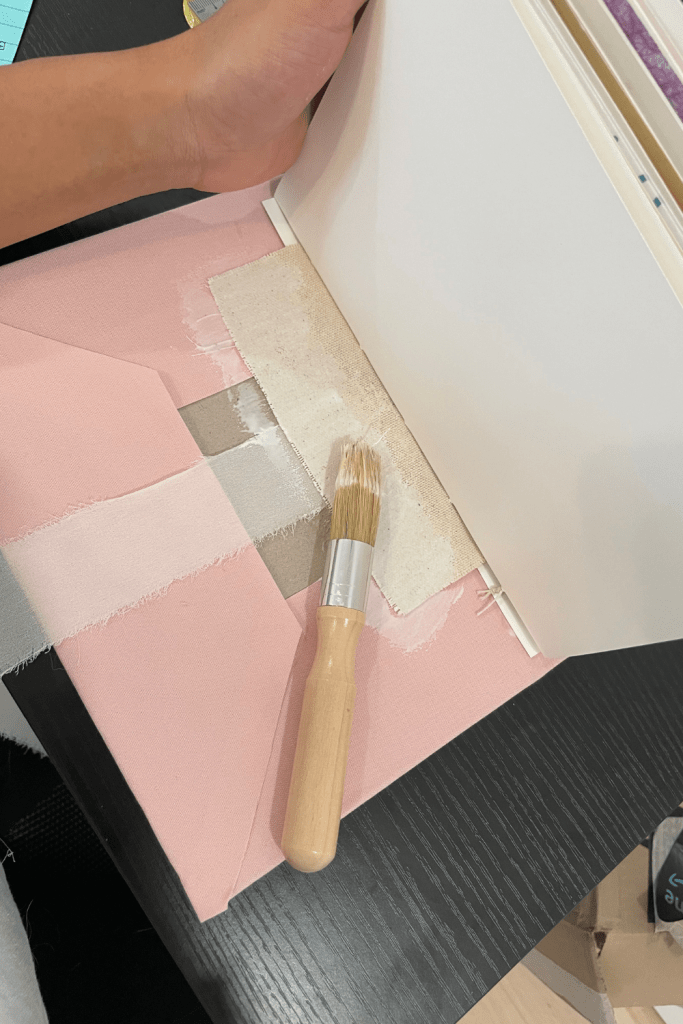
- Glue the remaining book fabric onto the inside of the book covers.
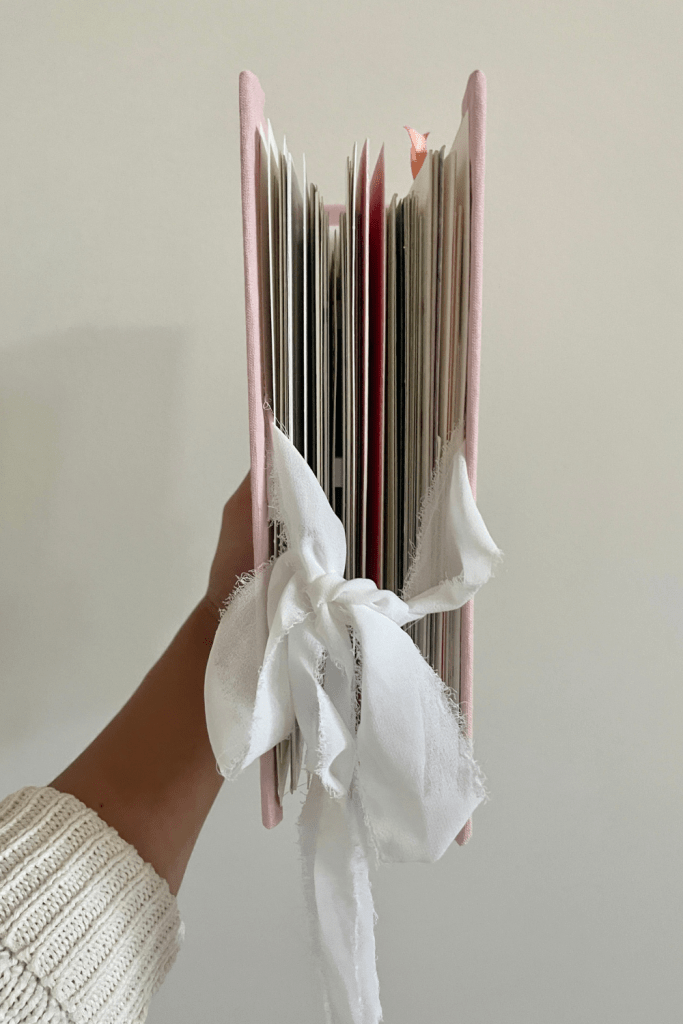
- Cut a ribbon and glue it down on the spine in the center of the book. This will serve as your book closure.
- Finally, on your greeting card stack, glue the fabric canvas onto the inside of the spine.
- Glue the front and end flaps of the canvas fabric onto the inside of the book covers
- Lastly, glue the very front and back pages of your greeting card stack to the inside book covers.
- Let dry for 24 hours. I used books to weigh the front pages down and ensure they did not move.


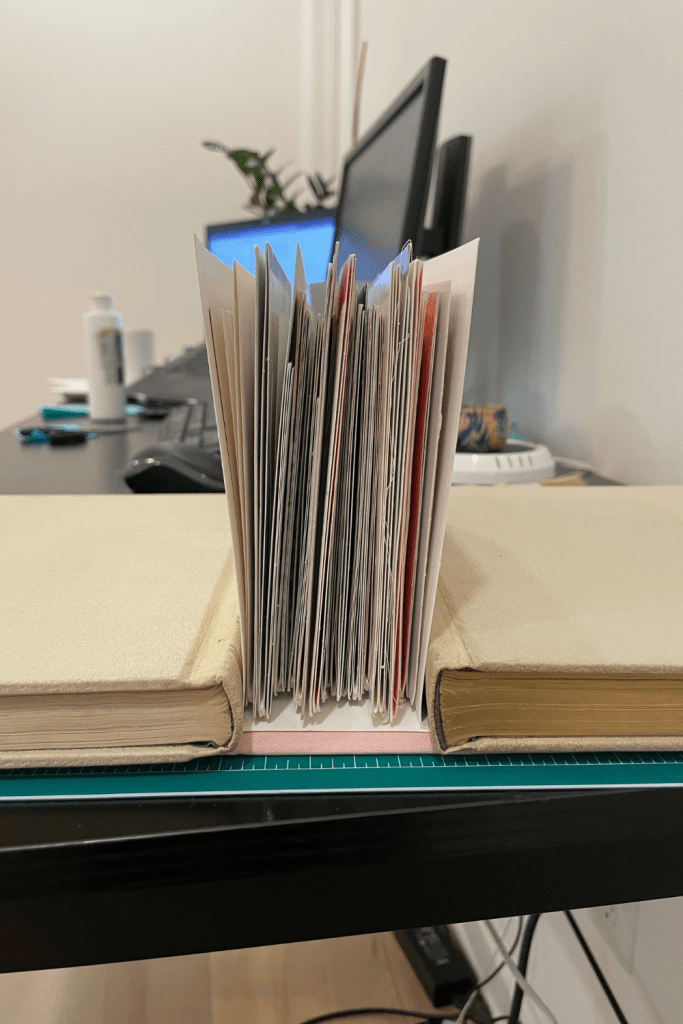
Book binding my bridal shower cards gave me a way to preserve these precious notes and add a new “book” to my space. And there was no better spot than right next to my wedding album ❤


Leave a comment